Finish up your yarn by colorblocking your sweater
Posted on October 7, 2022
9 minutes
1796 words
The seasons change way too fast. Somehow I like it though! The summer has been great, but now it is time to pull all sweaters out of the closet and get comfy and cozy.
Time to crochet a new sweater for my little one! I am always very excited when I find a new project to make. I go to my favorite (online) shops and buy all new kinds of yarn for that occasion. Or when I see a sale, a bunch of yarn for ‘future’ projects is bought. However, often after projects are finished there is yarn left, or some projects are never finished or even started. I have this beautiful box at home filled with all different kind of yarn. And with the plans of moving to the Netherlands next spring, it was time to use the yarn that was lying around instead of buying new one.
If you feel familiar with this concept, I really advice you to go through your yarn and organize it per kind and size. Wool, cotton, acrylic, etc. This way you see exactly what yarns could be used together in a project and maybe some inspiration will hit you! It might not be the exact color you want, but using yarn that you have almost forgotten about is a lot cheaper and can lead to a whole new level of designing! I will post later on more items for “Finish up your yarn”, but today it will be a sweater for a 1-year-old (size 86).
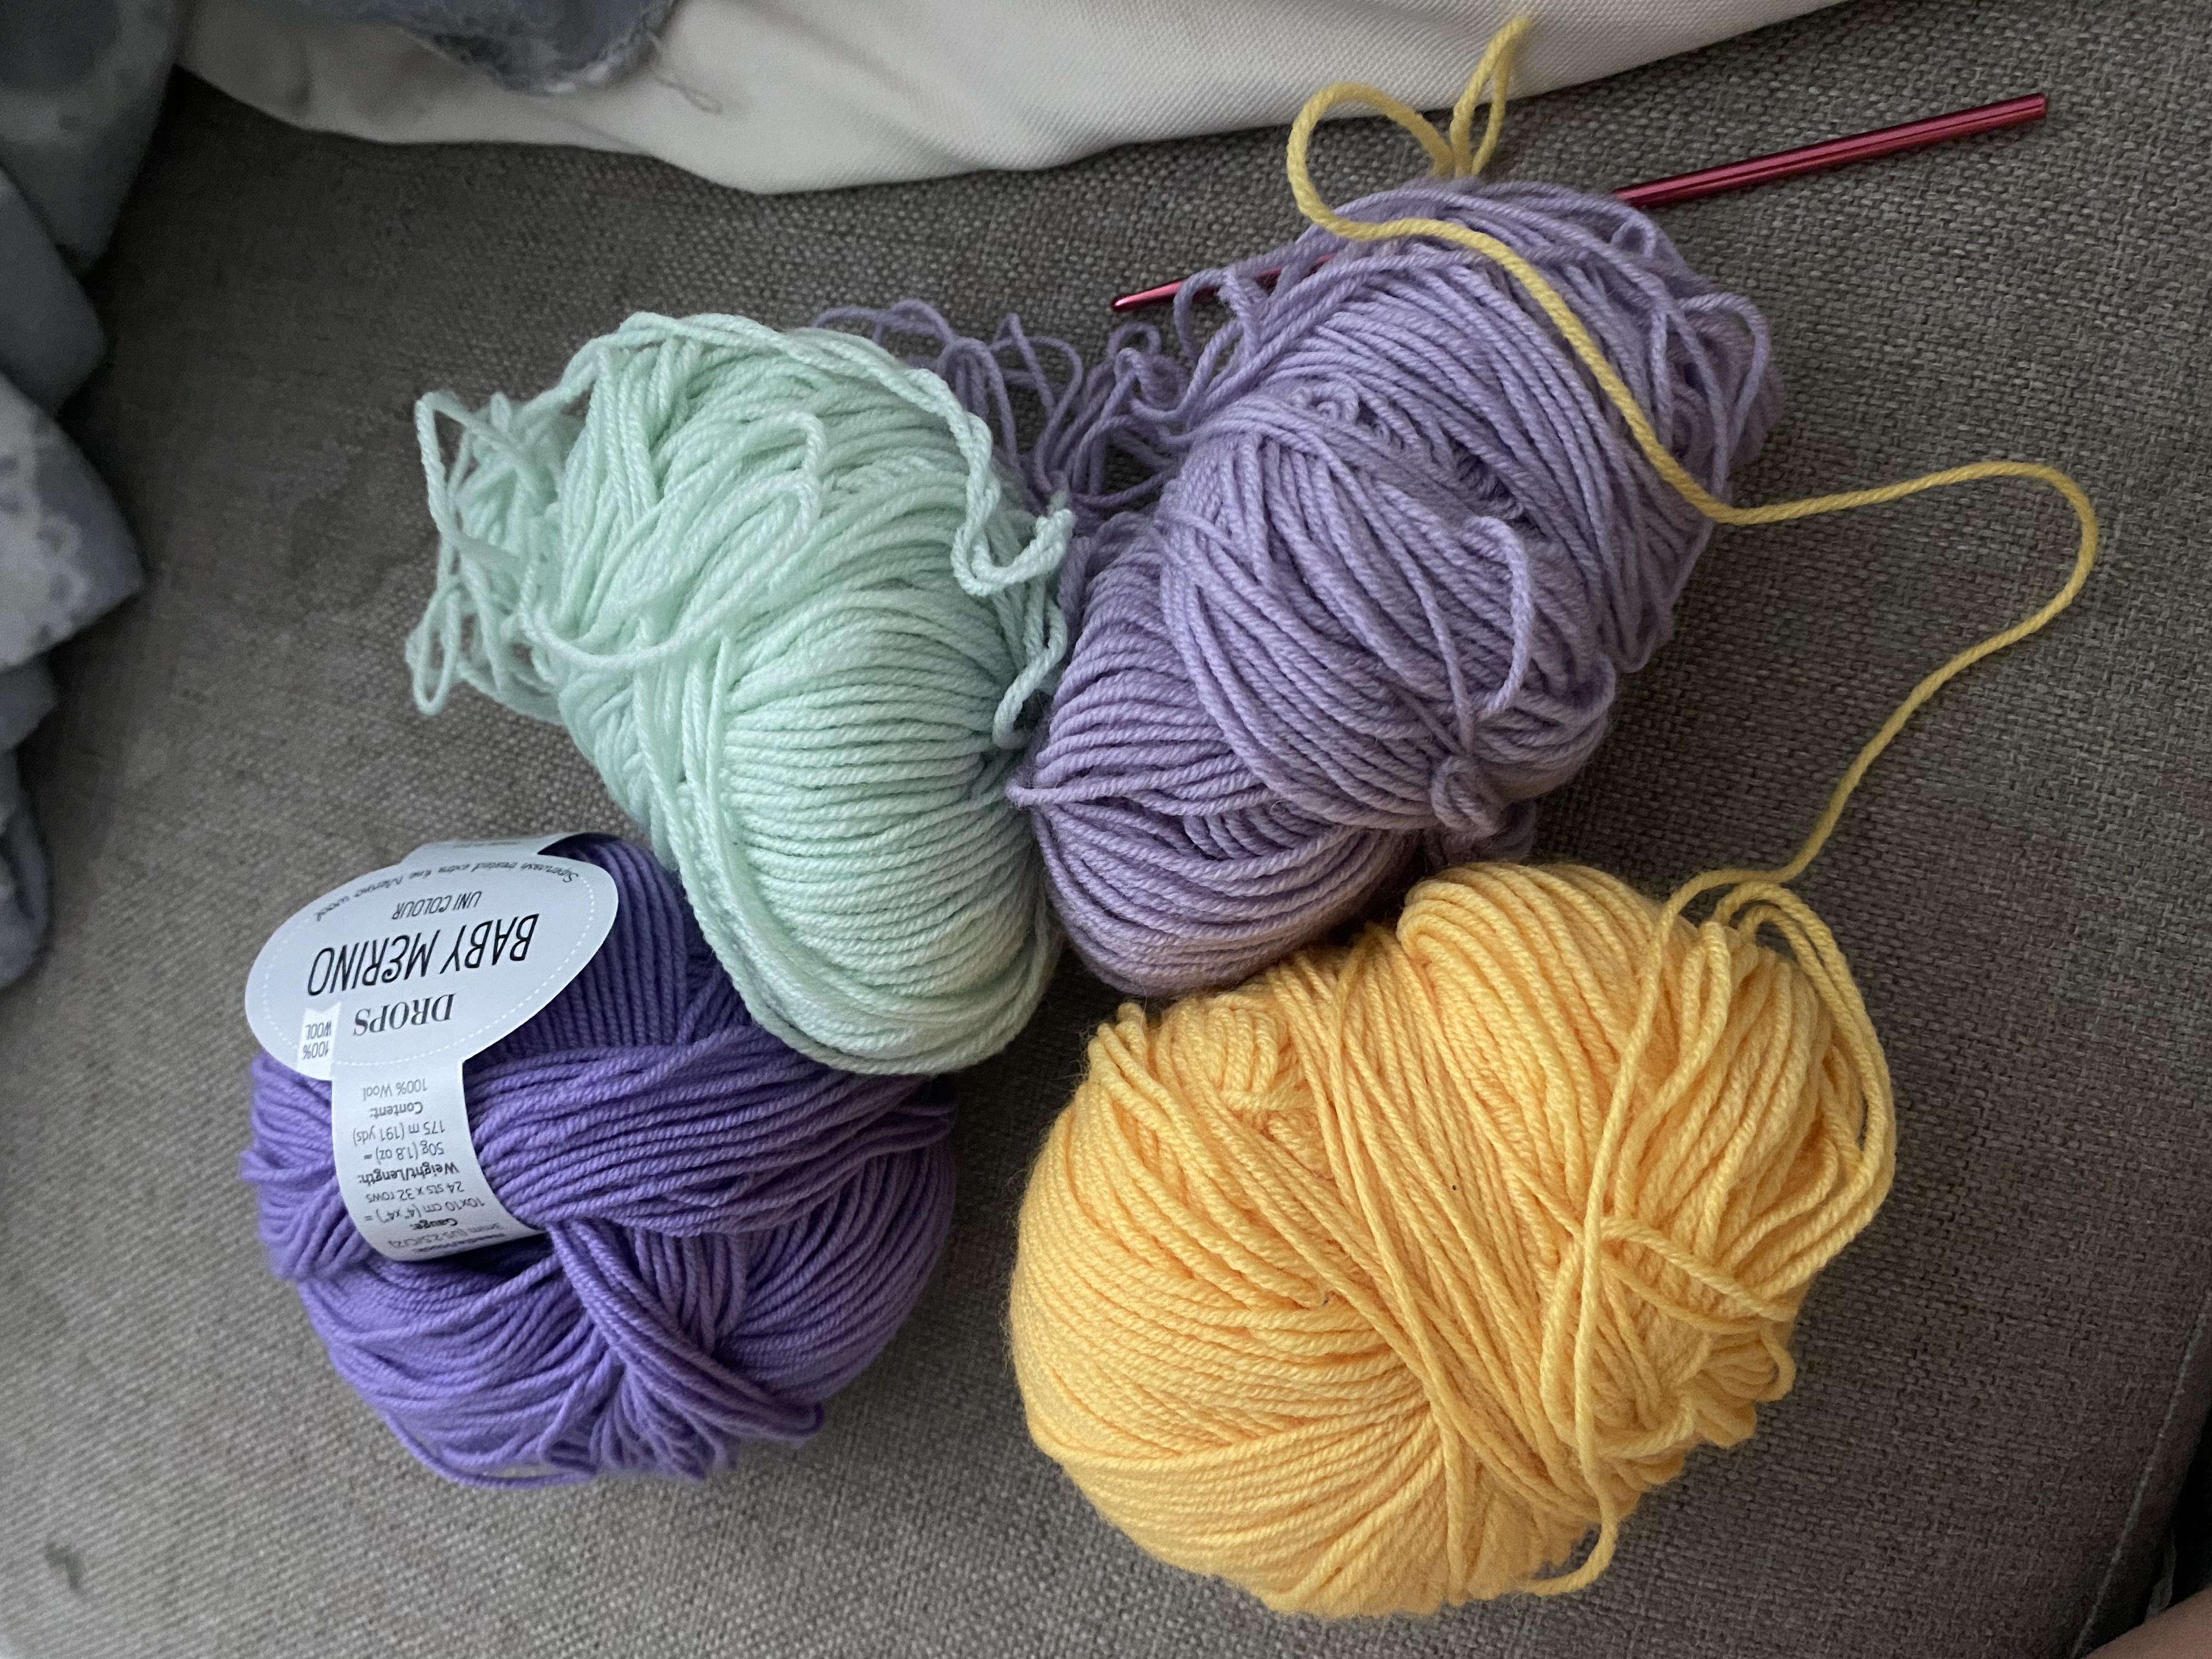
While sorting, I found some different colored merino wool balls that had roughly the same thickness. They were left over from previous baby projects and could be used to make my sweater. With different colors for the same project the only way I found was to make parts in different colors. That ended up with this color-blocked crocheted sweater.
With limited yarn of every color, choices had to be made for the design of the sweater. I though the purples with the mint green fitted quite well together and the bright contrast of yellow would work best as borders. I had the least amount of mint green, hopefully enough for the arms. The different kind of purples could work together for the body of the sweater.
The original design didn’t have the yellow in the middle. I noticed that the shoulders part of the sweater required quite a bit of yarn and decided to break the purples with some yellow in between. Luckily this way the lilac was just enough, and I didn’t have to redo that whole part. I like crocheting, but nothing is worse than when you have to redo a whole part or start over from scratch after realizing you made a fundamental mistake. In the end I think this is a better match for the colors anyway. Working with limited yarn of every color is challenging, but it is also a lot of fun!
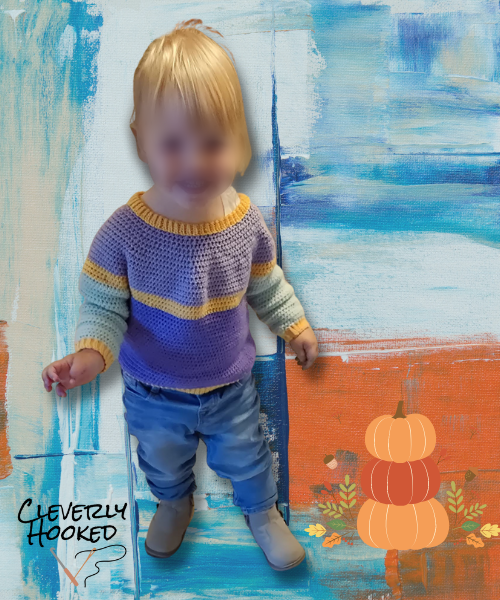
I chose the half double crochet stitch as the main stitch of this sweater. I noticed, while crocheting clothes, that this stitch works perfectly as the holes are not too big, and it doesn’t feel compact. In my previous post upcycle skirt into dresses this stitch is also used. When working back and forth it creates 2 row sections. But with working in the round, only the front side of the stitch is visible. I like this continuous feel on a sweater.
Materials
- 4mm/G hook, for the sweater
- 5mm/H hook, for the borders
- 4 skeins of baby merino drops or other likewise yarns
- Stitch markers
- Wool needle
Difficulty
Easy.
Gauge
For a 4x4" swatch made with hdc and crochethook nr.4:
18 st x 14 rows.
Abbreviations
ch- chain
sk- skip
sl st- slip stitch
hdc- half double crochet
BLO- back loop only
hdc2tog- hdc decrease
hdc inc- hdc increase
Pattern
This sweater is crocheted from the bottom to the top. We start with the making borders for the whole sweater. After that, the body is crocheted with one color(purple) and the arms with another color(mint green). When these 3 pieces are finished, you can join them together with a few lines of yellow. The shoulders come after that in lilac where the sweater is finished by adding the last border on it.
BORDERS
I like the look of ribbed borders. For knitting this is super easy, and for crochet, you just need to learn how to do it. Then you could do it almost sleeping.
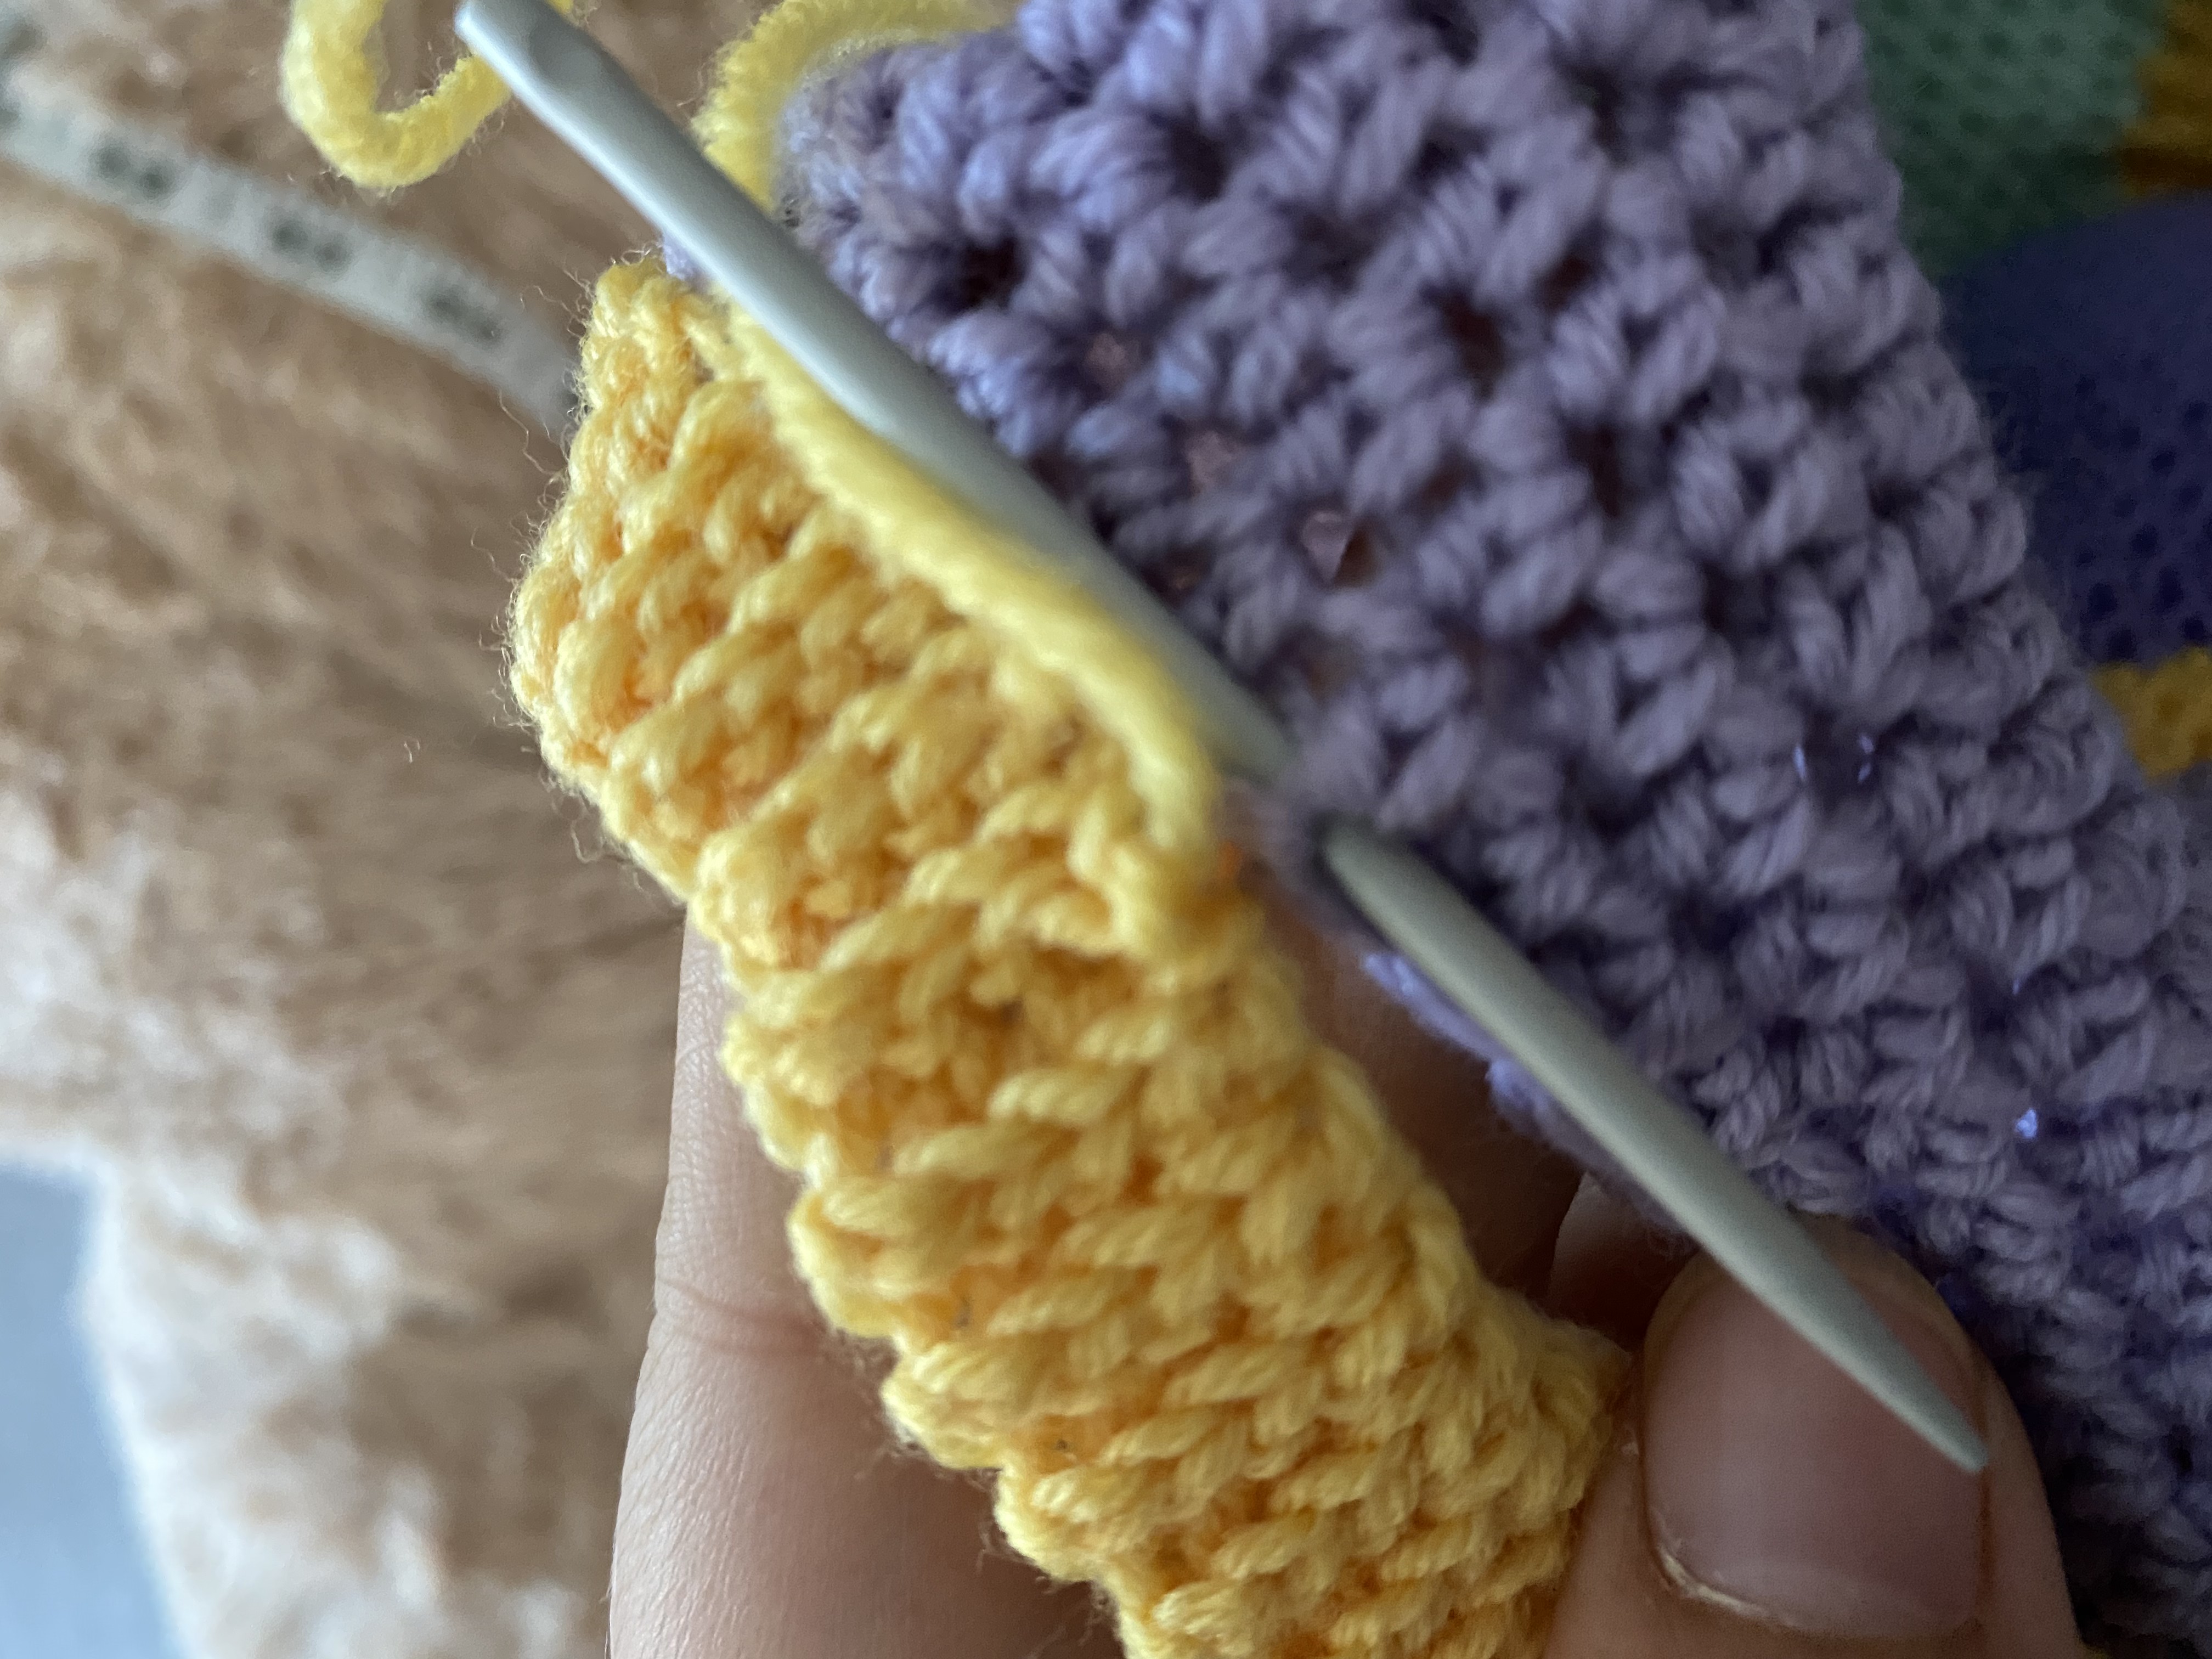
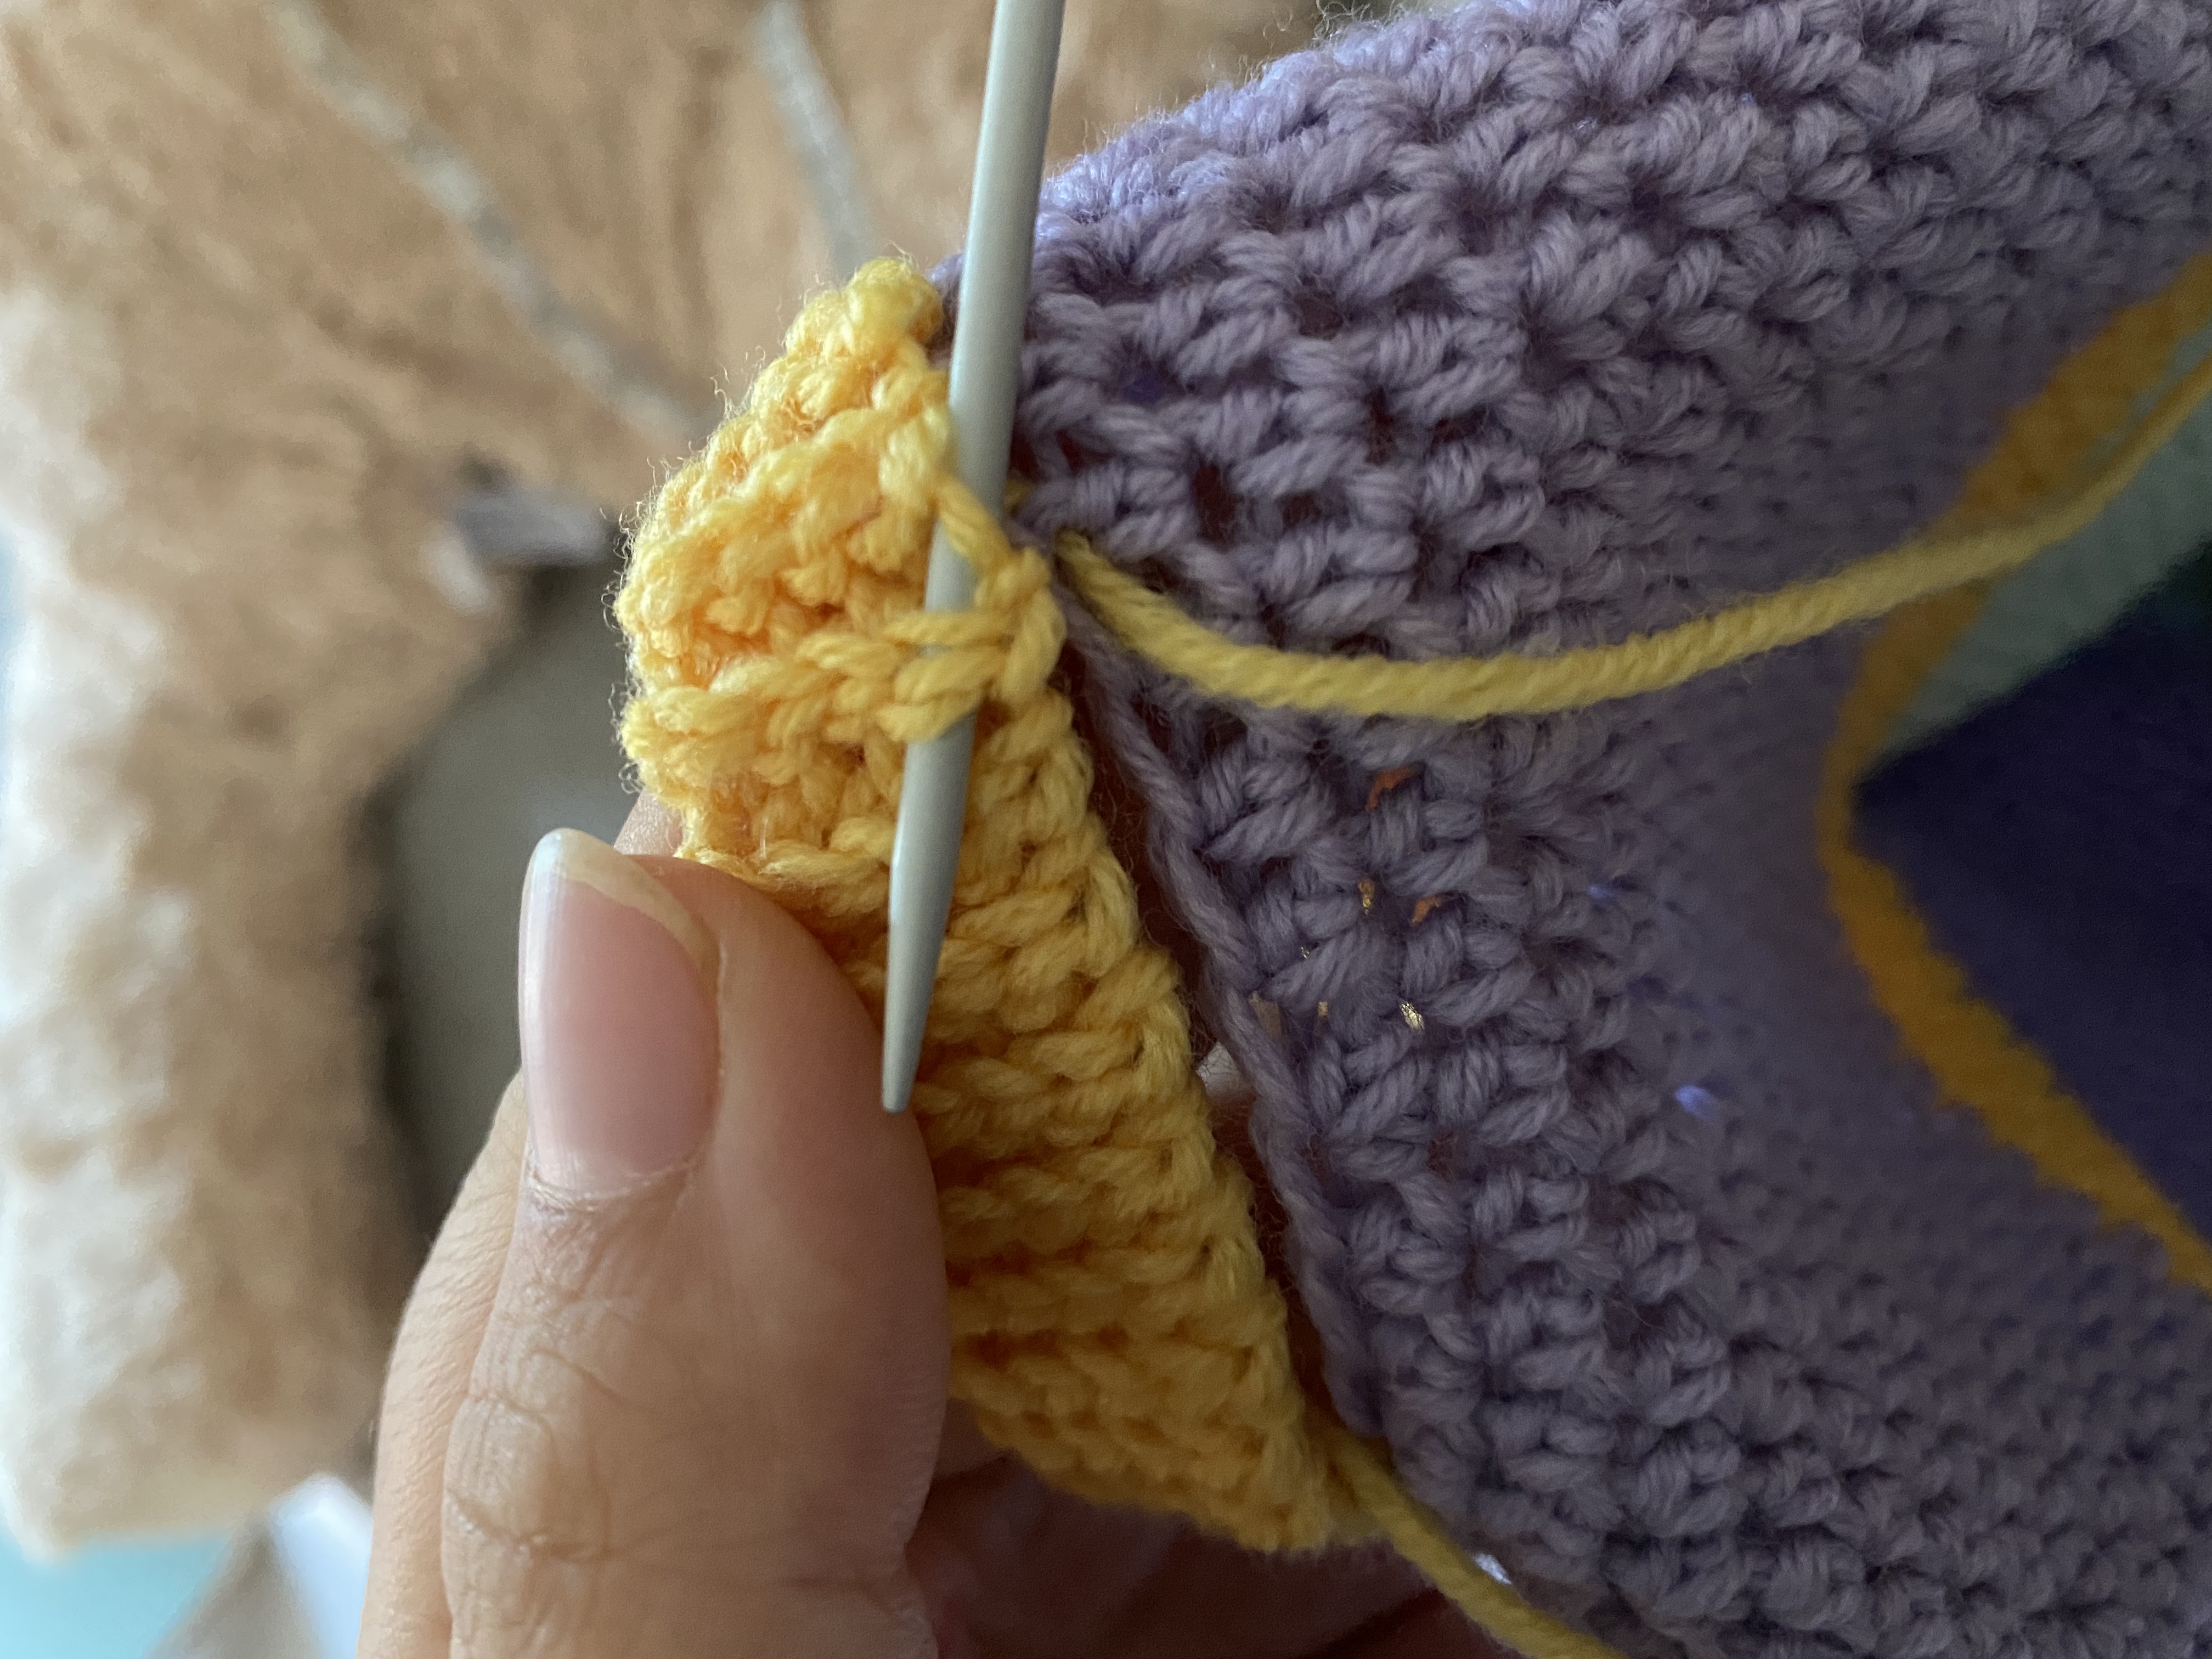
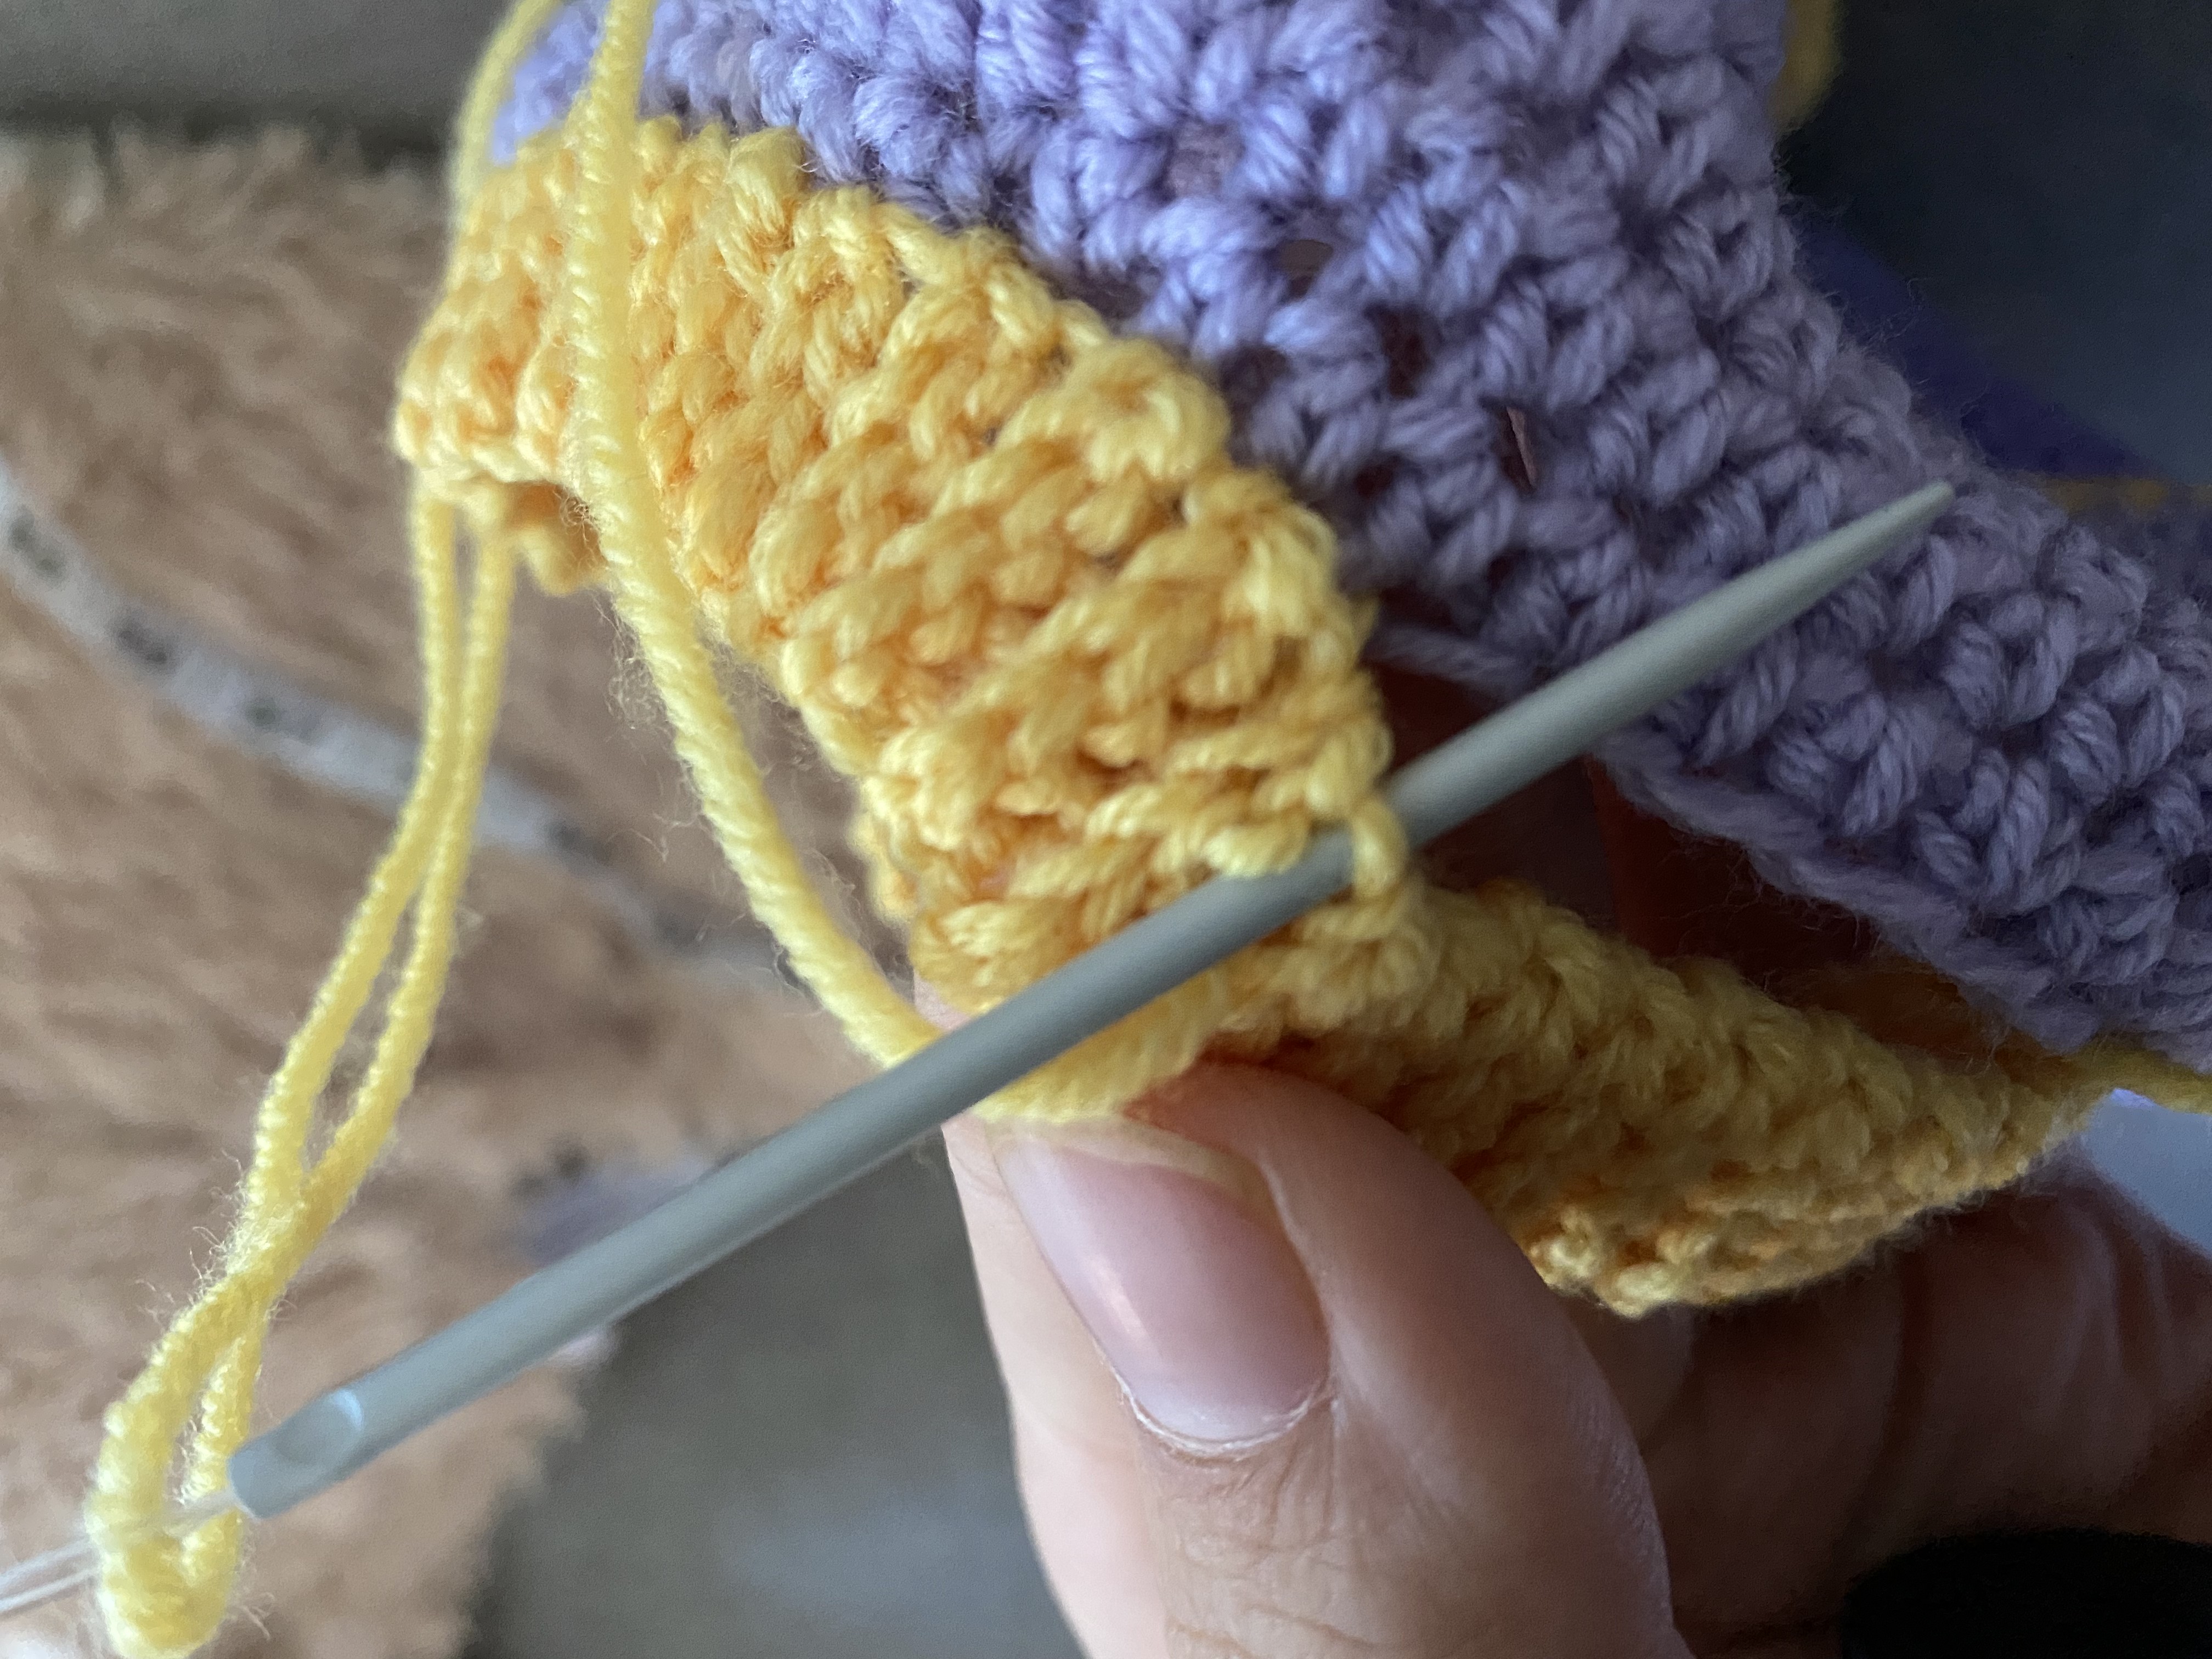
For the bottom border you start by ch7 in the color yellow. Turn and use the second chain to start your row. Make 6 sl st (BLO). Ch and turn. Keep making 6 sl st (BLO) row after row until you have reached a length of 45 cm/18". This does not have to be super precise. A cm here or there won’t make a huge difference. Make sure you end your piece when the yarn is on the same side as the beginning. To close the border; place the ends flat on top of each other. We are going to use slip stitches to close it. TIP: If you want invisible stitches, pull your needle through the loops a little further down (see pictures) Make 6 sl st till the top and fasten off.
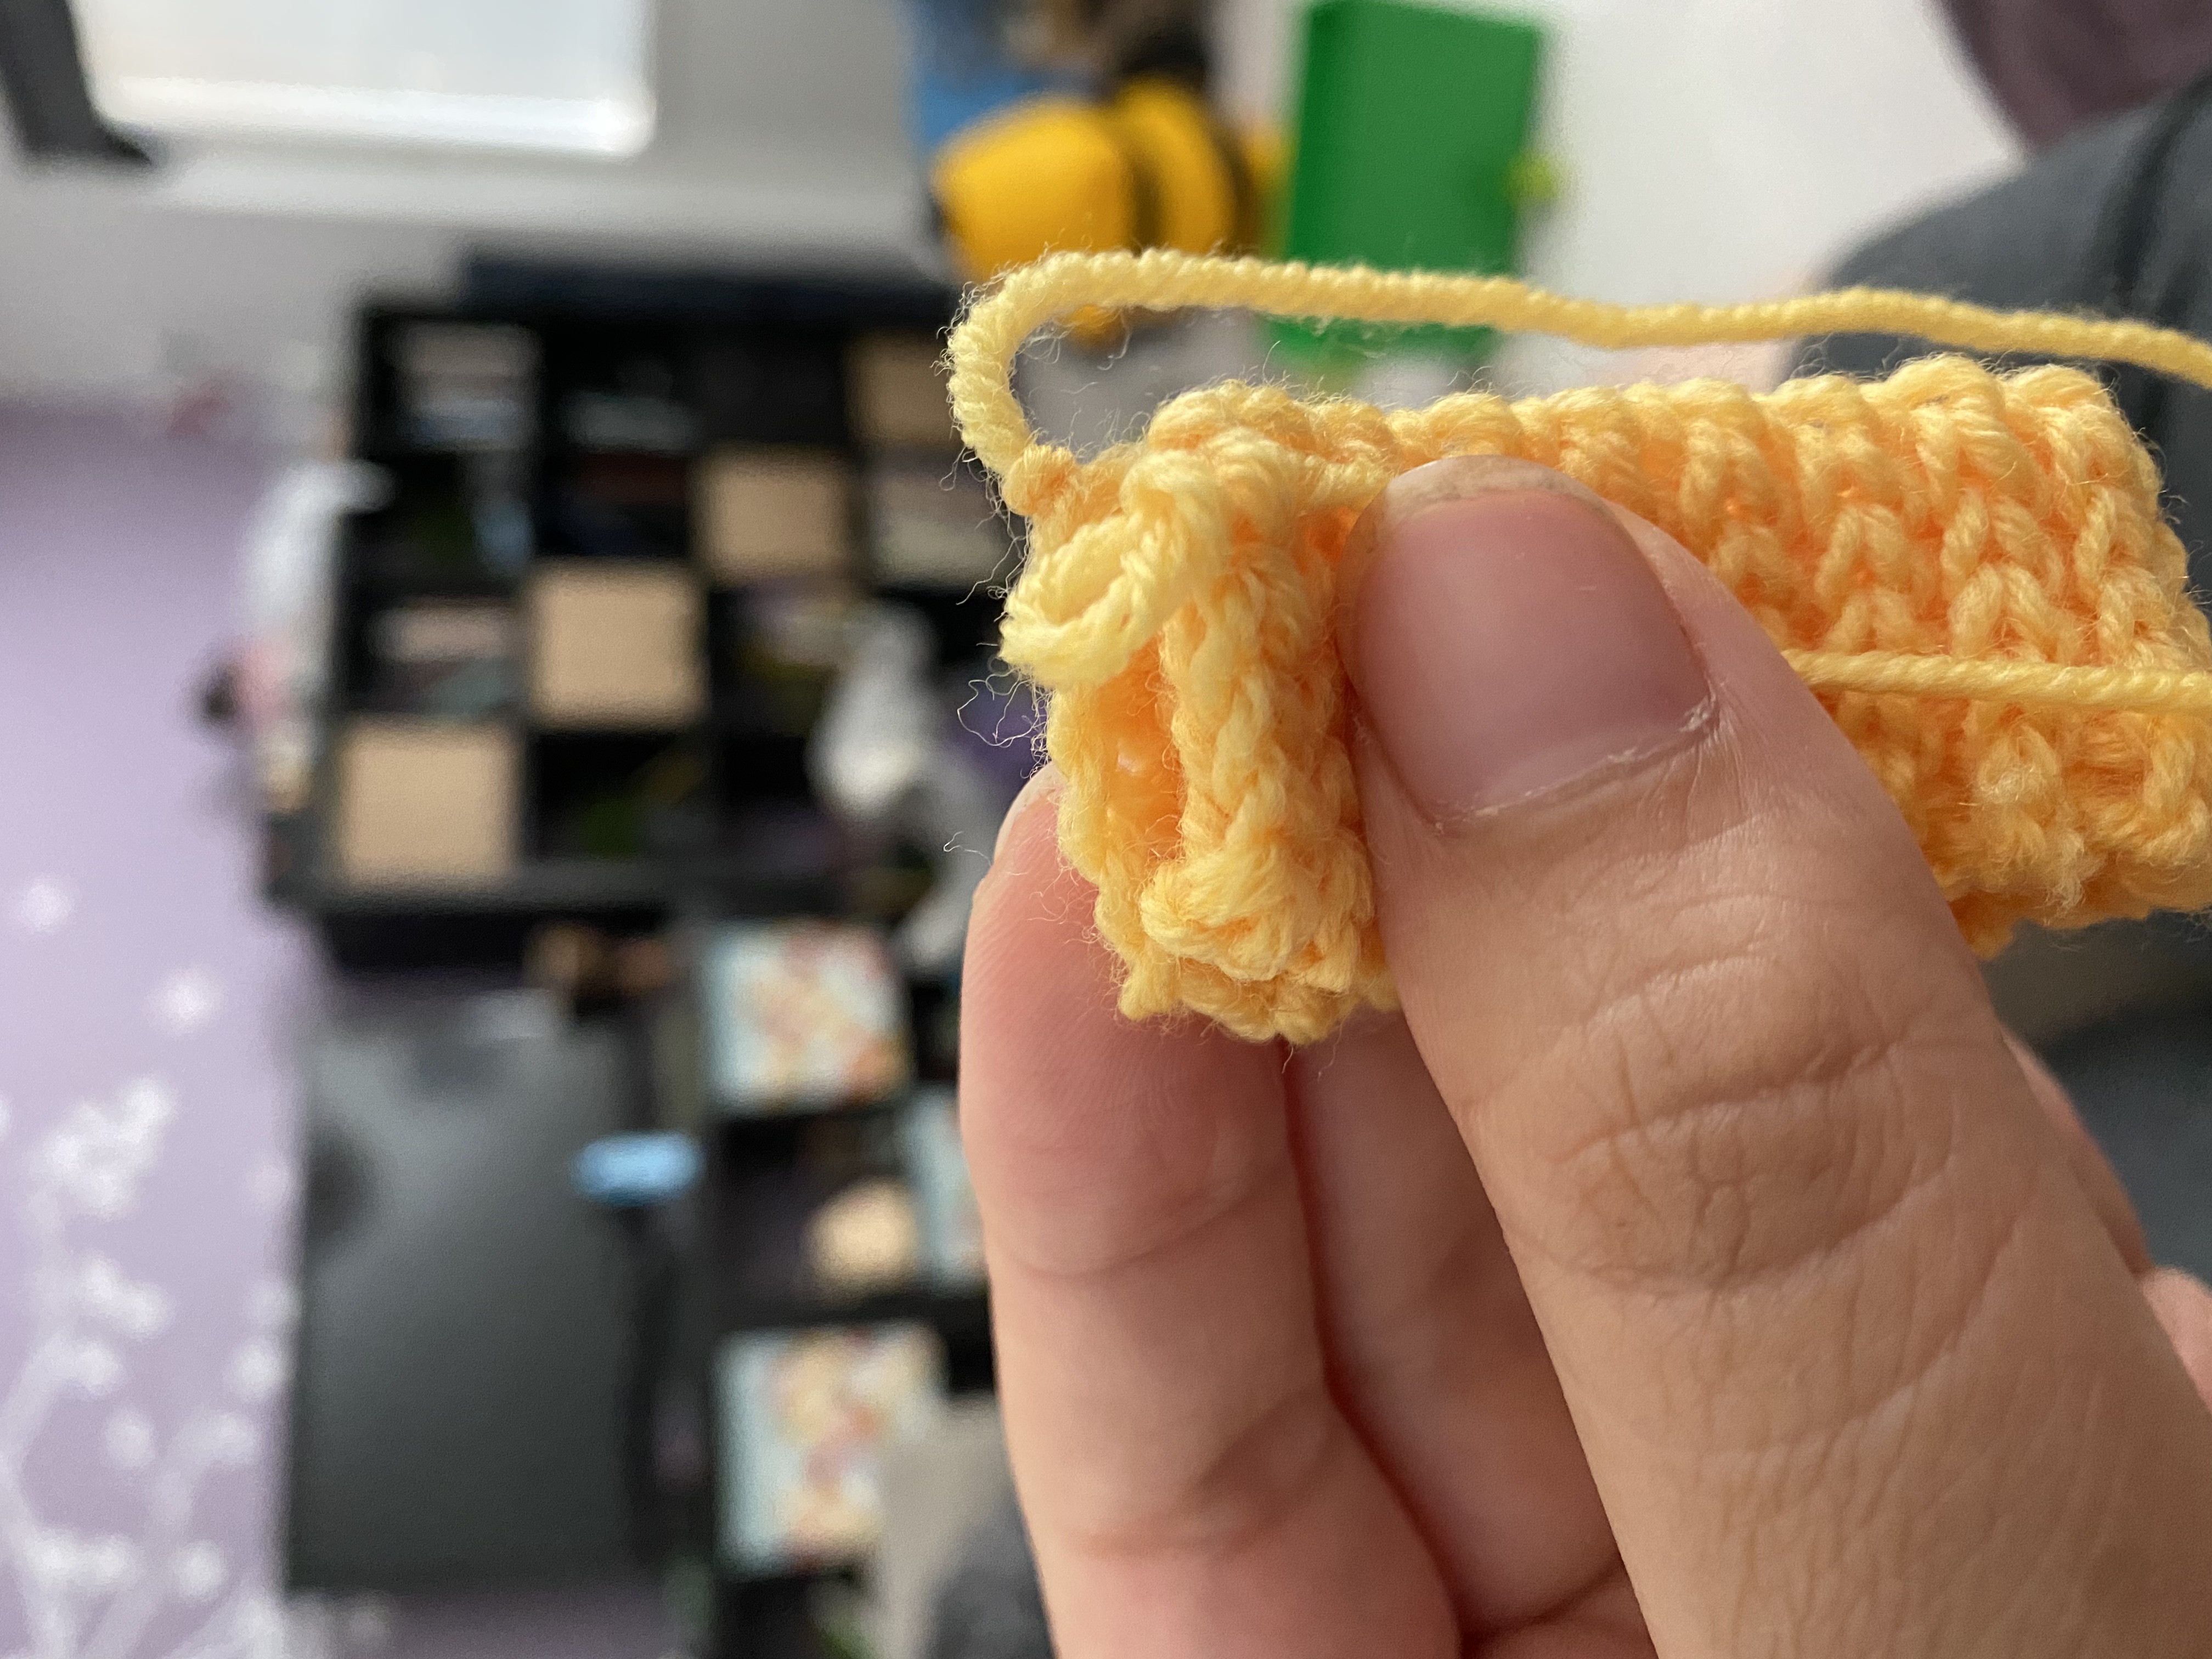
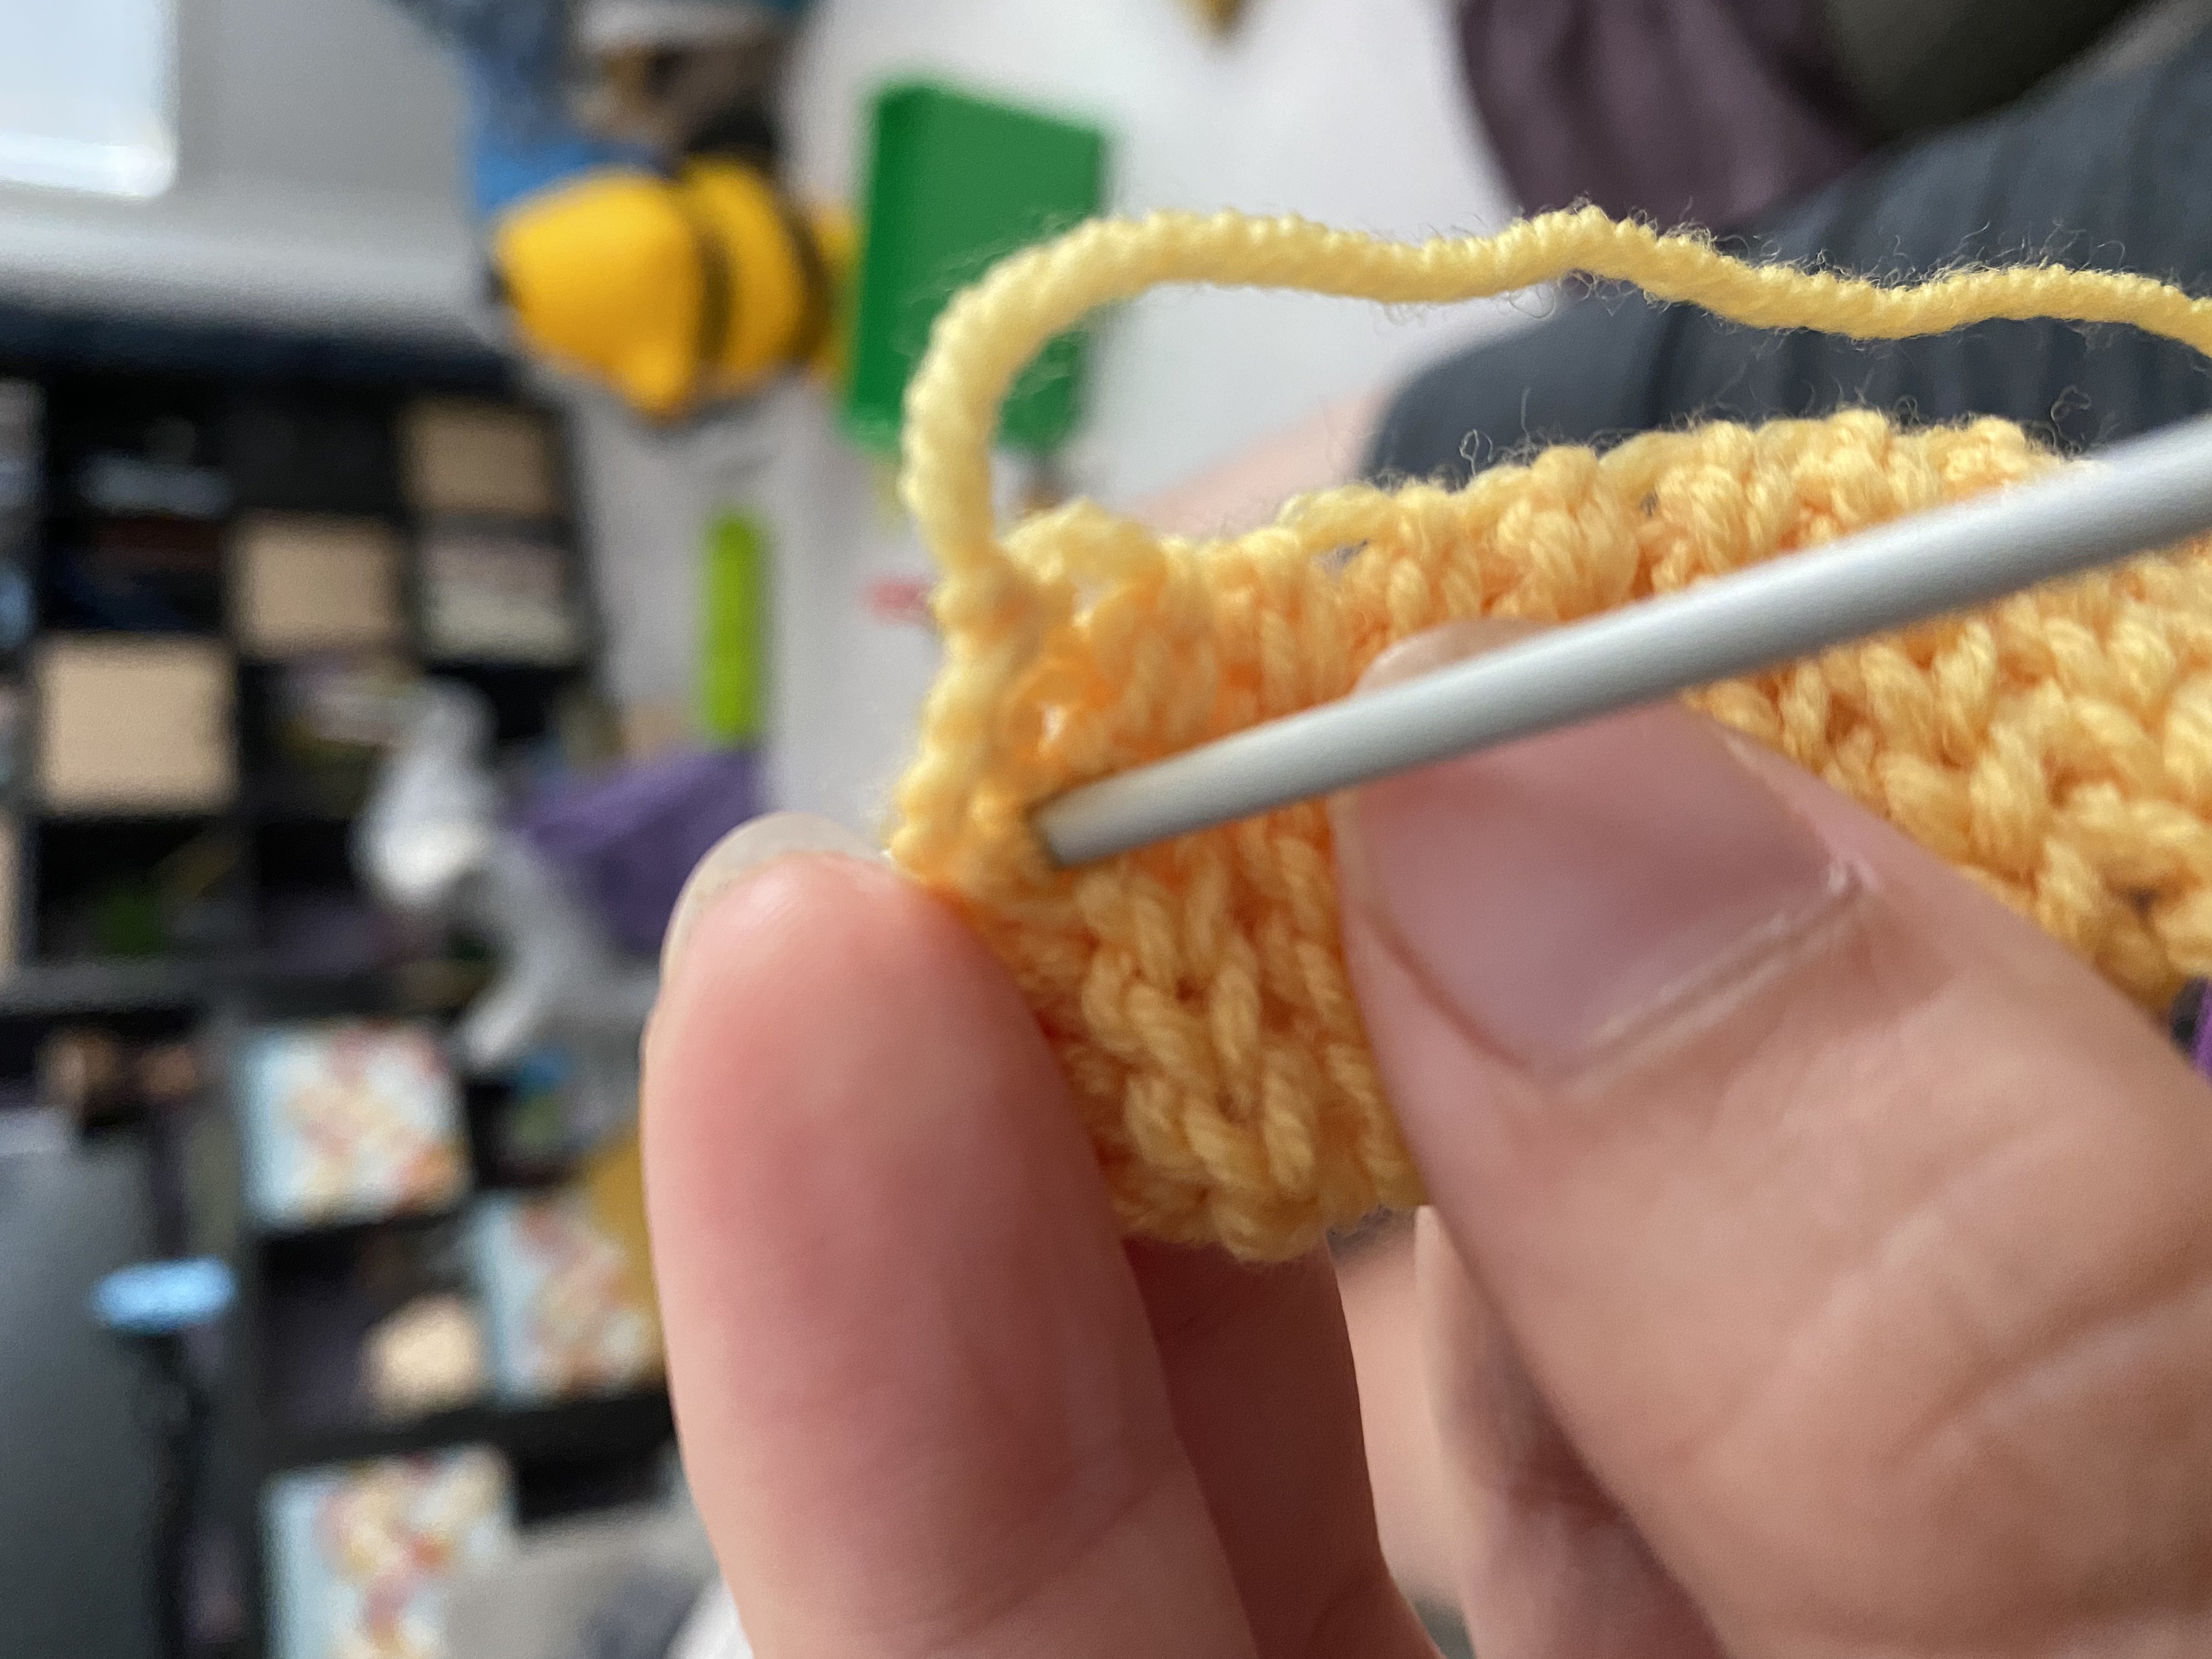
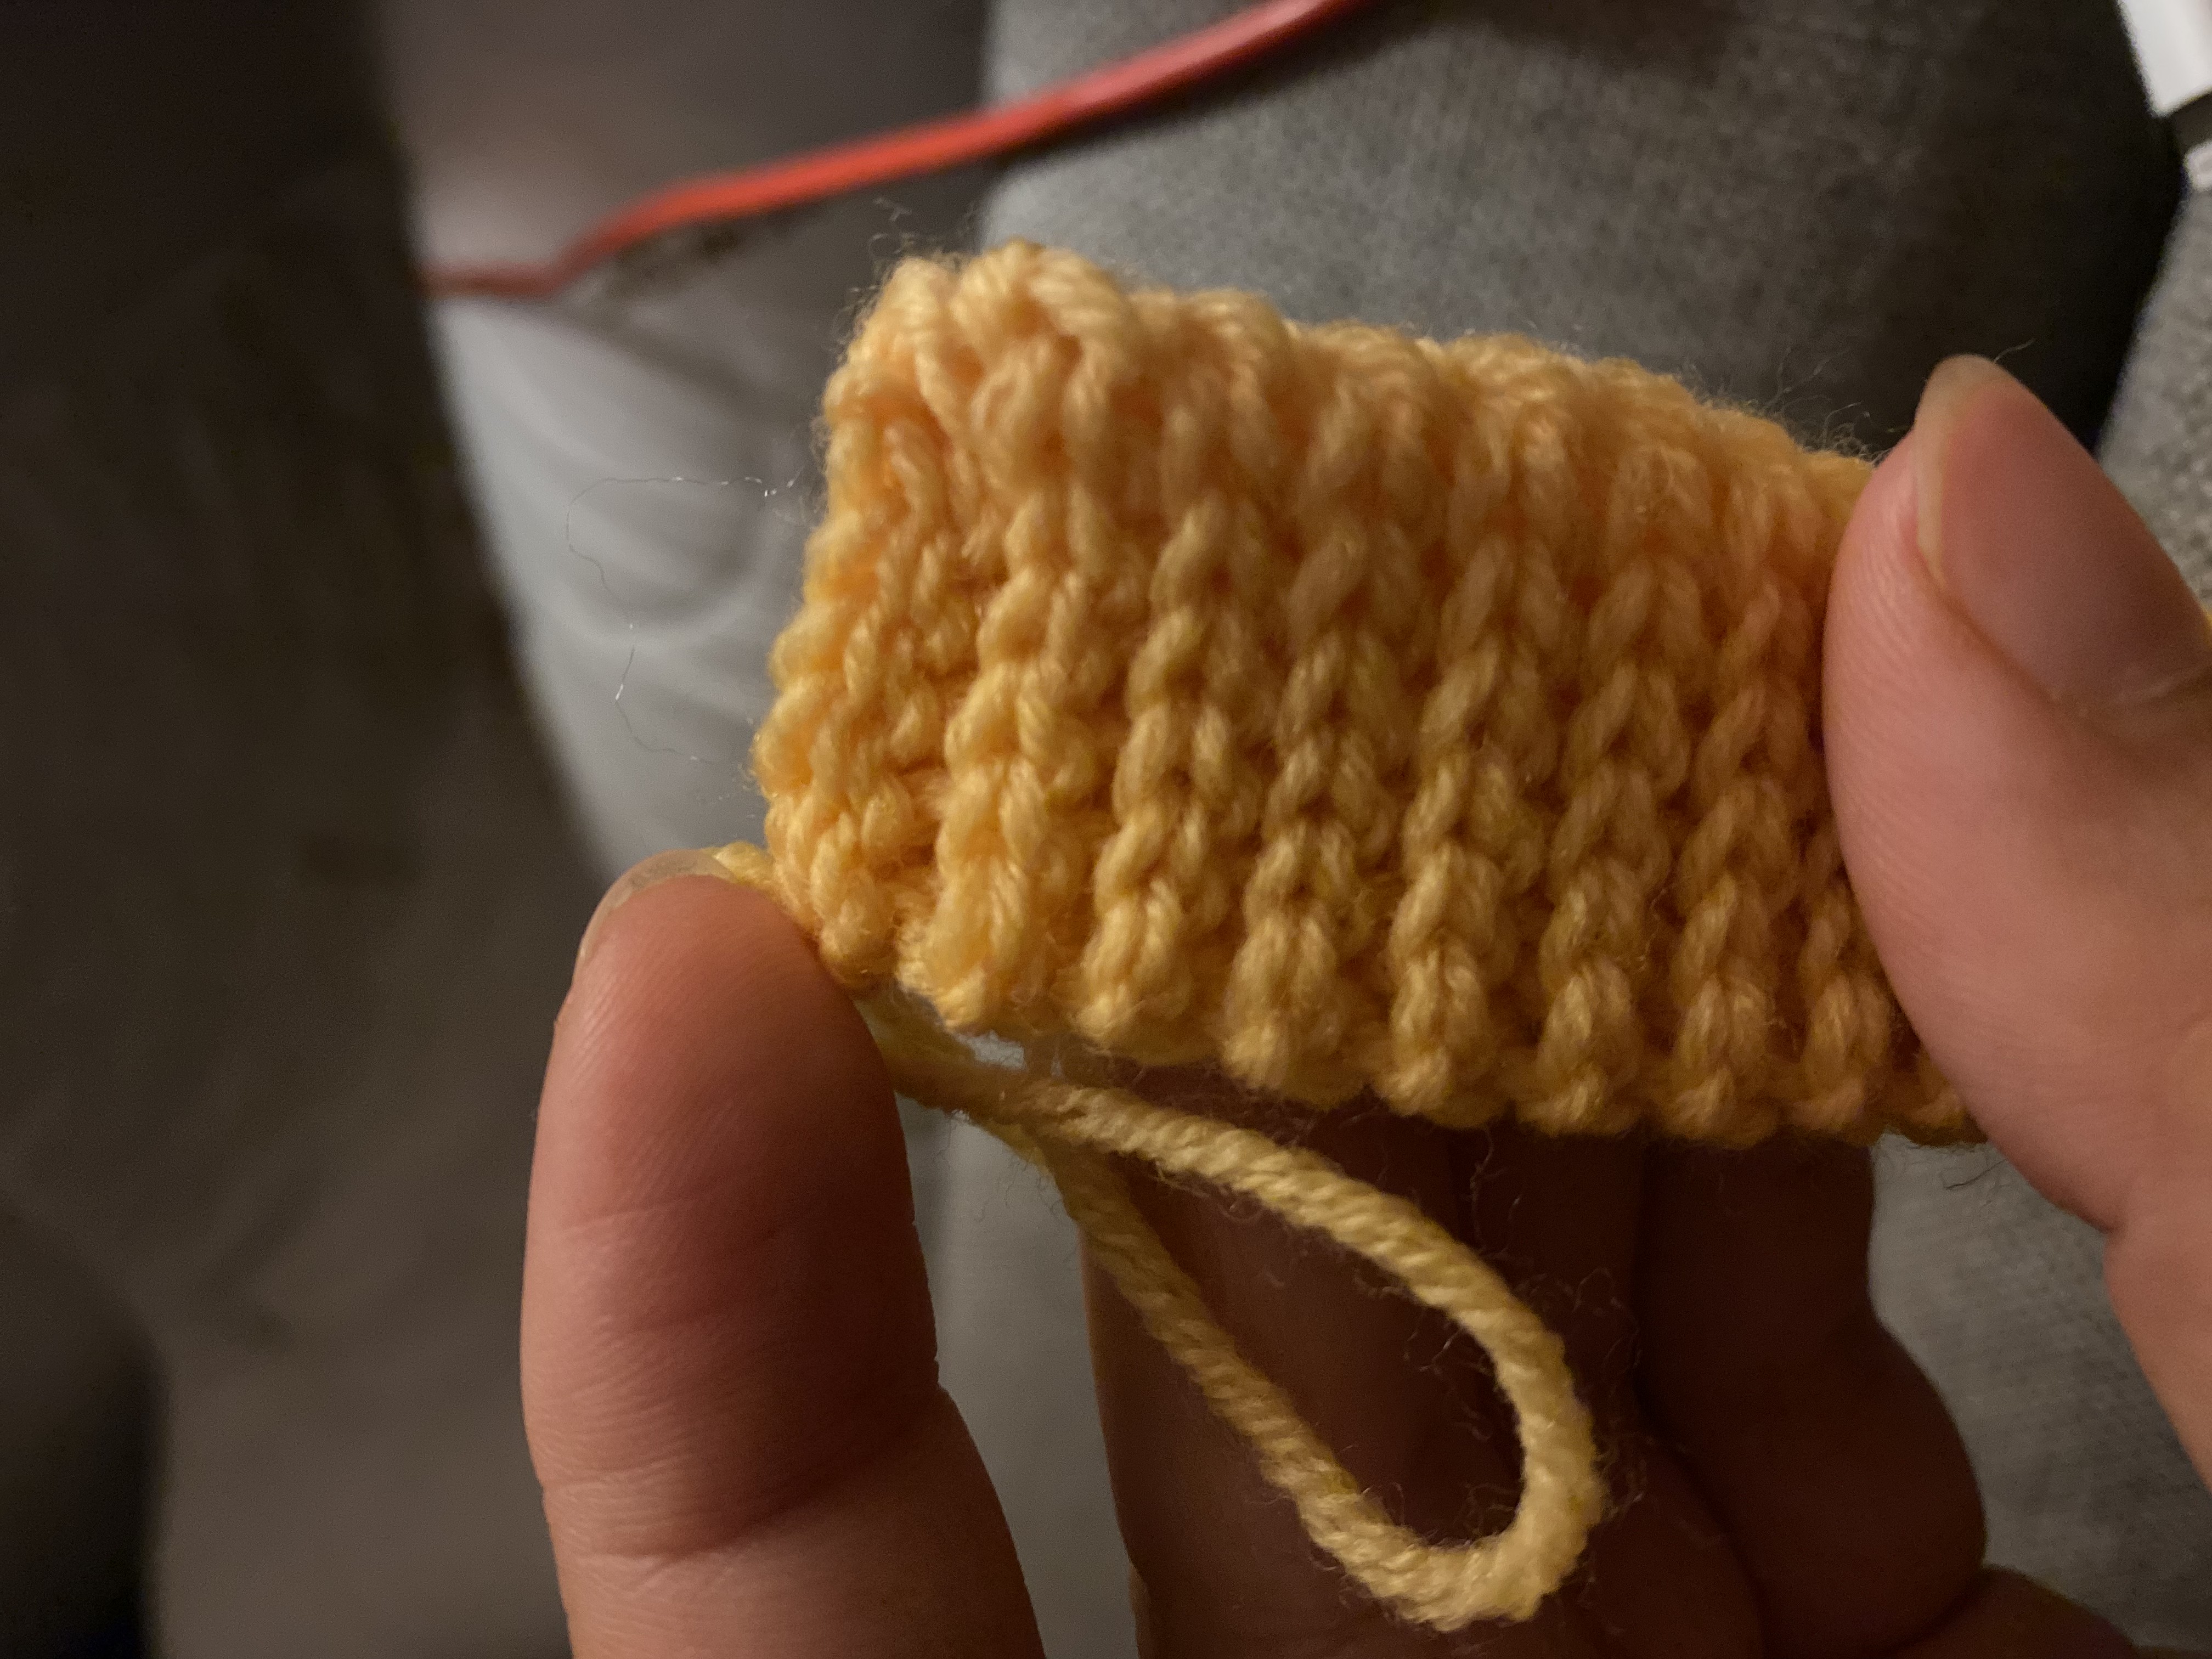
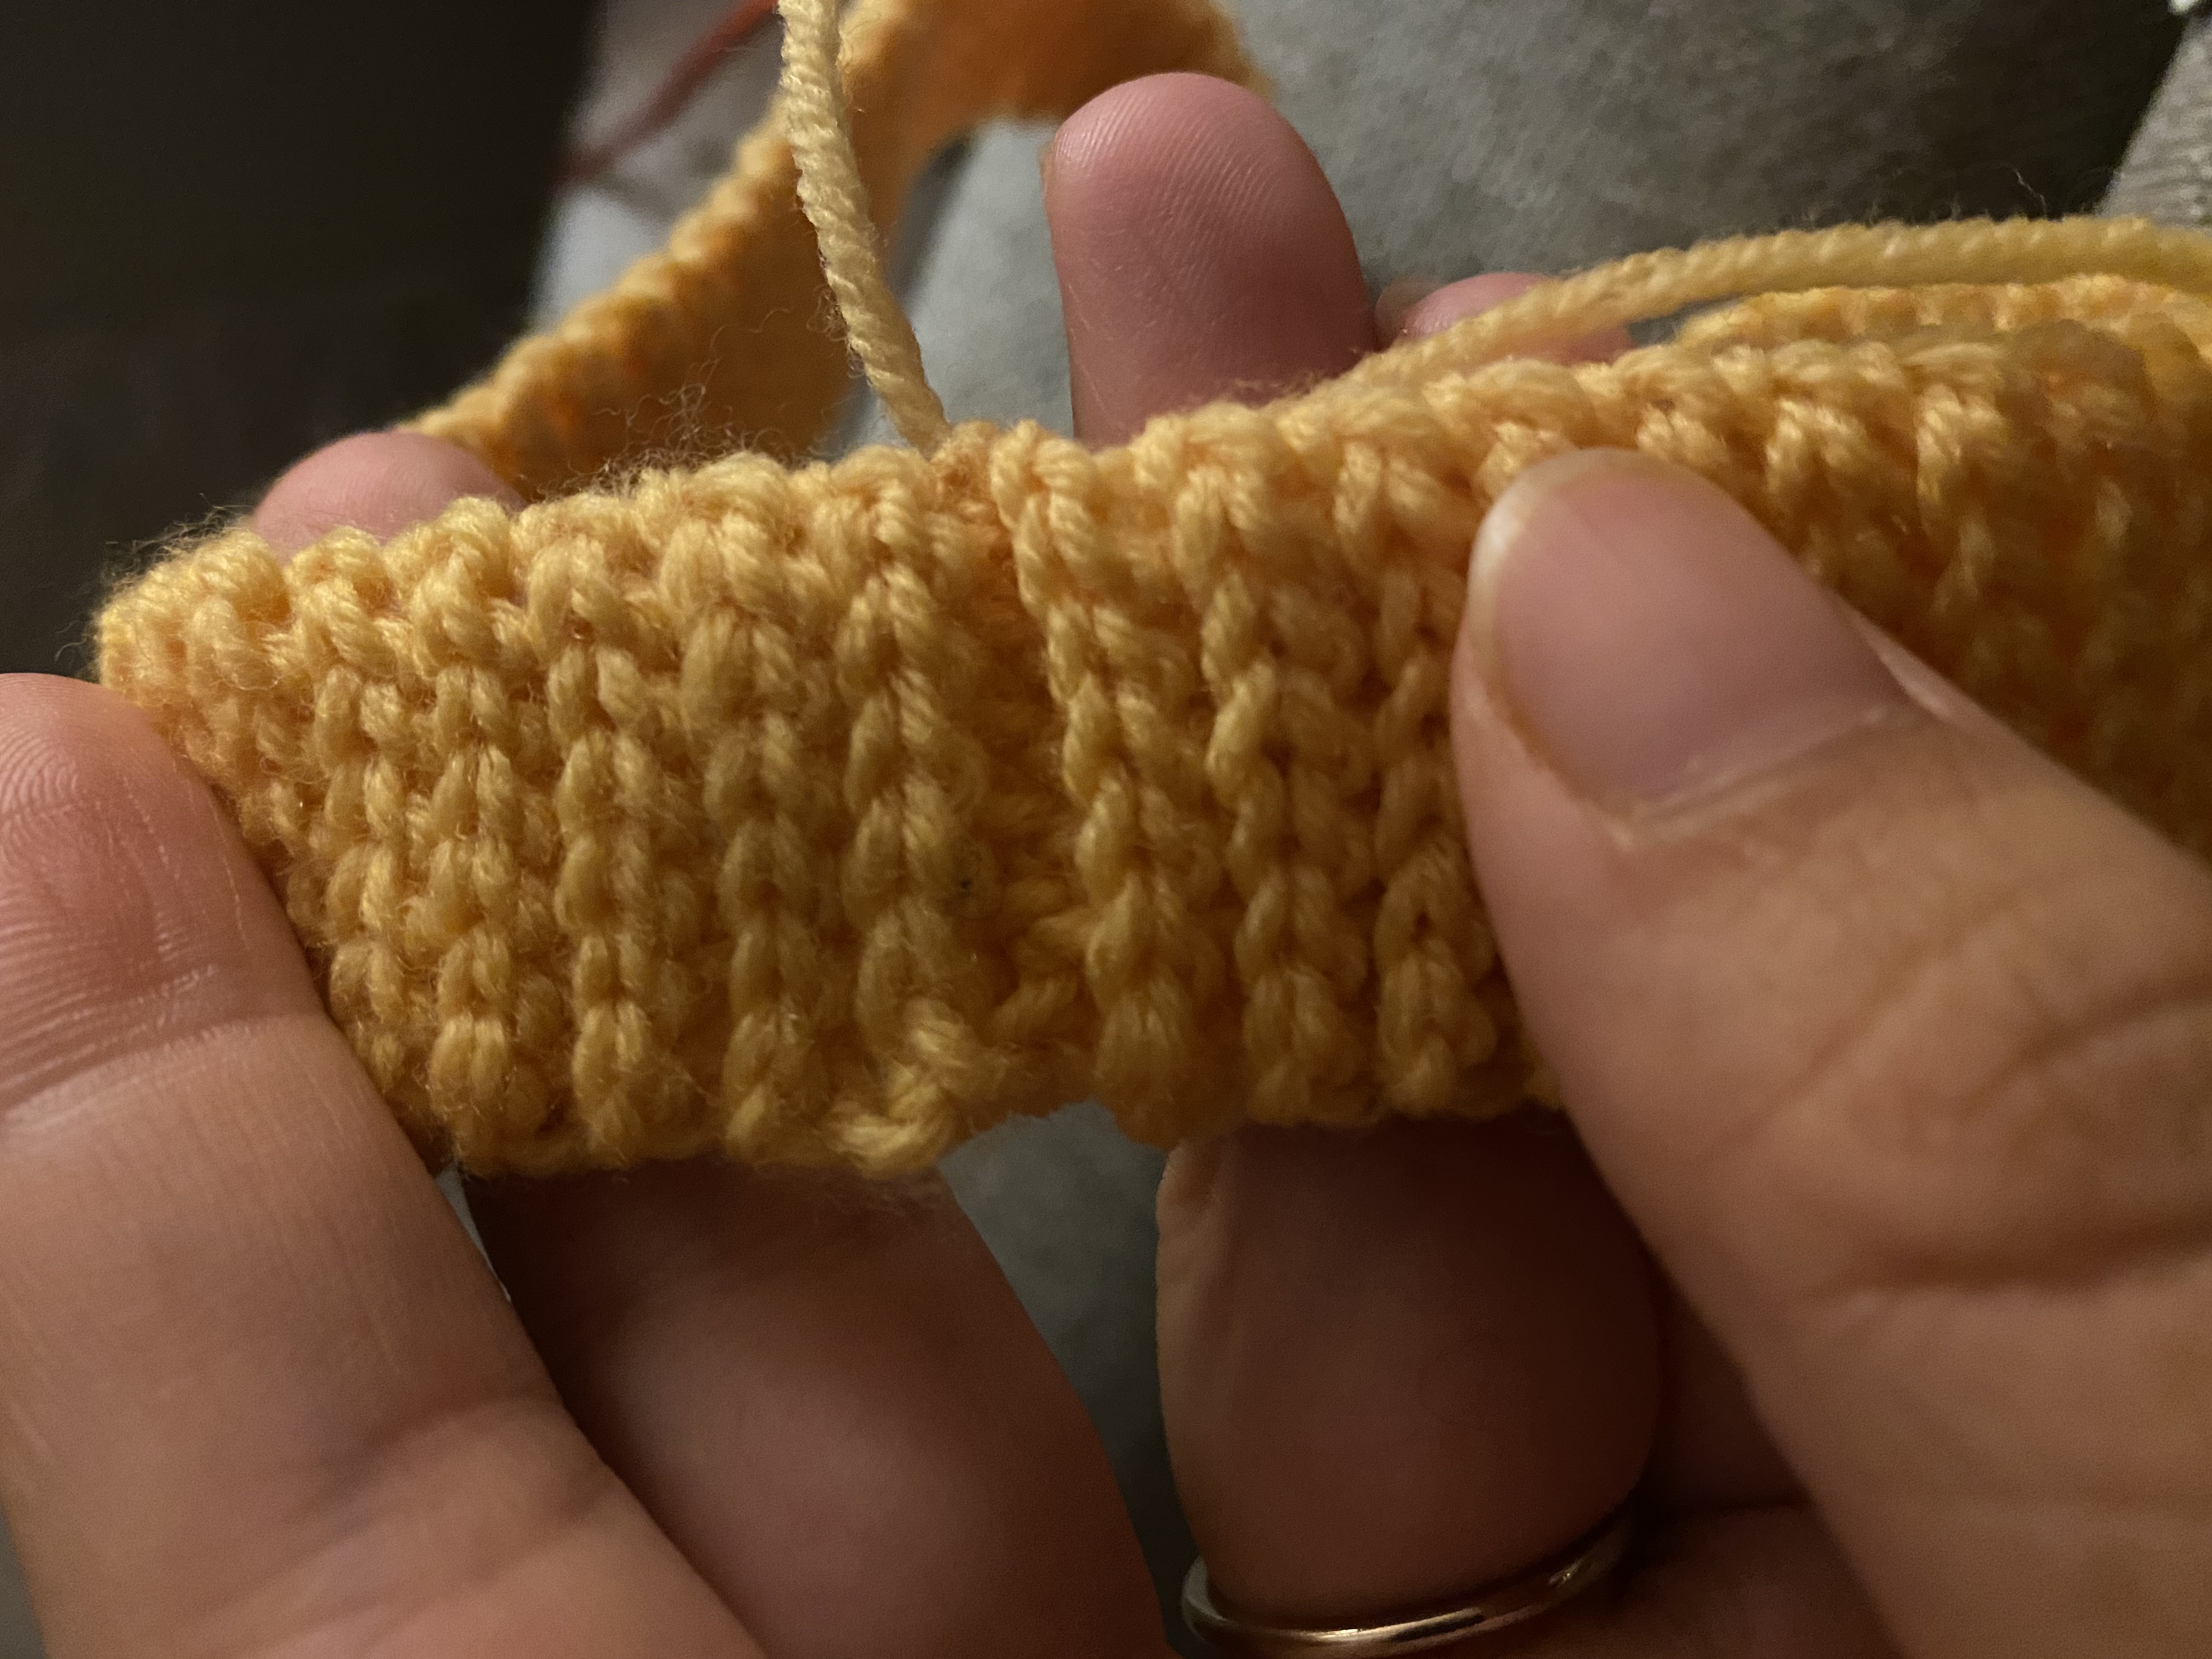
For the arms you do exactly the same as the bottom border, except you start with a chain of 6. This gives a row of only 5 sl st (BLO). The length of the arm borders are between 11-12 cm/ around 4.5".
For the top you start with a chain of 5, which gives a row of 4. The length of the top border is around 36-37 cm/ 14.5", but can be adjusted if you prefer a more stretched out or loose look. Leave a long thread for sewing later.
ARMS (make two)
Attach the mint green yarn to the body border and make 2 hdc stitches between every rib of the border. Get in total 35 hdc stitches around. Instead of closing with a sl st, make a hdc in the first stitch of the new round.
TIP: To make it easier to keep track of your beginning add a stitch marker at the start of the round and place it up every time you begin a new round.
Round 2-15 : Hdc around.
16: (Hdc9, hdc inc) repeat 3 times. Hdc5. (38)
17: Hdc around.
18: (Hdc11, hdc inc) repeat 3 times. Hdc2. (41)
19: Hdc around.
20: (Hdc12, hdc inc) repeat 3 times. Hdc2. (44)
21-22: Hdc around.
23:(Hdc13, hdc inc) repeat 3 times. Hdc2. (47)
24: Hdc around. Finish off by making a sl st to the first stitch of the round. Leave a thread for sewing in the armholes.
BODY
Here we also work in rounds to have a seamless sweater as result. Attach the purple yarn to the arm border and make 2 hdc stitches between every rib of the border. (145)
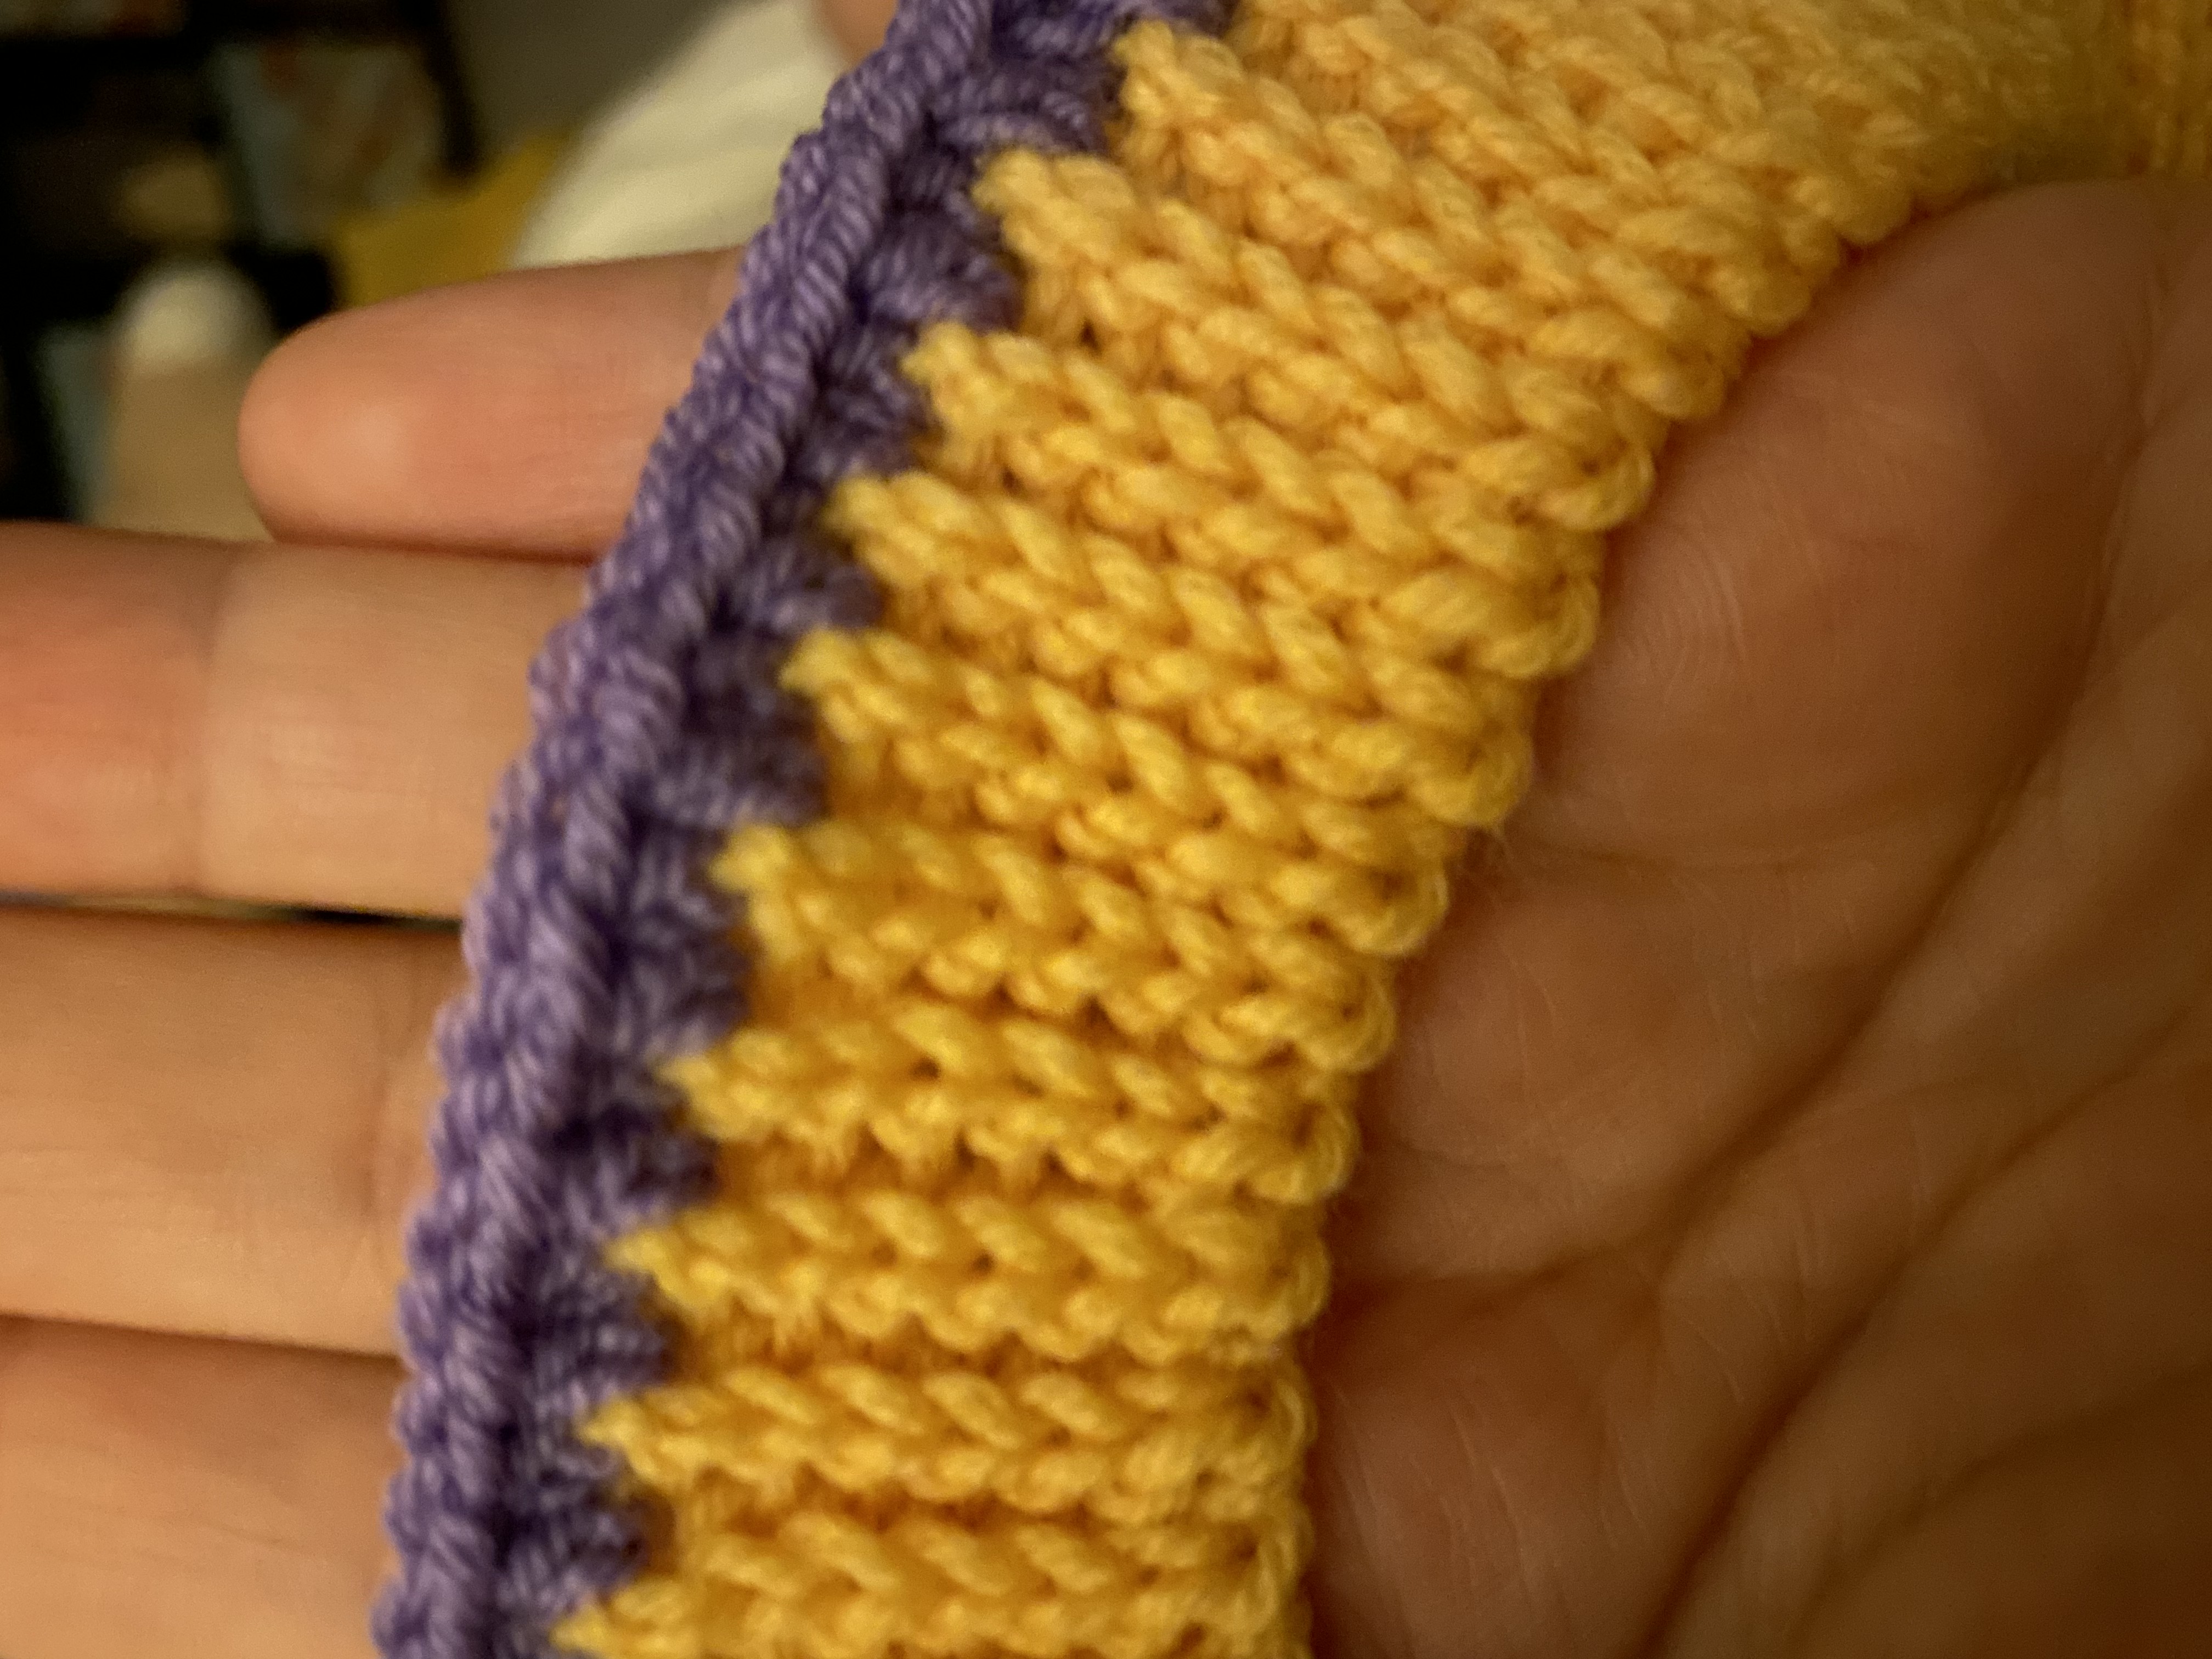
For the second round we continue the pattern of (hdc3, hdc2tog) through the entire round. (116)
Now crochet hdc along for 21 rounds. Finish your last round with sl st. You will have a total of 23 rounds.
SHOULDERS
To finish off the sweater, we have to join the body and the arm parts. After this we can crochet the shoulders all the way up. While working in the round, there is no real front and back. Now it is the time to look what parts you want to see on the front, and what parts you want to hide on the sides. By flattening the body part and place stitch markers at both sides, you created a ‘front’ and a ‘back’. We will keep counting rounds from the body segment on, so there is a total amount of rounds from the bottom to the top.
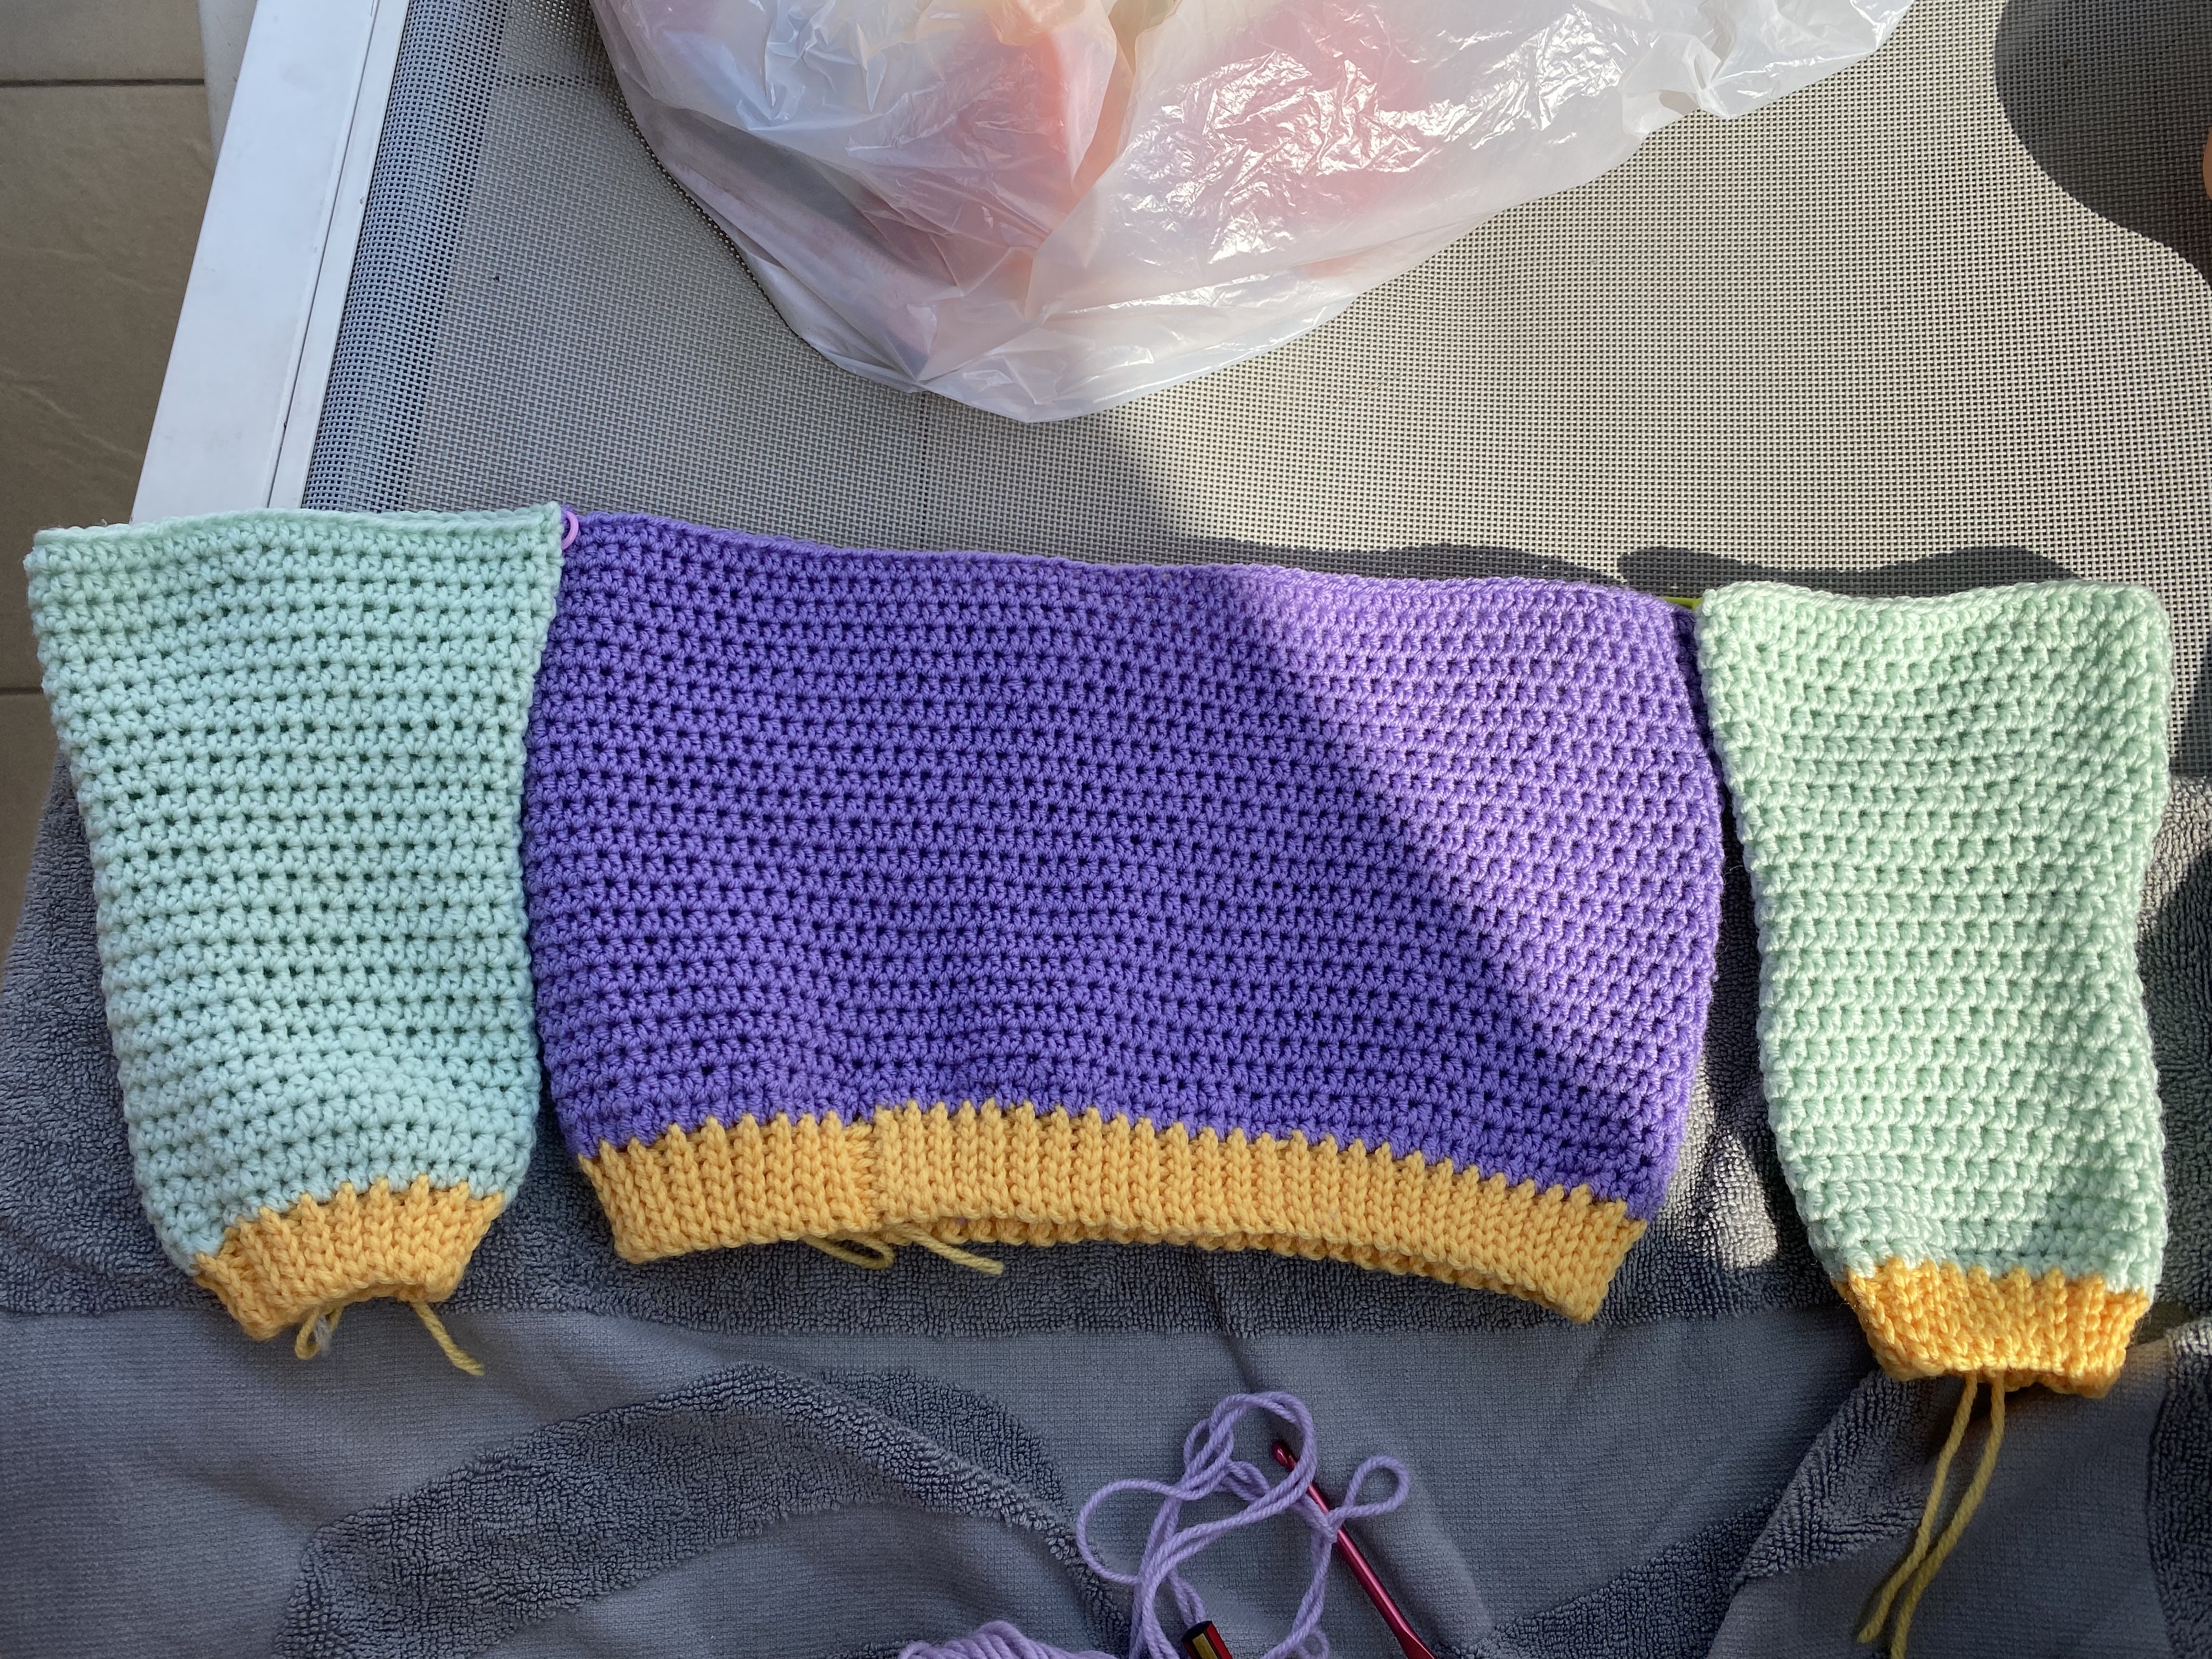
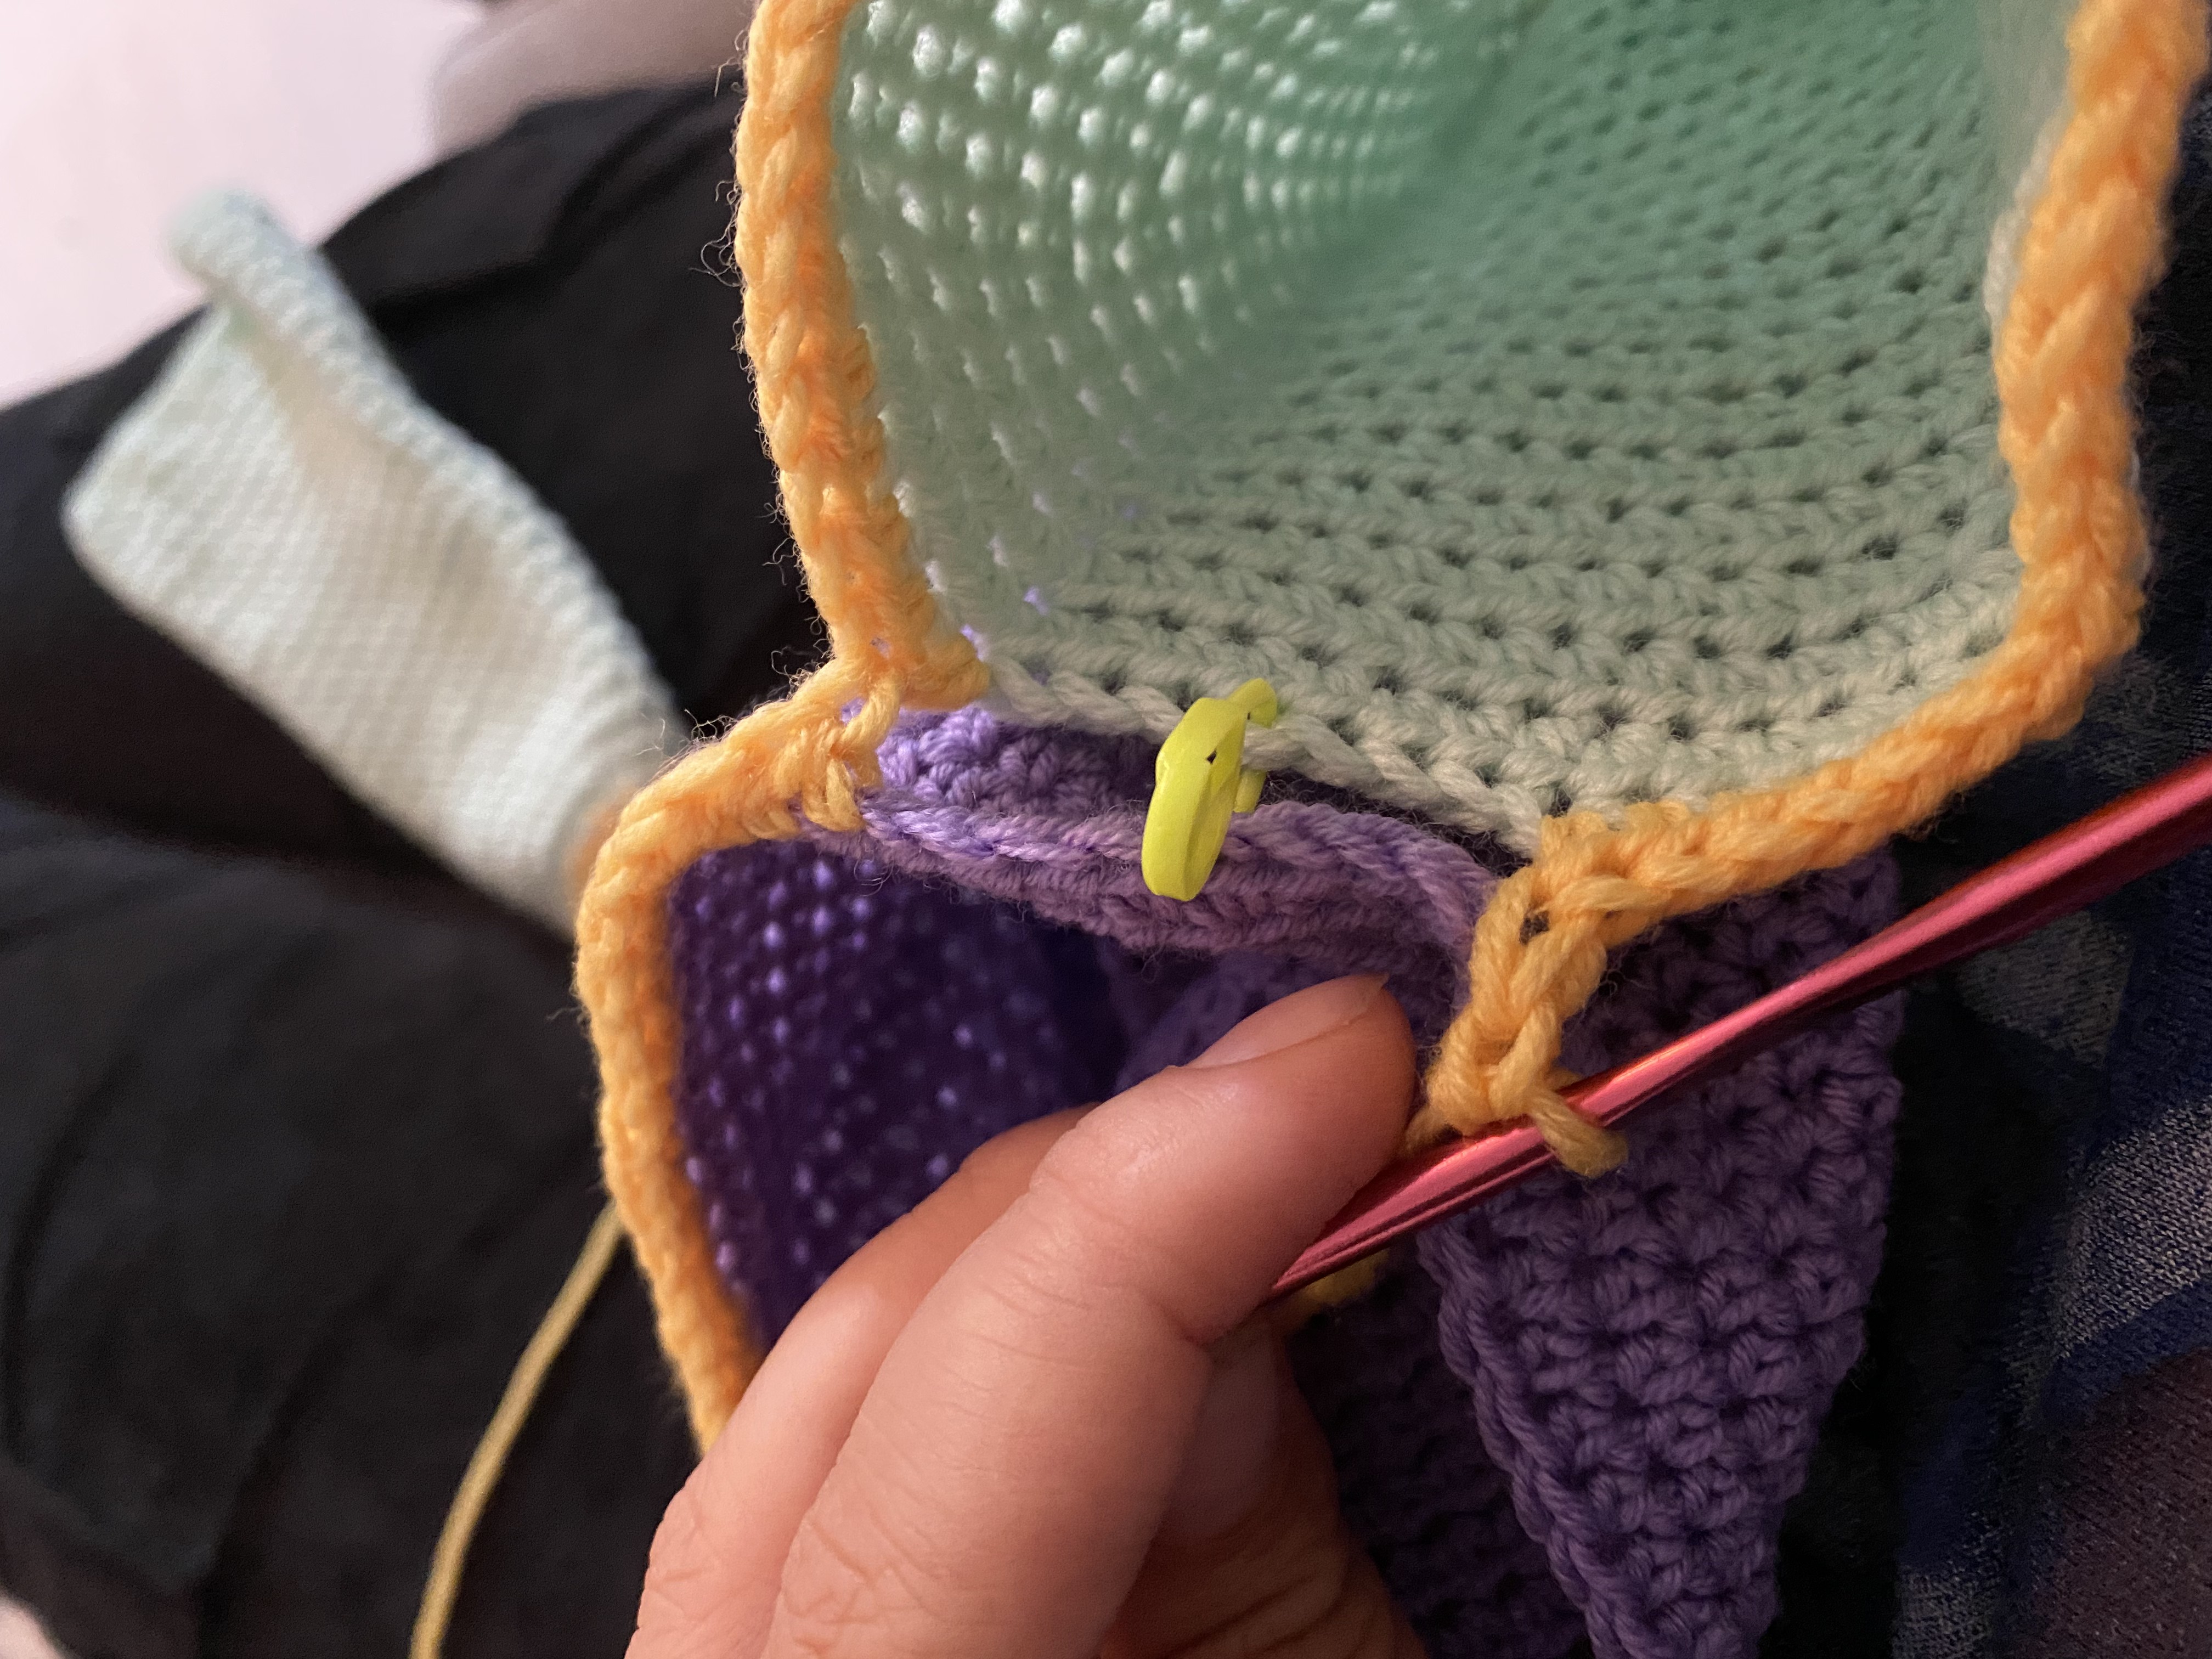
Rnd 24: Keep a stitch marker on the right side and Sk3 stitches, here you will attach your yarn(yellow). Hdc50 over the body part and switch over to the arm part where you make another hdc40. You switch back to the body skipping 7 st on the body part, these will be the armholes. Hdc51 on the body part and switch to the other arm hdc40 more. At the arm you also have left 7 st open. Sl st to the first stitch. Ch2. (181)
Rnd 25: Hdc in the first stitch and place a stitch marker. NOTE: These 3 yellow rounds in the middle will all be ended with a sl st at the end of the round. Hdc61, hdc2tog, hdc12, hdc2tog, hdc75, hdc2tog, hdc12, hdc2tog, hdc12 and finish the round with a sl st. (177)
Rnd 26: Hdc54, hdc2tog, (hdc11, hdc2tog) repeat 2 times, hdc61, (hdc2tog, hdc11) repeat 2 times. Hdc2tog hdc6, sl st. Ch2. (171)
Rnd 27-29: Switch to lilac and hdc around and keep crocheting around. Do NOT finish every round with a sl st.
In the next part we keep repeating the same thing. We reduce the amount of stitches every round by 8 in the first part, after that it goes a bit faster. I noticed while crocheting this sweater that you do not want the reducing all on the same line. Instead of a round neckline, it would become more angular. Switching up the stitches helps with that.
Rnd 30: Hdc2, Hdc2tog, (hdc20, hdc2tog) repeat 7 times. Hdc13. (163)
Rnd 31: Hdc8, hdc2tog, (hdc19, hdc2tog) repeat 7 times. Hdc7. (155)
Rnd 32: Hdc12, hdc2tog, (hdc18, hdc2tog) repeat 7 times. Hdc3. (147)
Rnd 33: Hdc4, hdc2tog, (hdc17, hdc2tog) repeat 7 times. Hdc11. (139)
Rnd 34: Hdc6, hdc2tog, (hdc16, hdc2tog) repeat 7 times. Hdc6. (131)
Rnd 35: Hdc10, hdc2tog, (hdc15, hdc2tog) repeat 7 times. Hdc8. (123)
Rnd 36: Hdc2tog, (hdc11, hdc2tog) repeat 9 times. Hdc4. (113)
Rnd 37: Hdc4, hdc2tog, (hdc7, hdc2tog) repeat 11 times. Hdc8. (101)
Rnd 38: Hdc2tog, (hdc6, hdc2tog) repeat 12 times. Hdc3. (88)
Rnd 31: (Hdc17, hdc2tog) repeat 4 times. Hdc11. (83)
Rnd 31: Hdc3, hdc2tog, (hdc6, hdc2tog) repeat 9 times. Hdc6 and finish with a sl st. Fasten off. (73)
Your sweater is almost finished. You need to sew the armholes together and attach the border for the top. I used a wool needle.
In the following pictures you can see how I sewed the top border on. (1) Stick your needle through 2 stitches. (2) Go under the edge and the rib. (3) Go under the edge again. Repeat this 3 steps and your border will be stuck in no time. The border will have fewer stitches than the stitches on the neckline of the sweater itself, so sometimes you need to stretch the border a bit and skip some stitches on the sweater.
I hope you enjoyed making this sweater! For any more questions, please comment below or contact me.


