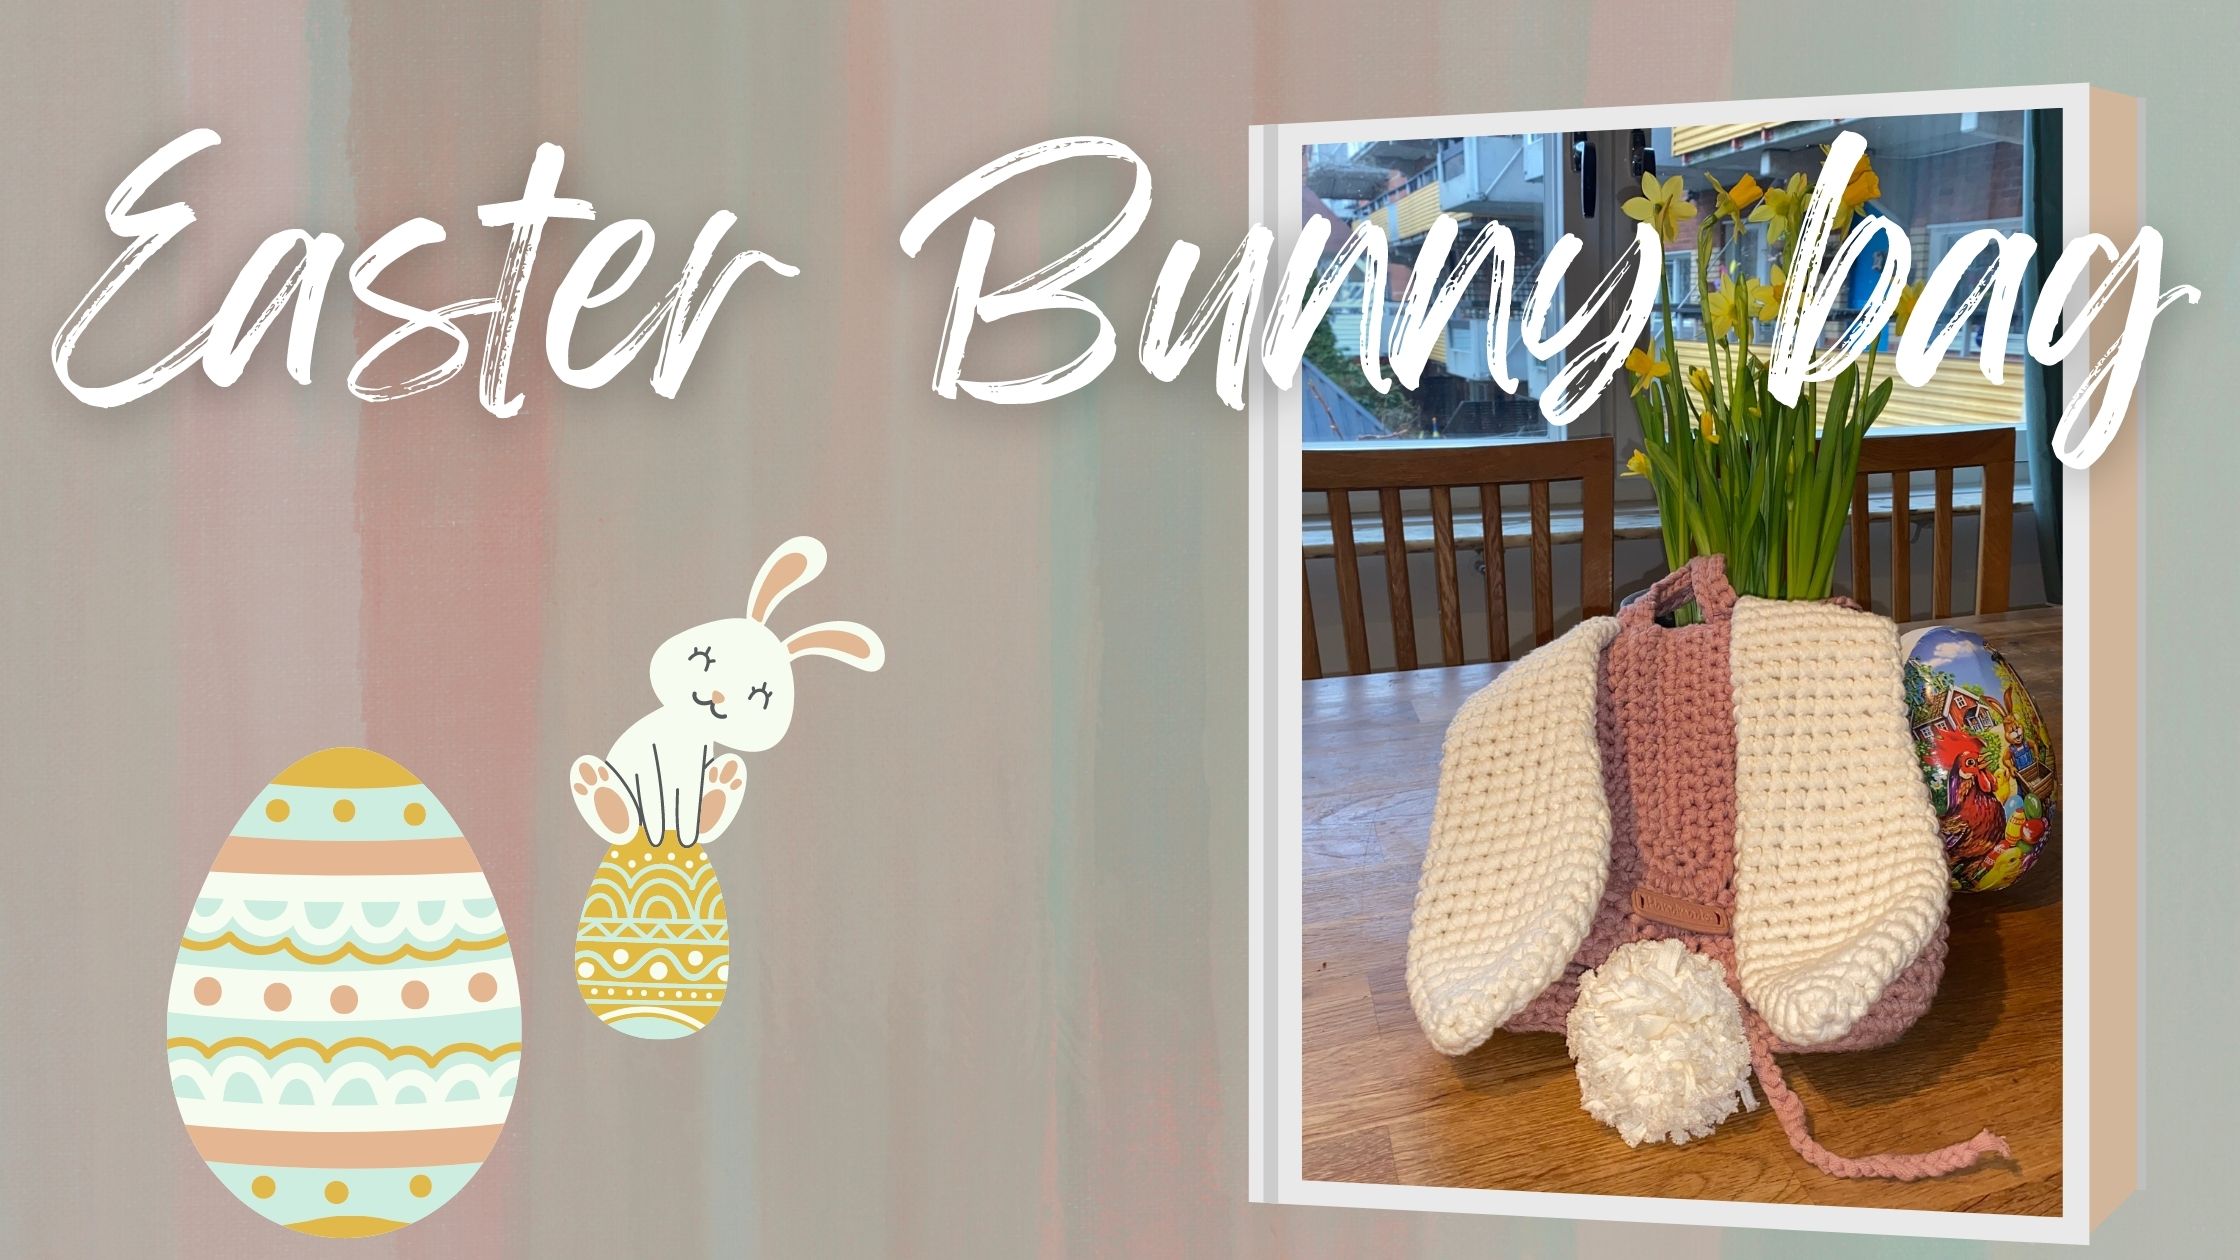
The Easter Bunny Bag
Posted on April 10, 2022
5 minutes
971 words
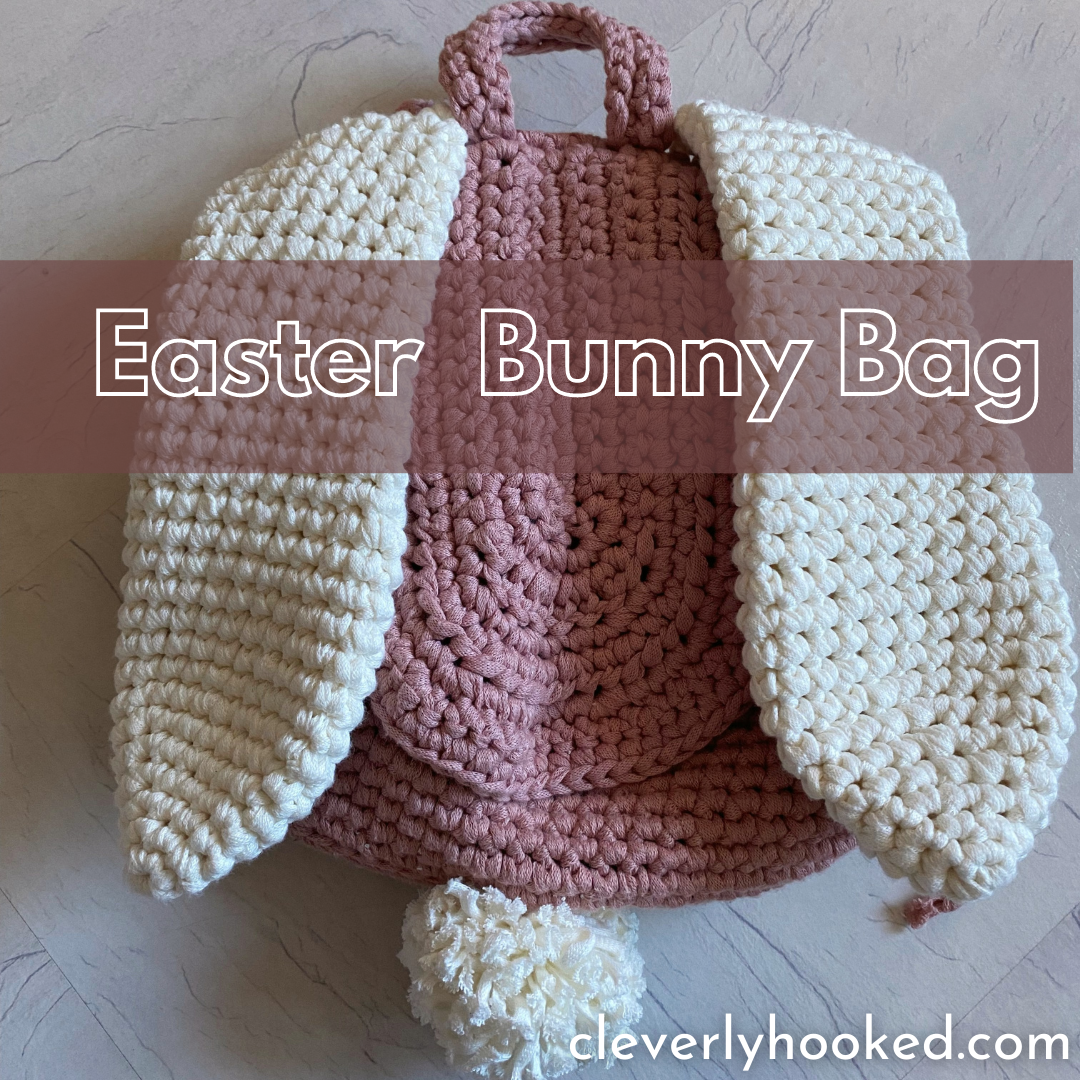
Here we are! My first blog post… Exciting!! Well at least for me, I hope you will find it as exciting to read my blog posts as it is for me to write them. I am very excited to start my journey of blogging and to be learning as I go along. As my first blog post I wanted to share the latest thing I have been working on: an Easter Bunny backpack. But in my opinion, bunnies are welcome all year!
Spring is coming, well if you can call it spring when the temperature dropped to -2°C (28°F) and there is a display of snow every morning on your doorstep. I’m happy for the kids when they can have a last moment of feeling the snow through their fingertips one last time (hopefully), before everything warms up and they can have the enjoyment of summer and all that brings.
Spring means that it is almost Easter and that my eldest girl has her birthday very soon. I start to see Easter bunnies, eggs and a lot of sweets everywhere. As a family of different nationalities, there are different tradition during holidays. In Sweden, it is tradition to hide a hollow egg filled with all kinds of sweets. These eggs vary from sizes, from almost normal egg size to huggable egg sizes. I never really took part in this tradition yet, mainly because our kids were way too young for that amount of candy. But I do like the look of Easter bunnies, especially on cute little human beings. When I was searching for new inspiration and things to create for my girls, I came across bunny bags and thought it would be the perfect present. And wouldn't it be the cutest to have small bunny collecting eggs?
I found it difficult to find a pattern that fitted with all the images I found of the bag online. I ended up finding the pattern from #ravelrobincrochet on Ravelry. This is an amazing free design which you can get here. Mostly when I crochet (just like when I cook) I try to follow a pattern or a recipe, but end up adding a bit here and there. Just to give my own twist to it. Sometimes on purpose and sometimes accidental. Which leads me to the finished product I wanted to share with you today.
I used the yarn Ribbon from Hobbii.se in the colors old pink and natural white. This yarn became quite fast one of my favorite yarns to work with for all different projects. It is mainly wide cotton, and it is usable for all kind of home products, like baskets, oven mittens, table runners etc. It also works perfect for bags. For this project I used crochet needle of 7 mm, which will be size 2 in UK and between size K and L for US. The difficulty level for this pattern is, I would say, beginner. The bags main stitch is single crochet. Yes, you do need to know how to increase and reduce, but if you figure that out it is mainly following the pattern without a lot of difficult new stitches.
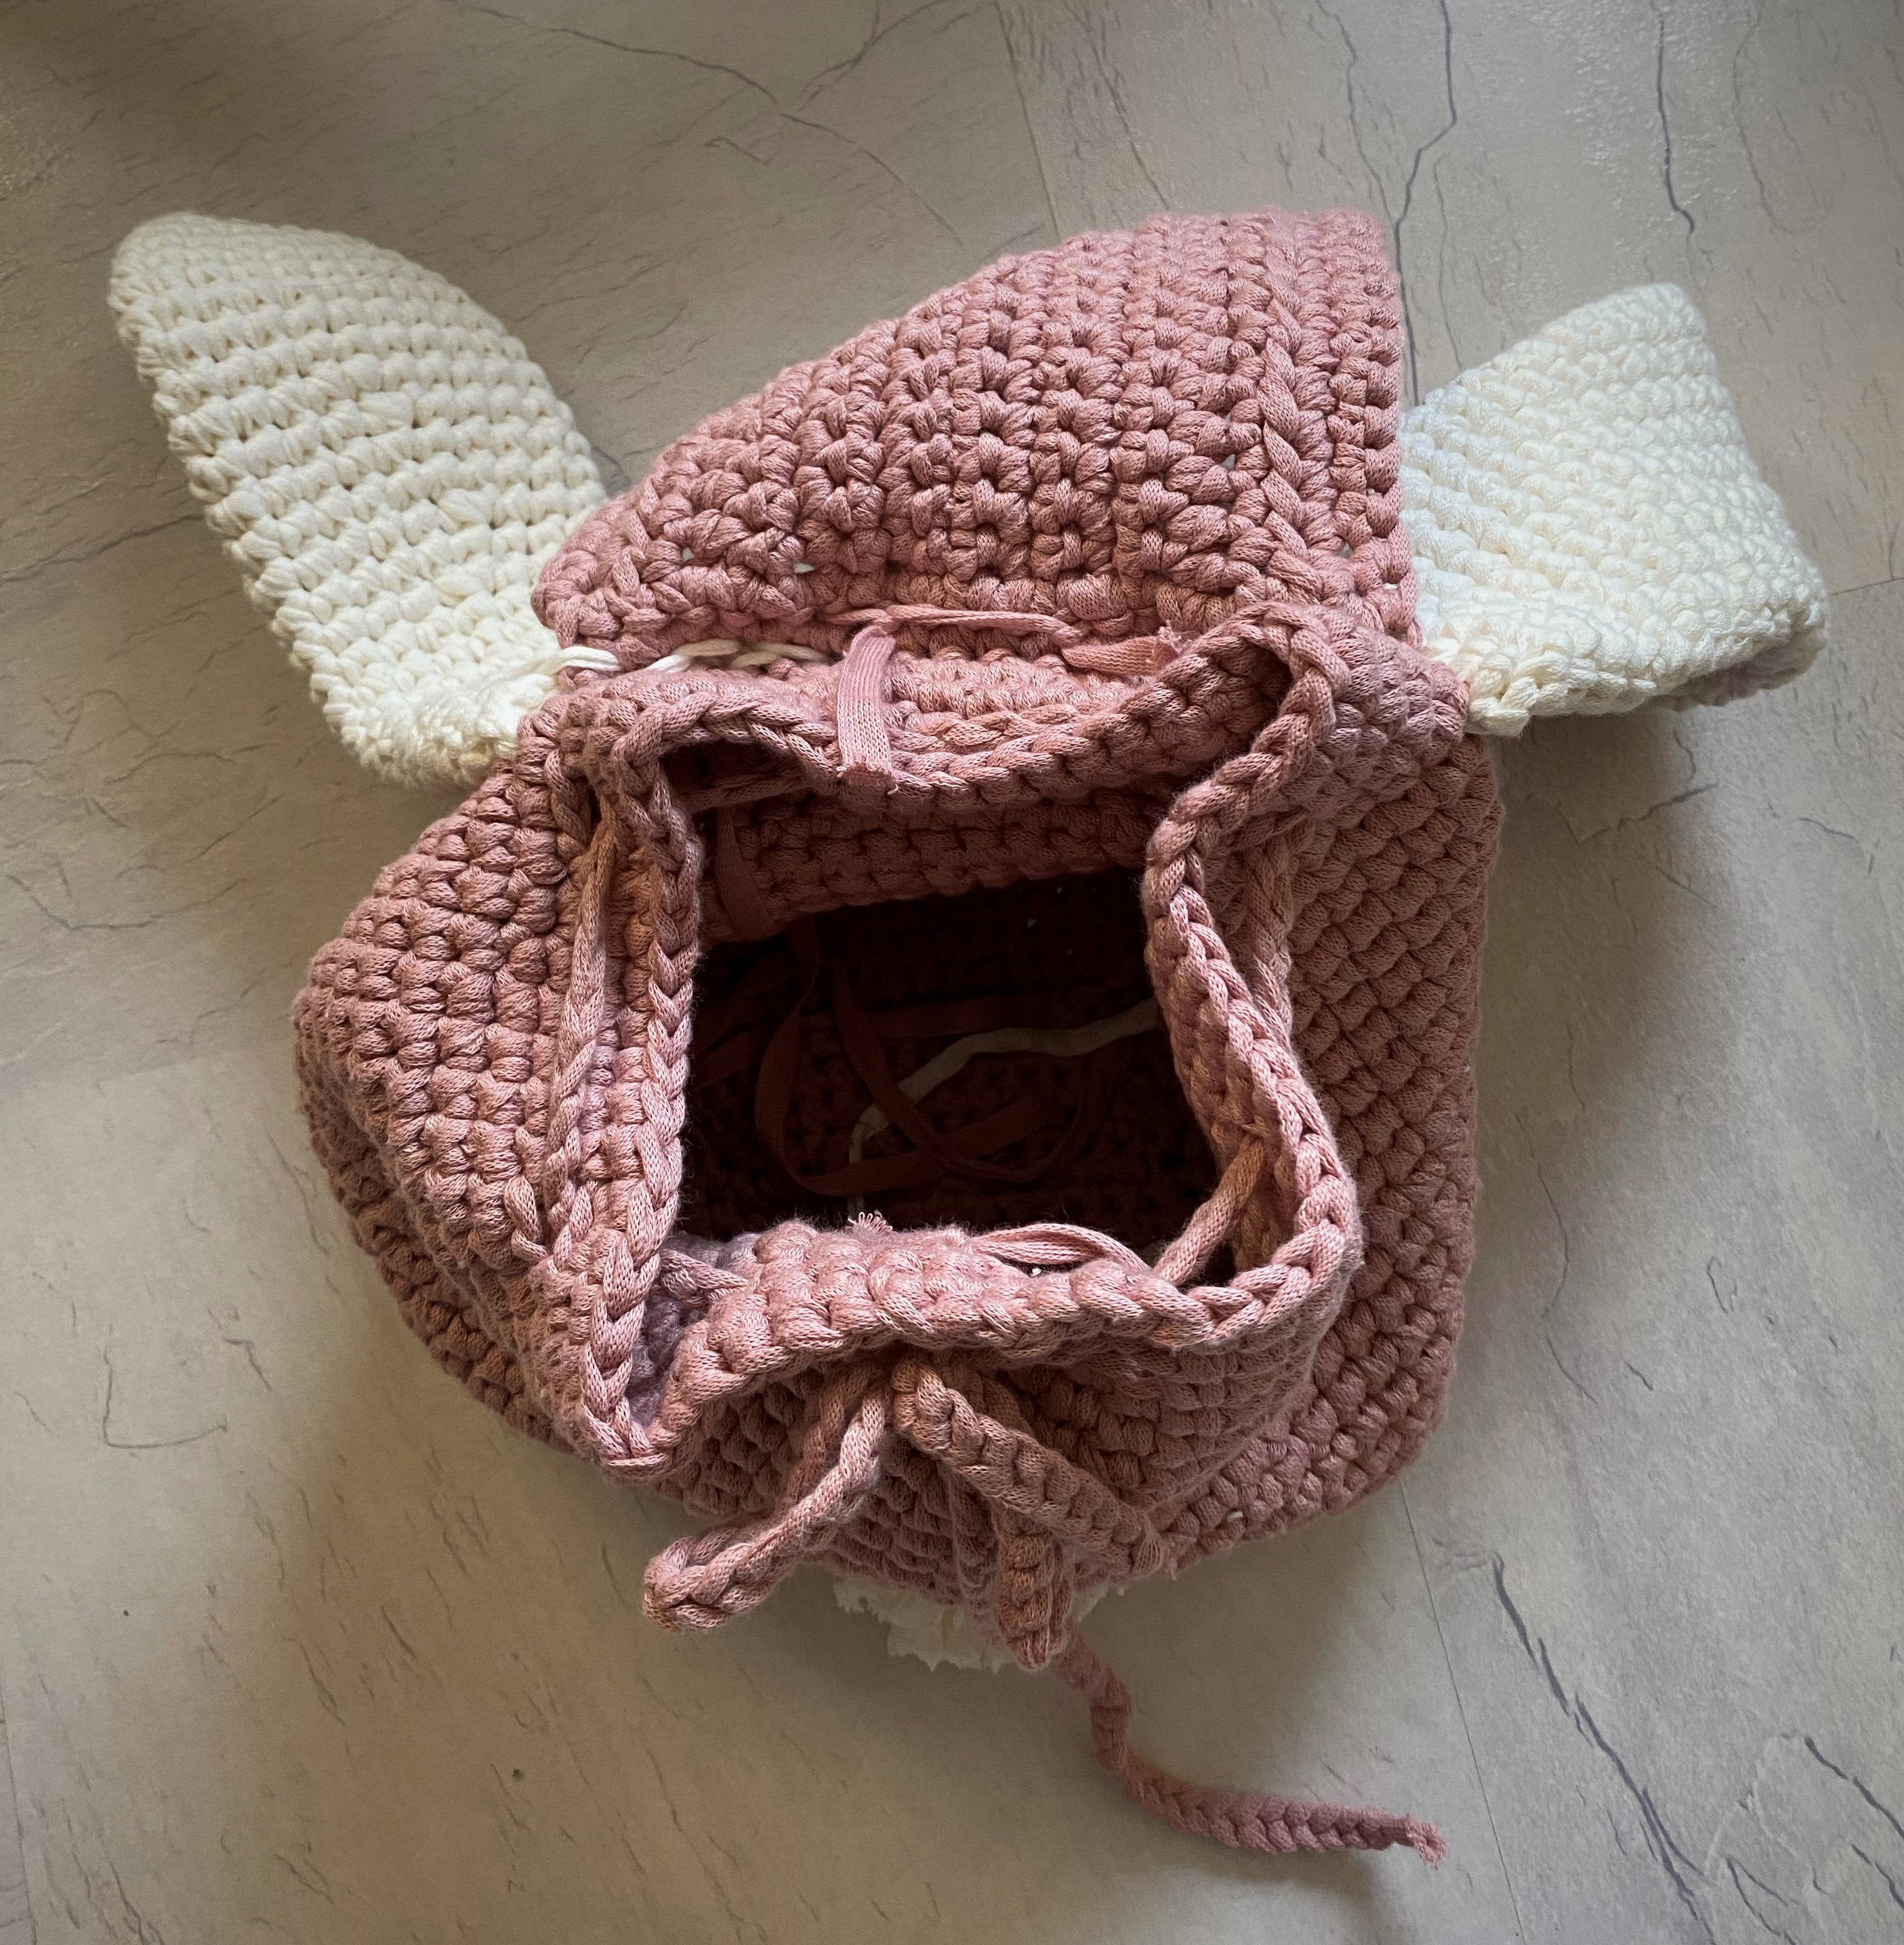
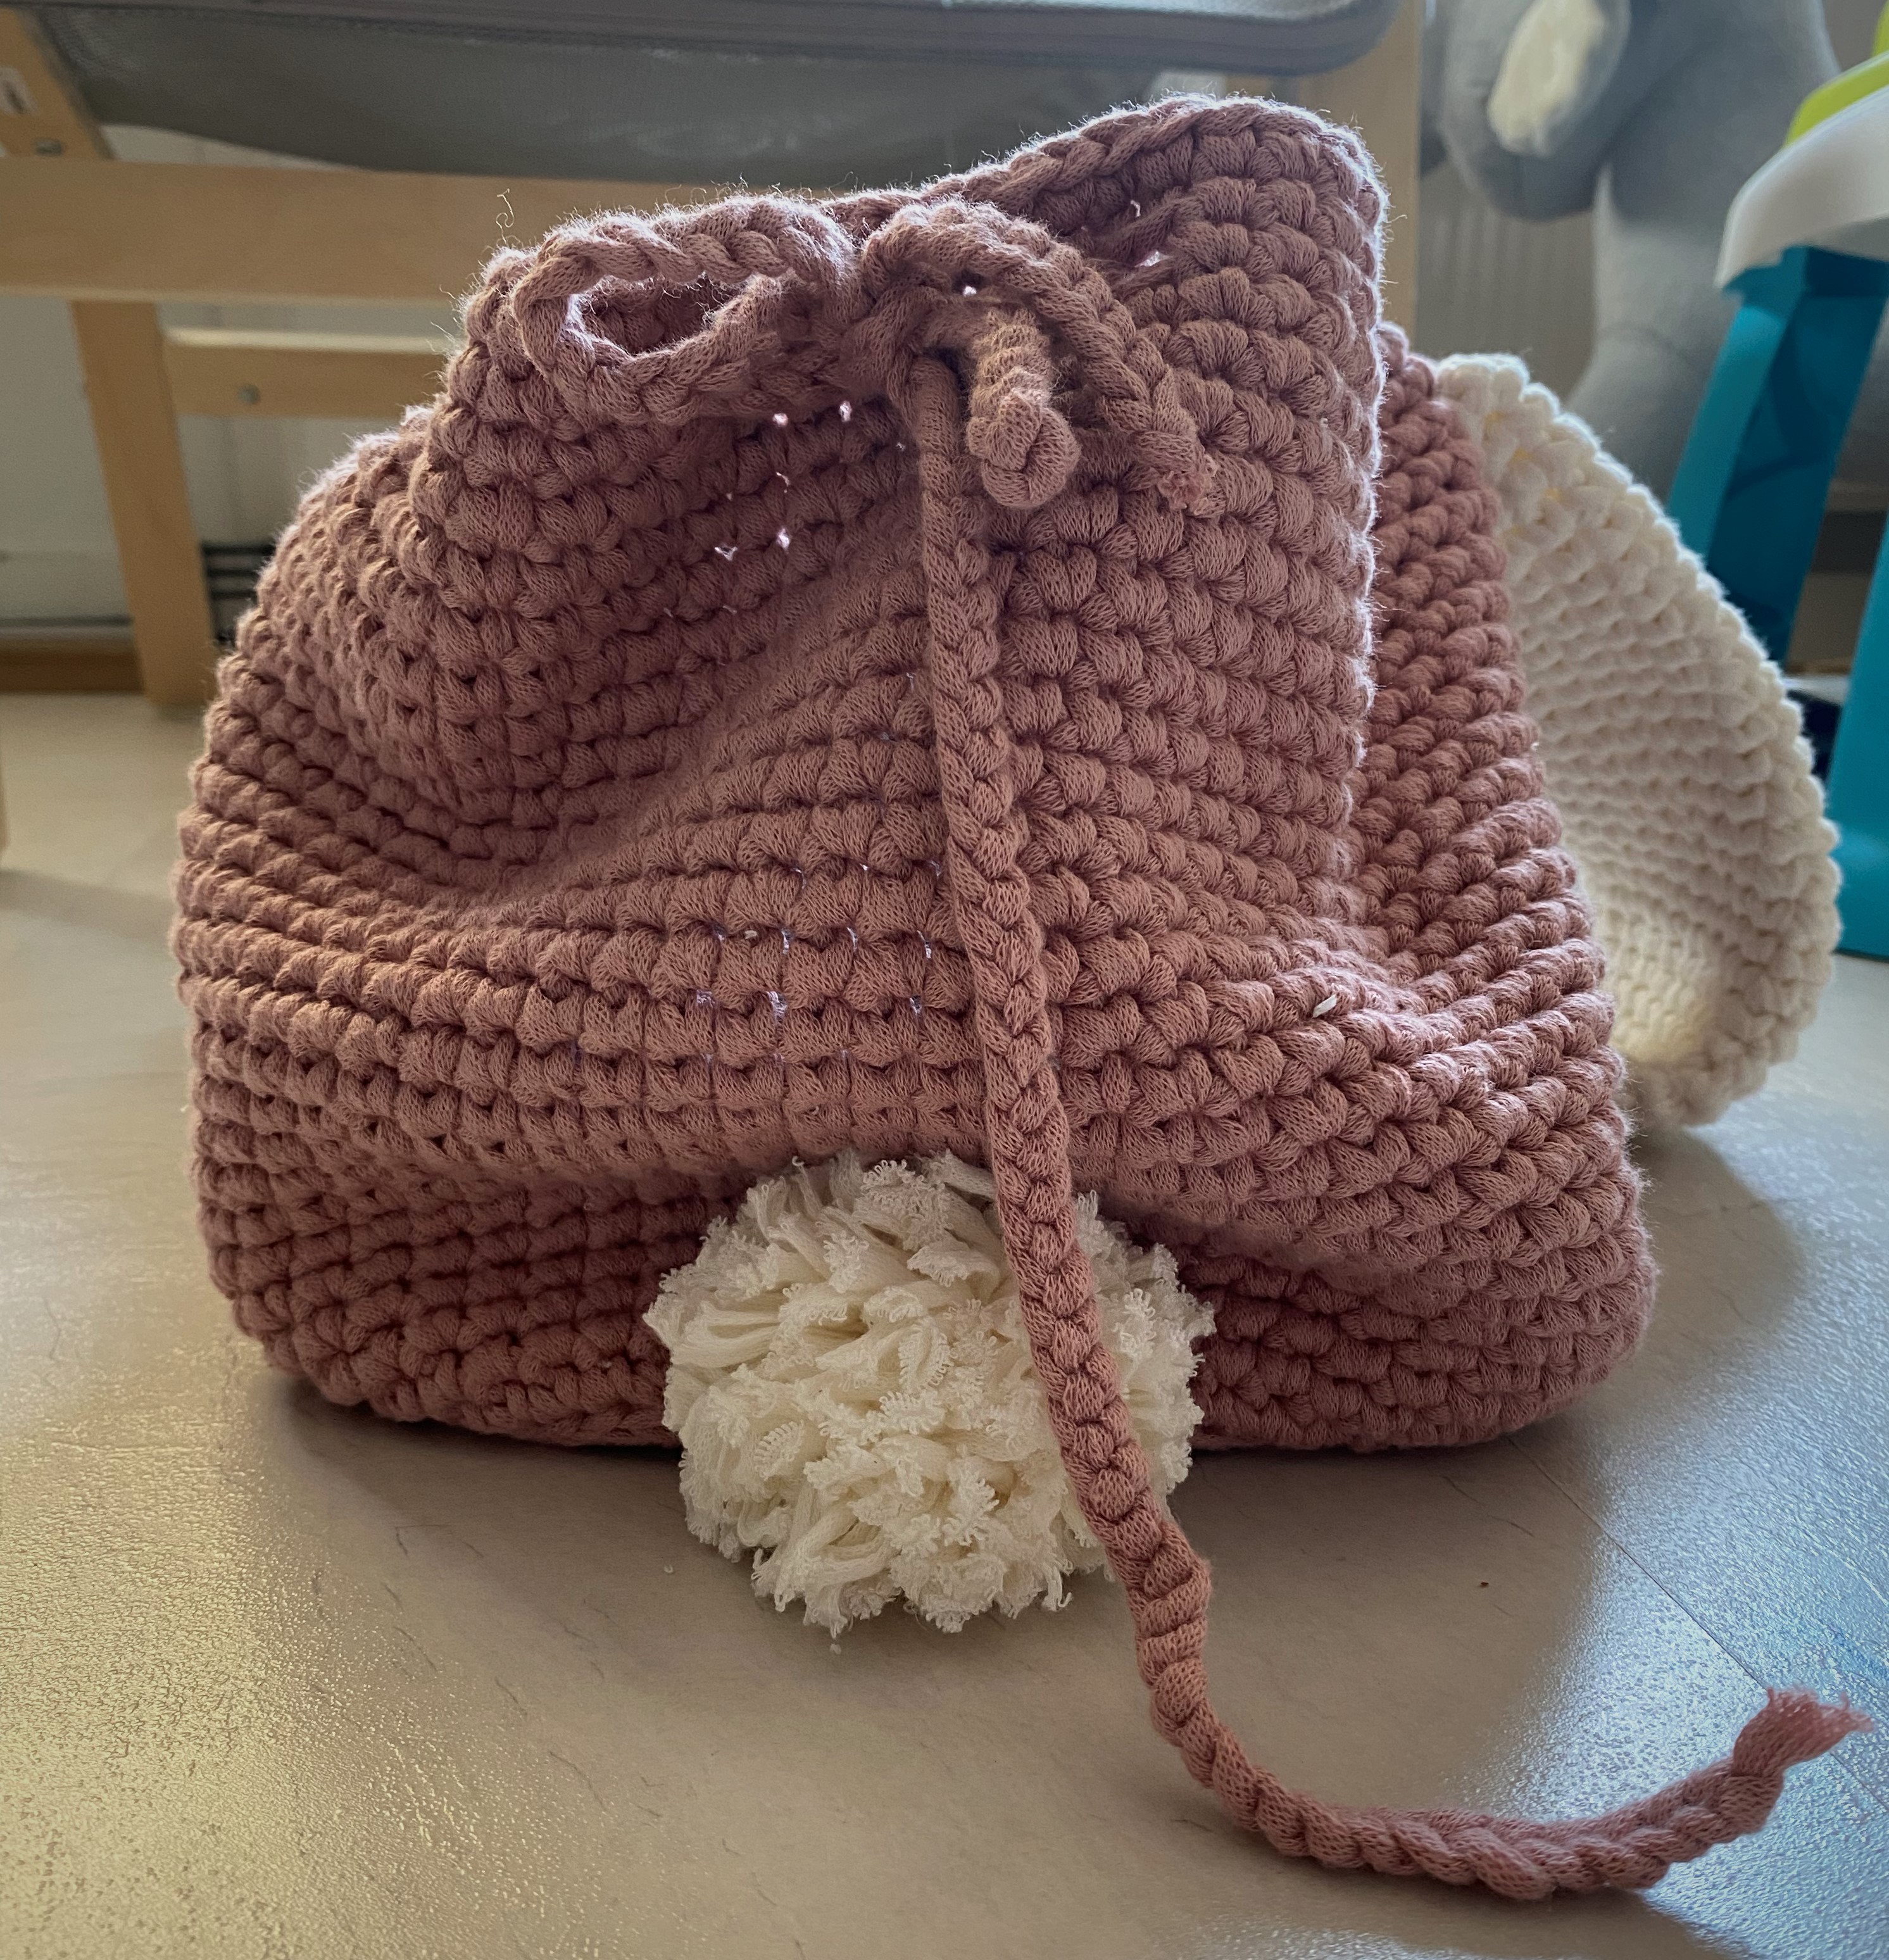
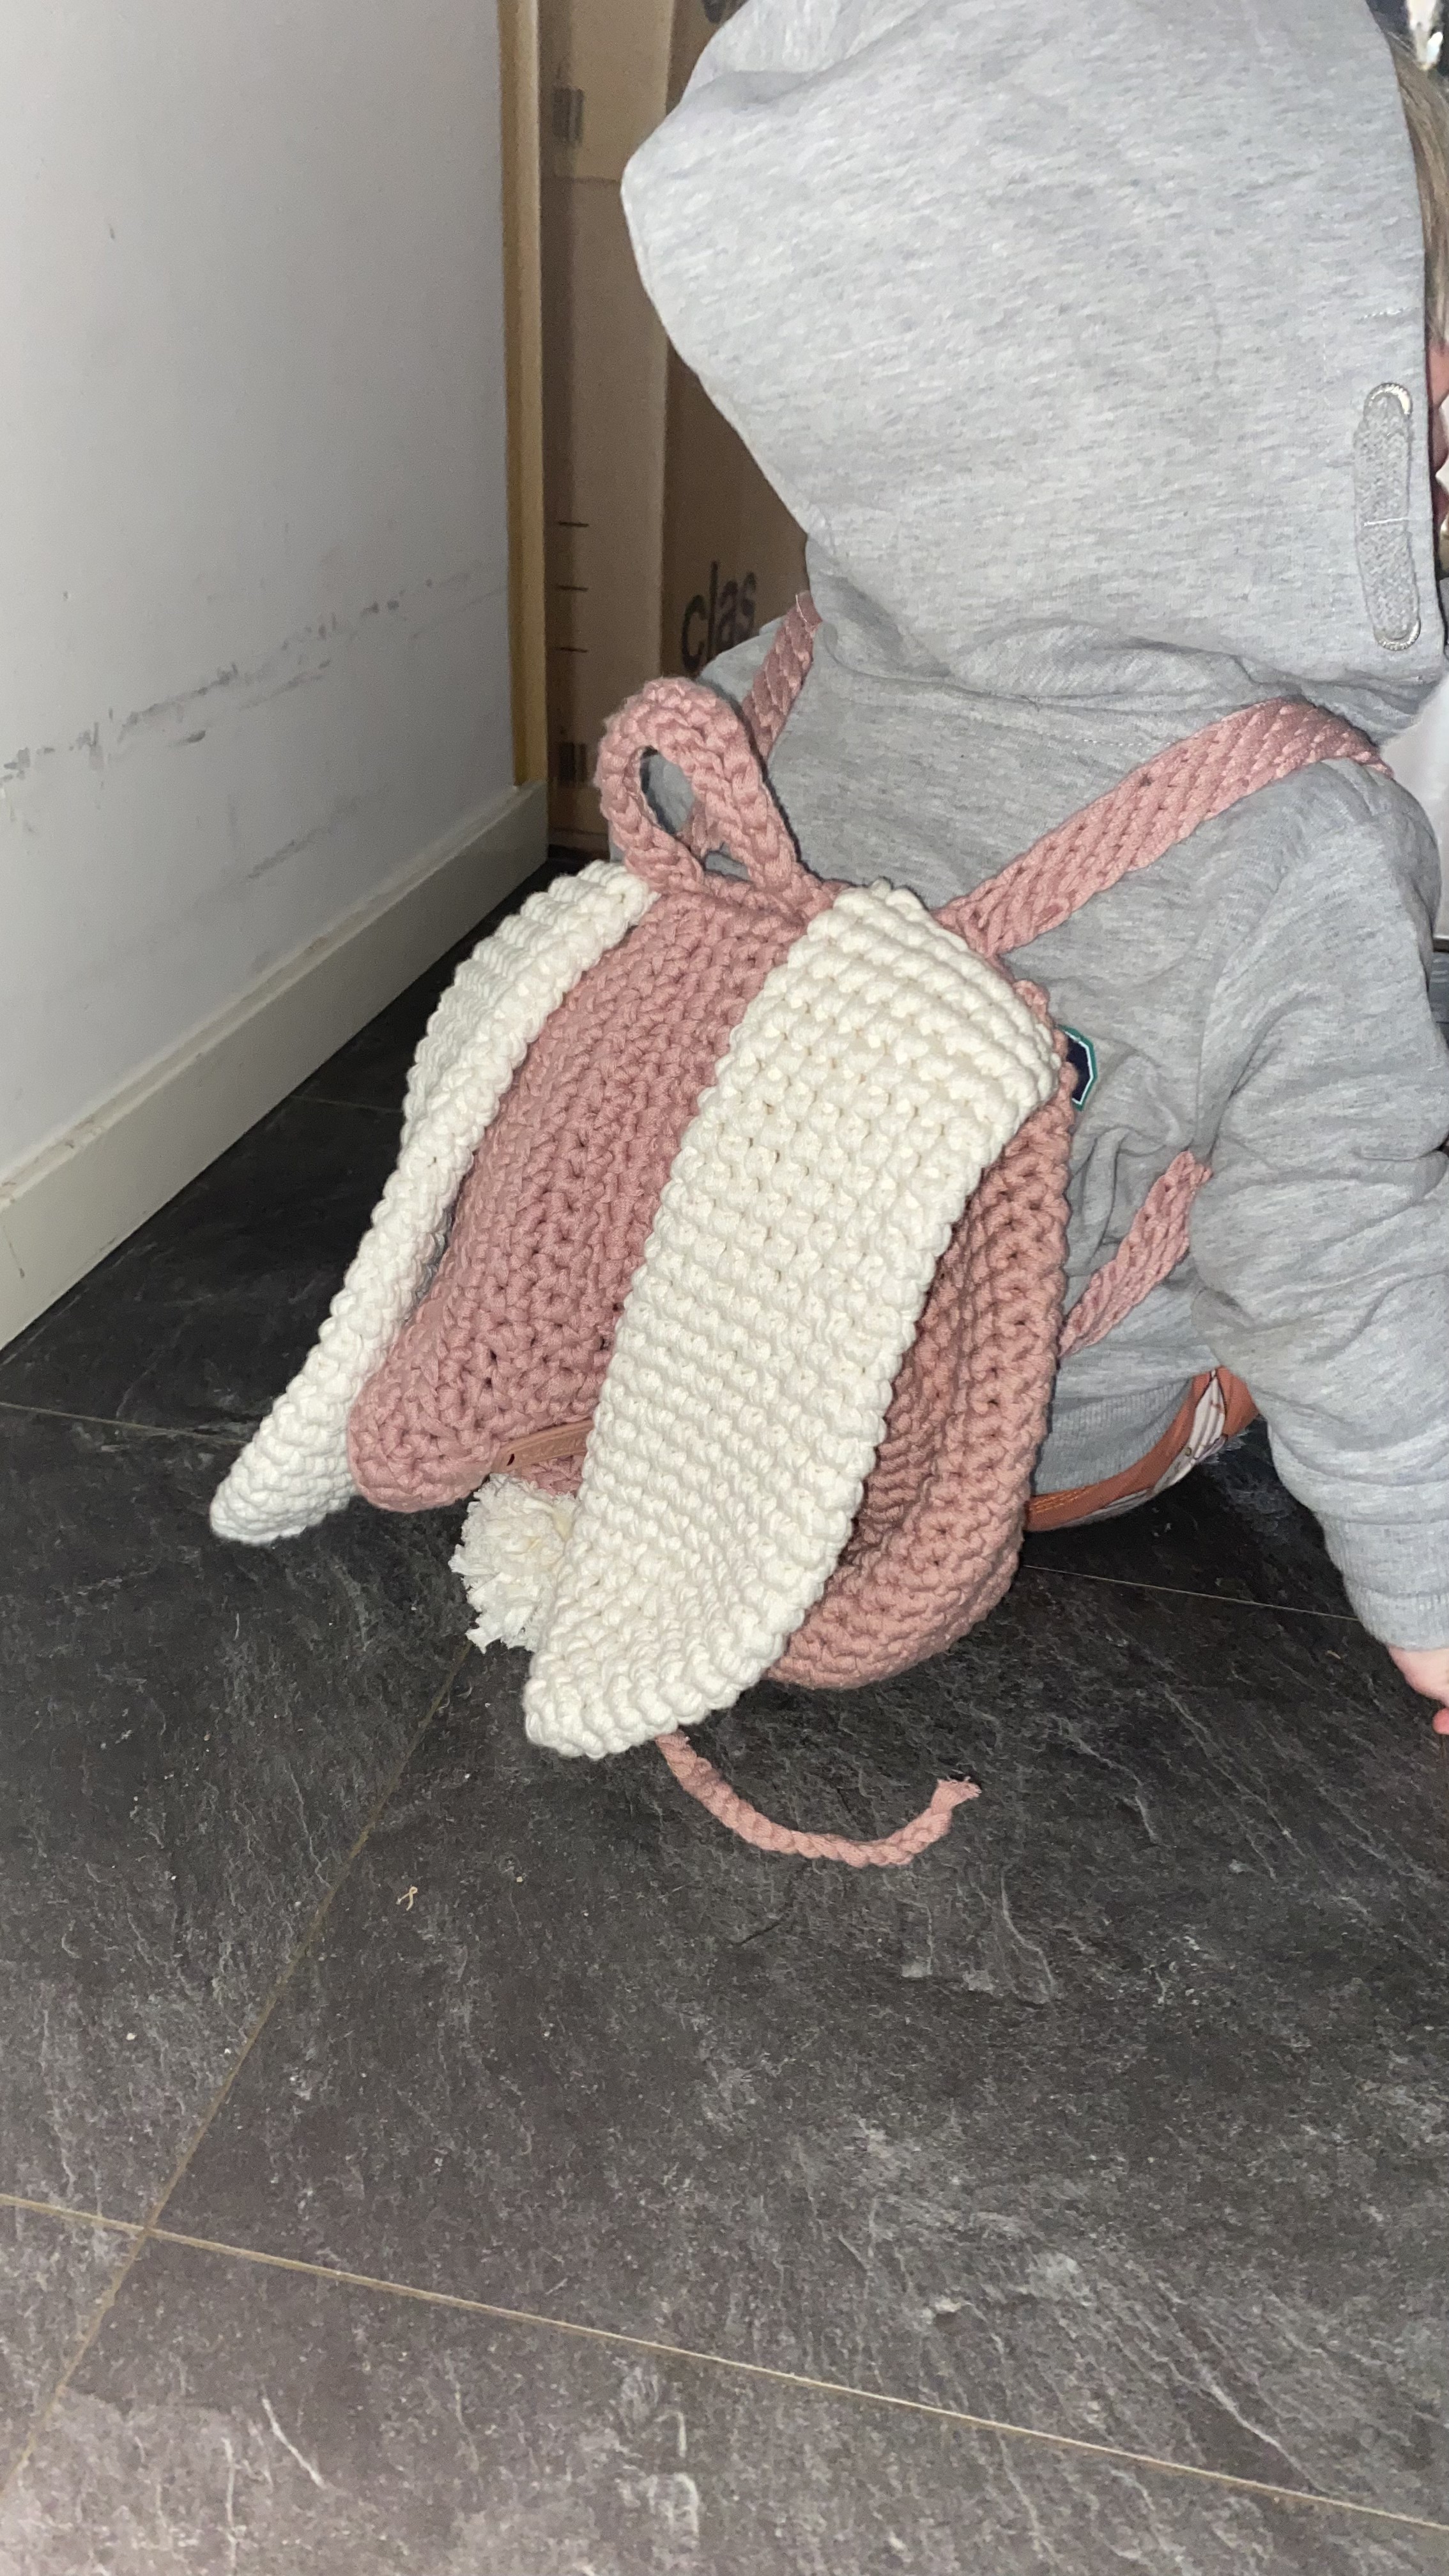
I have some requirements of backpacks that I think all backpacks should have. The backpack should have a flat base, where I can put all the things straight in, with a less chance of everything falling together. I really dislike it when I try to pack a bag neatly and the moment when I lift it up, it all falls through each other. The backpack also needs to be big enough to hold a water bottle. When I am out with my kids, there will be always a time when they want something to drink and to eat. I want to encourage my daughter that she can bring those things herself in her own backpack. So the backpack I made has a flat bottom and I added some rows in the main bag section part, so it would be big enough to hold a water bottle. I also chose to use a different technique to make the straps for the bag.
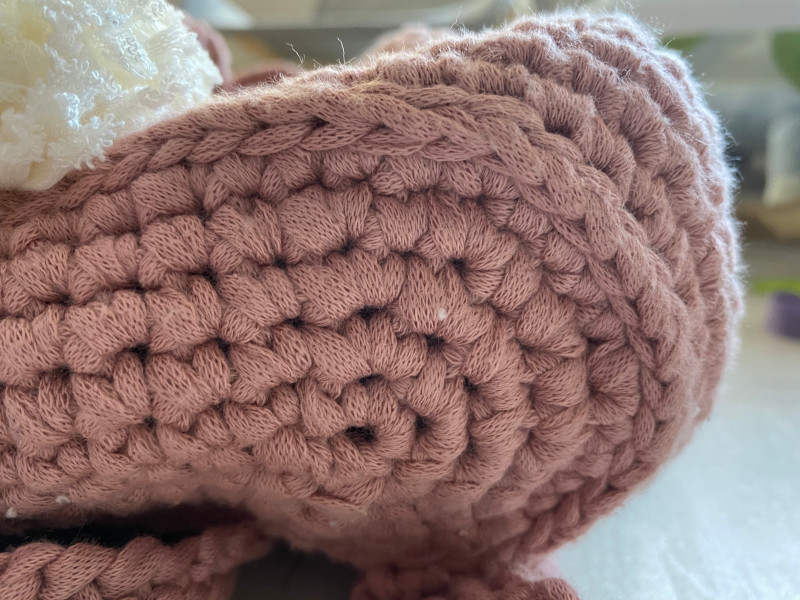
To make a flat base, you add a row of slip stitches before going to the body of the bag. This adds some structure and sturdiness, so your bag will be able to stand up straight. Perfect for when you are packing. When you follow the Ravelry pattern of the main bag section, after round 5 which indicates the end of the base, you just simply add an extra round of slip stitches. Simple as that. Then you keep crocheting follow the original pattern.
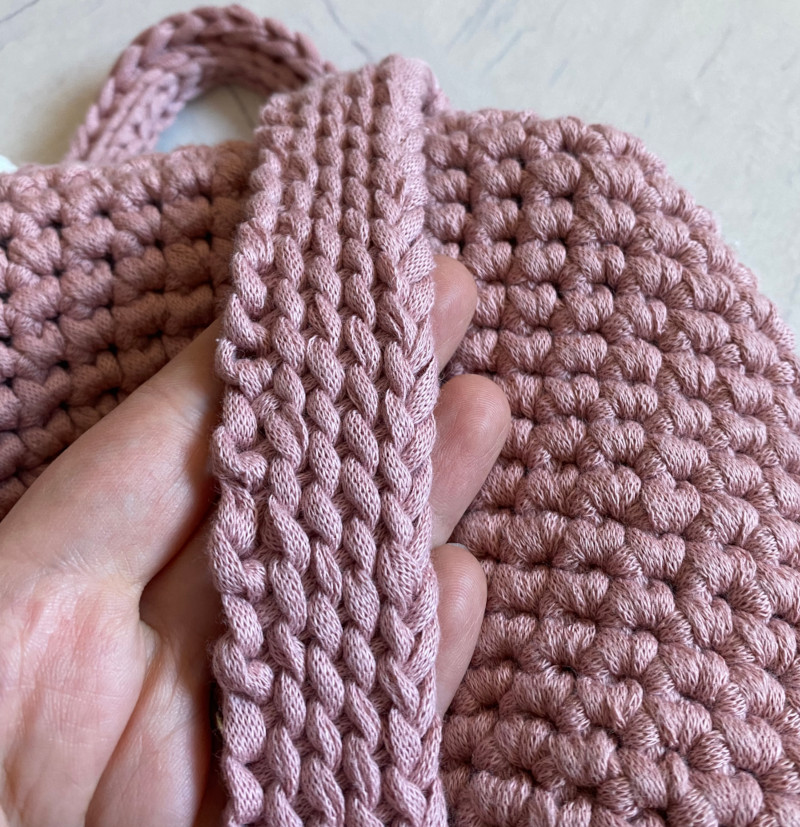
For the straps I used a Tunisian crochet technique. To be honest with you, I also did find this one on Pinterest. But hey, you have to start somewhere with creating, and I like to be inspired by other people. Crochet Kingdom shared a video tutorial on how to make those straps. Thank you #crochetkingdom for sharing this pattern.
NOTE: Trying this Tunisian crochet technique out for the first time, I tried to crochet it a bit on the looser side. This made it easier to pull up to loops between the previous loops. This, however, will also give more spring to your strap. So if you want a nice trap without extra spring in it, I will suggest you try to keep it on the tighter side.
I hope that it was fun to read and maybe even inspire you to make your own bunny bag, during Easter or after. If you decide to make the bag or if you have any questions, I would love to hear from you.
Happy Easter everyone!
