A Toddlers Sunhat
Posted on July 19, 2022
8 minutes
1527 words
Every fall I take out my yarn and think of new winter hats for the girls. I often like projects like hats, because they can be so fast to make, and you can enjoy it for the whole winter. If they wear it or not is another question, because all ‘other’ hats are a lot more interesting. I mean, why would you like to wear things that are actually yours? Kids logic right? I do, however, understand a part of it. It is nice to try out new things out and children are always out to explore more and more! So… the more hats, the better it will be!

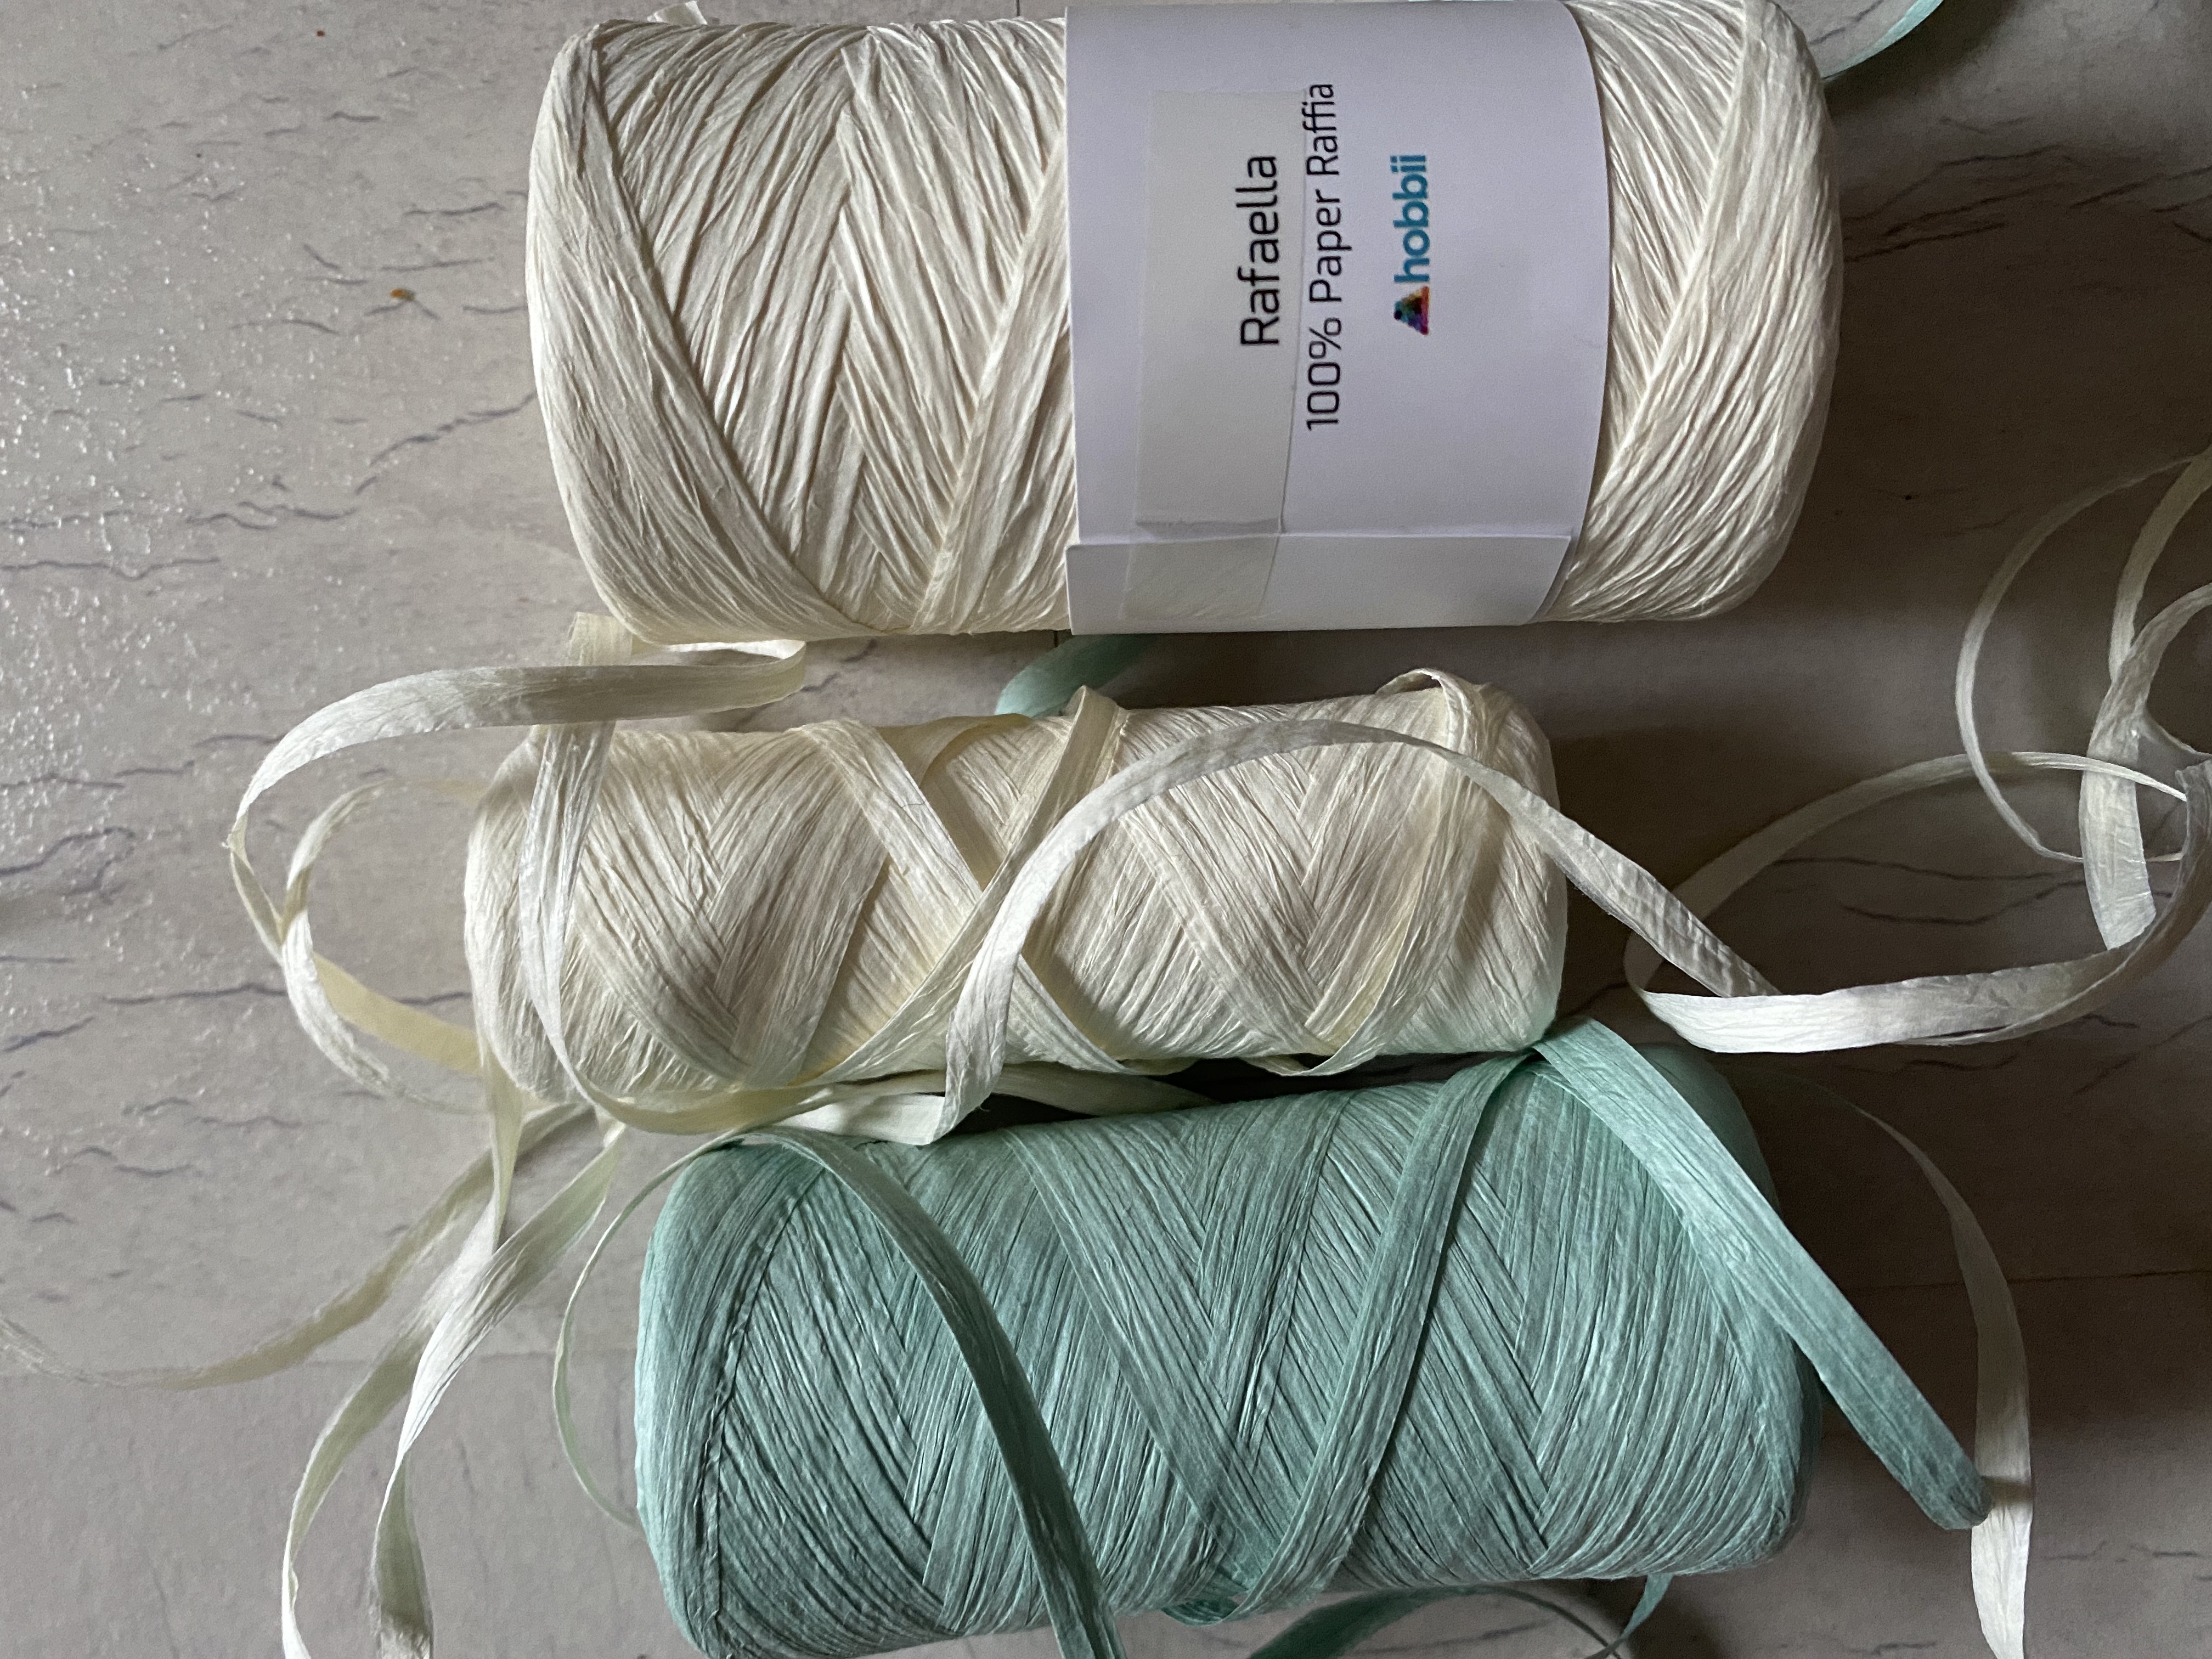
In Sweden, it is most common to cover up your kids in the summer. If you go swimming, UV clothes are preferred and when the sun shines, they should be wearing caps or sunhats of a sort. So, while I was preparing for the summer and summer hats were needed, I thought: “Why wouldn’t I try to make my own sunhats this time?”. My first idea was to make them out of cotton; it washes well, doesn’t itch, and it is not warm. Perfect for summer! But then I came across this yarn made out of paper raffia, it reminded me of all the straw hats I always see on vacation. I remember one very hot day in Pompeii, and we were not prepared enough to challenge the sun. Pompeii is a place where there are a lot of walls, but not many ceilings, at least where you can go in. Good luck finding some shade there in the middle of the day! Luckily there were some shops nearby the station that sold summer sunhats. I think I’ve never been so happy to have a hat on my head. If you are ever close by, take the chance to visit Pompeii. It is really a must-see. But that is a different story. I chose to give the paper raffia yarn a try. I like to try out new things, and paper is also a lot more sustainable than cotton. My experience with this yarn was quite positive for this kind of purpose. It is surprisingly strong and also gives a stiffness to your project that cotton would not give. It is still possible to fold it to make it easy to bring in your bag or when packing your suitcase for a vacation trip. Please do not forget that the yarn is basically made out of paper, so it doesn’t go that well with water. It can handle some splashes, but I would not recommend using it by the pool. The paper raffia yarn does have a rougher feel while working with it, so it takes a bit more strength to pull up loops and your hand get tired faster. At least mine did. The yarn itself makes me think a bit of ribbons. I guess if I have some left over and cannot find another project to use it for, I can always use it to make some nice presents.
My kids have very different size heads. Yes, of course there is an age difference, but the oldest has a relative big head whereas the younger one has a relative small head. I never know what sizes to buy for them. So, when I make hats for them, I use them as reference. They don’t always like all the fitting and measuring, but sometimes they enjoy the game and are always very proud when mommy made something special for them. My eldest daughter who is 3 years old tells me now, whenever I am crocheting, that she wants to crochet too and want to make a hat for mommy. So all in all it must have been a good experience.
Originally I wanted to add a pattern on how to size this hat for your toddler. But, to be honest, I am not really there yet. I like to create and design things, but I still have to learn how to design for different sizes and make accurate patterns accordingly. I hope I will get there someday, but for now I like to share with you a description of how I made my sunhats. Of course, if you are eager to make this toddler sunhat, and have questions, I am very eager to help, and you are always welcome to leave a comment or contact me.
The sunhats have a very basic crochet foundation. It is the same idea as when making a beanie. You start with crocheting a flat circle by crocheting in the round and increasing every round. I started with 8 stitches in a magic loop, so I had to increase every round 8 stitches. When you reached the desired diameter for your hat, you stop increasing. Note: Keep in mind that the hat will still increase a bit in diameter while working the height. Keep working in the round until the desired height is obtained. My toddler sunhats stopped right above the ear. The base of the hat is finished, now a brim to actually block the sun. You make a brim by crocheting the next round only in the front loop of the stitch (FLO) while increasing again. After this you keep increasing like you did before (in my case, 8 per round) until you have your desired brim width of the hat.
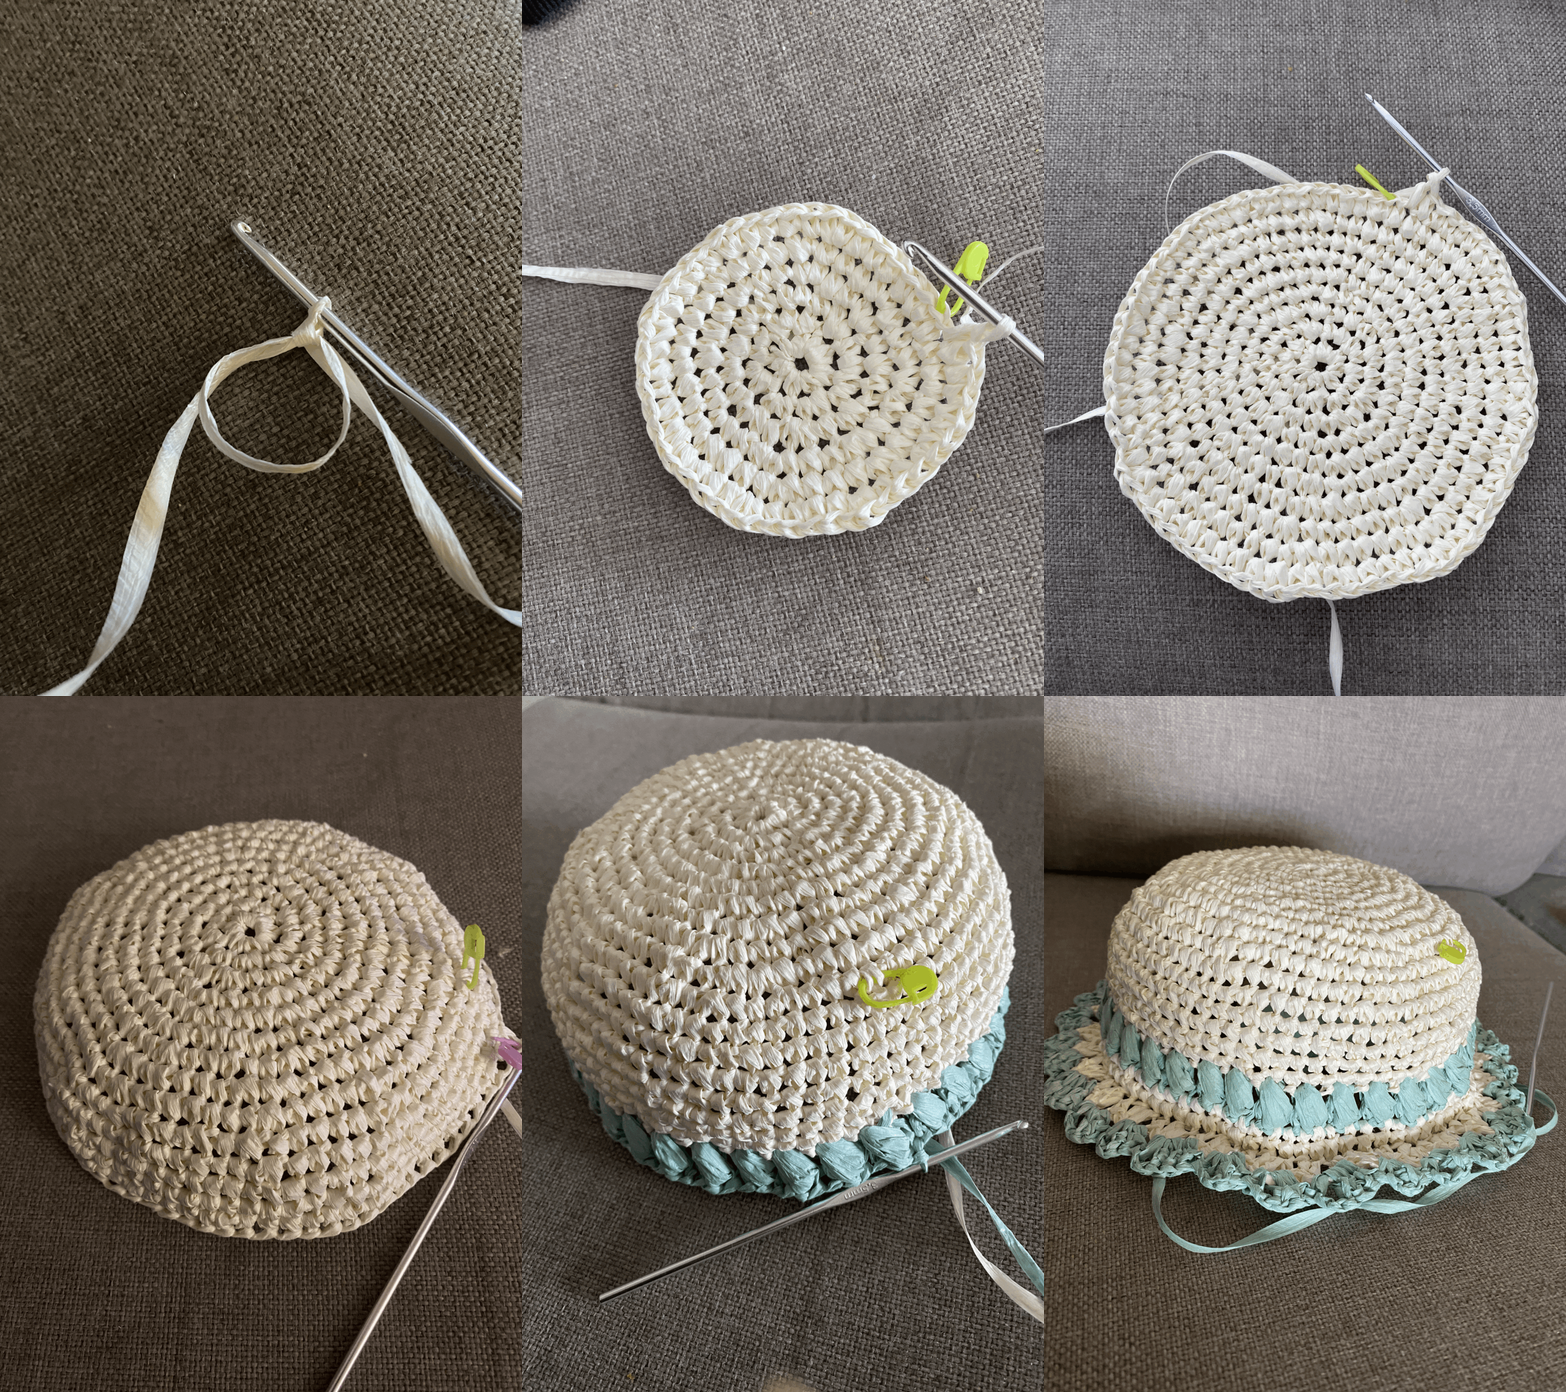
The base of the toddler sunhats are mainly made from single crochets. I decided to add a puff stitch at 2/3 of the height to add a bit of color and a different texture. But naturally, you can design your hat precisely how you like. If that is the same how I designed mine, or just keep simple single crochets or even another stitch. That is completely up to you. The stitch I chose for the brim are tulip stitches. I found increasing with tulip stitches a bit of a challenge, so I ended up with my own creation of increasing stitches in those rounds. I also alternated colors each round to create a more playful feeling. Furthermore, I finished off the brim by one round of slip stitches, to add the other color and giving it a finishing touch.
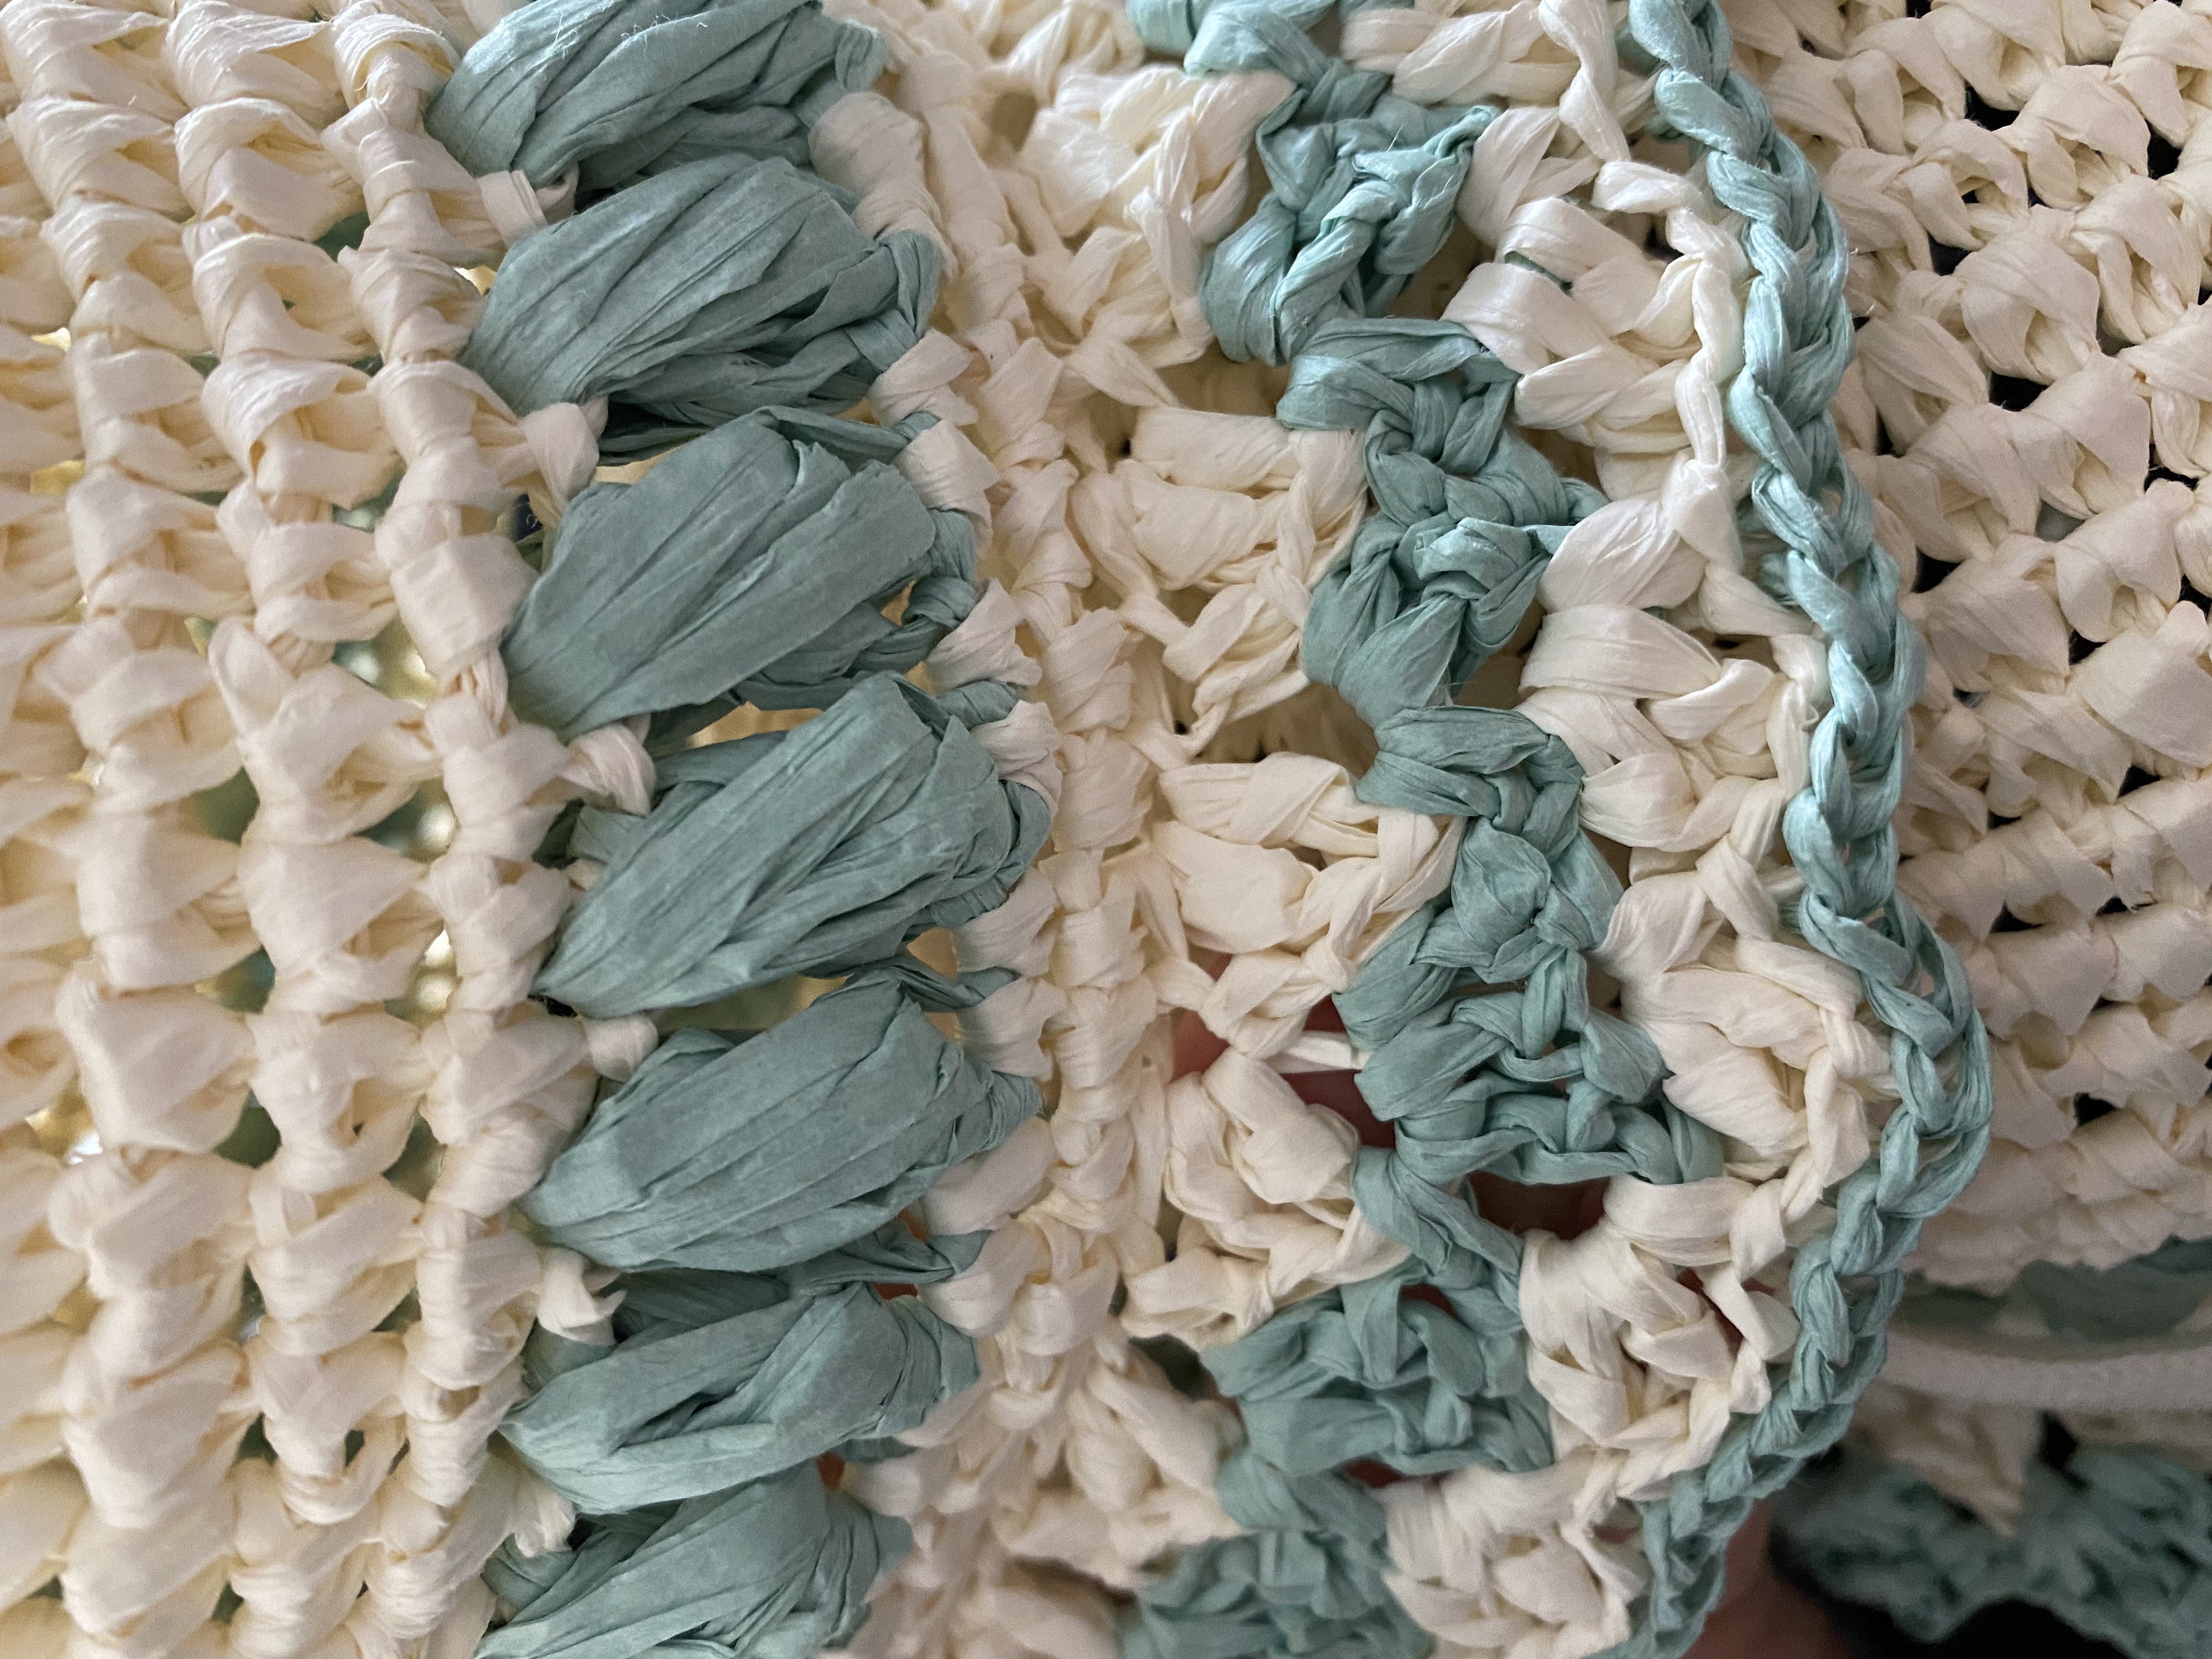
I will put the notation of my toddler sunhat here under, so it gives a bit of an idea how I made mine. This hat ended up with a head circumference of 14" at the top and 19,2" at the bottom. I used a crochet hook of 3,5 mm / size E-4.
Any tips on how I can improve my patterns in the future are very welcome! I hope this will help you to design your own toddler sunhat for the summer, perfectly adjusted to your toddler.
Diameter of the sunhat
- Magic ring of 8 sc (8)
- 2sc 8x (16)
- (2sc, sc) 8x (24)
- (2sc, sc2) 8x (32)
- (sc, 2sc, sc2) 8x (40) (by changing the increasing spots, you crochet work will stay round)
- (2sc, sc4) 8x (48)
- (sc2, 2sc, sc3) x8 (56)
- (2sc, sc6) x8 (64)
TIP: Place a stitch mark in the first stitch and keep it there. This will make it easier to count the rows downwards.
Height of the sunhat
9-14. Sc along. 15. (2sc, sc6) x7, 2sc, sc5, sl st (72)
Note: I noticed my hat was a little too small, I chose to add another increasing row here 16. Puff stitches around the hat with another color. 17. Switch colors. Since every puff stitch gives 3 stitches instead of the previous 2, we need to skip some stitches. We skip the one stitch on top of the puff stitch. By skipping the top stitch, the puff stitches will pull nice and tightly together. Sc 72 along.
18. Ch1, sc1 in the same stitch as the previous sl st. Sc 71 along, Sl st to finish round.
Brim of the sunhat
- Whole round FLO. Tulip stitch around. Ch2, 2dc in the same stitch as sl st. ch2, sc in the next stitch. Skip 1, repeat. Make an alternating stitch after 2 or 3 tulips. Crochet one tulip stitch with all stitches in the same stitch, end up with 2 tulip stitches and instead of finishing the round with a ch, finish it with a sl st. You will have 27 tulip stitches made.
- Switch colors. Ch2, turn. (3dc, ch 3, sc) in ch-2 space. Sk 3 stitches, (2dc, sc2, sc) in the following ch-2 space. (Sk 2 stitches, dc1 and (2dc, sc2, sc) in ch-2 space) every 3rd stitch.
- Switch colors. Ch2, turn. Keep making tulips. After every 3rd stitch (so by every tulip with an extra dc) add an extra tulip stitch in the middle of the previous stitch. You will have 36 tulip stitches made.
- Switch colors. Sl st around and fasten off.
TIP: To keep these hats on the heads of your little ones, you can add some ribbon or yarn on the inside, so you secure it under the chin of the child. I used the remaining loops of the FLO round by the start of the brim. Pull the ribbon through the loop and secure ends on both sides.


