How to upcyle your skirt into dresses in 2 different ways
Posted on September 15, 2022
10 minutes
2045 words
While studying, I went to Ghana to do an internship for 3 months. What I loved about Ghana were the friendly people, experiencing a whole new culture and the sun that was always shining. But what stands out most were the fabrics!! The vibrant colors and the patterns are unique, and they are there in great variety. A friend that lived in Ghana for a while told me that you basically should pack an empty suitcase and buy fabrics there, bring them to the seamstress and go home with beautiful clothes that are made just for you. I didn’t really follow that advice, because I do like to have my own stuff with me. But I surely brought my fair share of Ghanian clothes back.
The disadvantage of these perfectly measured cotton clothes is that they do not stretch at all. So sadly after I gave birth, my body changed, and I couldn’t wear a bunch of them anymore. This skirt was one of my absolute favorites, but in the closet it was gathering dust. Time to upcycle this into something brand new that would be used again. I love the fact that most of the clothes we own, we can upcycle it into smaller versions for our kids. With this skirt, I wanted to make my own version of a dress where the top was made from crochet and the bottom from fabric. First I thought it would be a cool idea to make 2 similar dresses, so the kids could wear the same outfit. But once I started measuring for the bigger dress it was clear that this was impossible. I guess kids are small, but not that small. A friend of mine suggested making the top of the second dress from the fabric and crochet the skirt. This way it would still match and all the fabric could be used. I decided to give it a go!
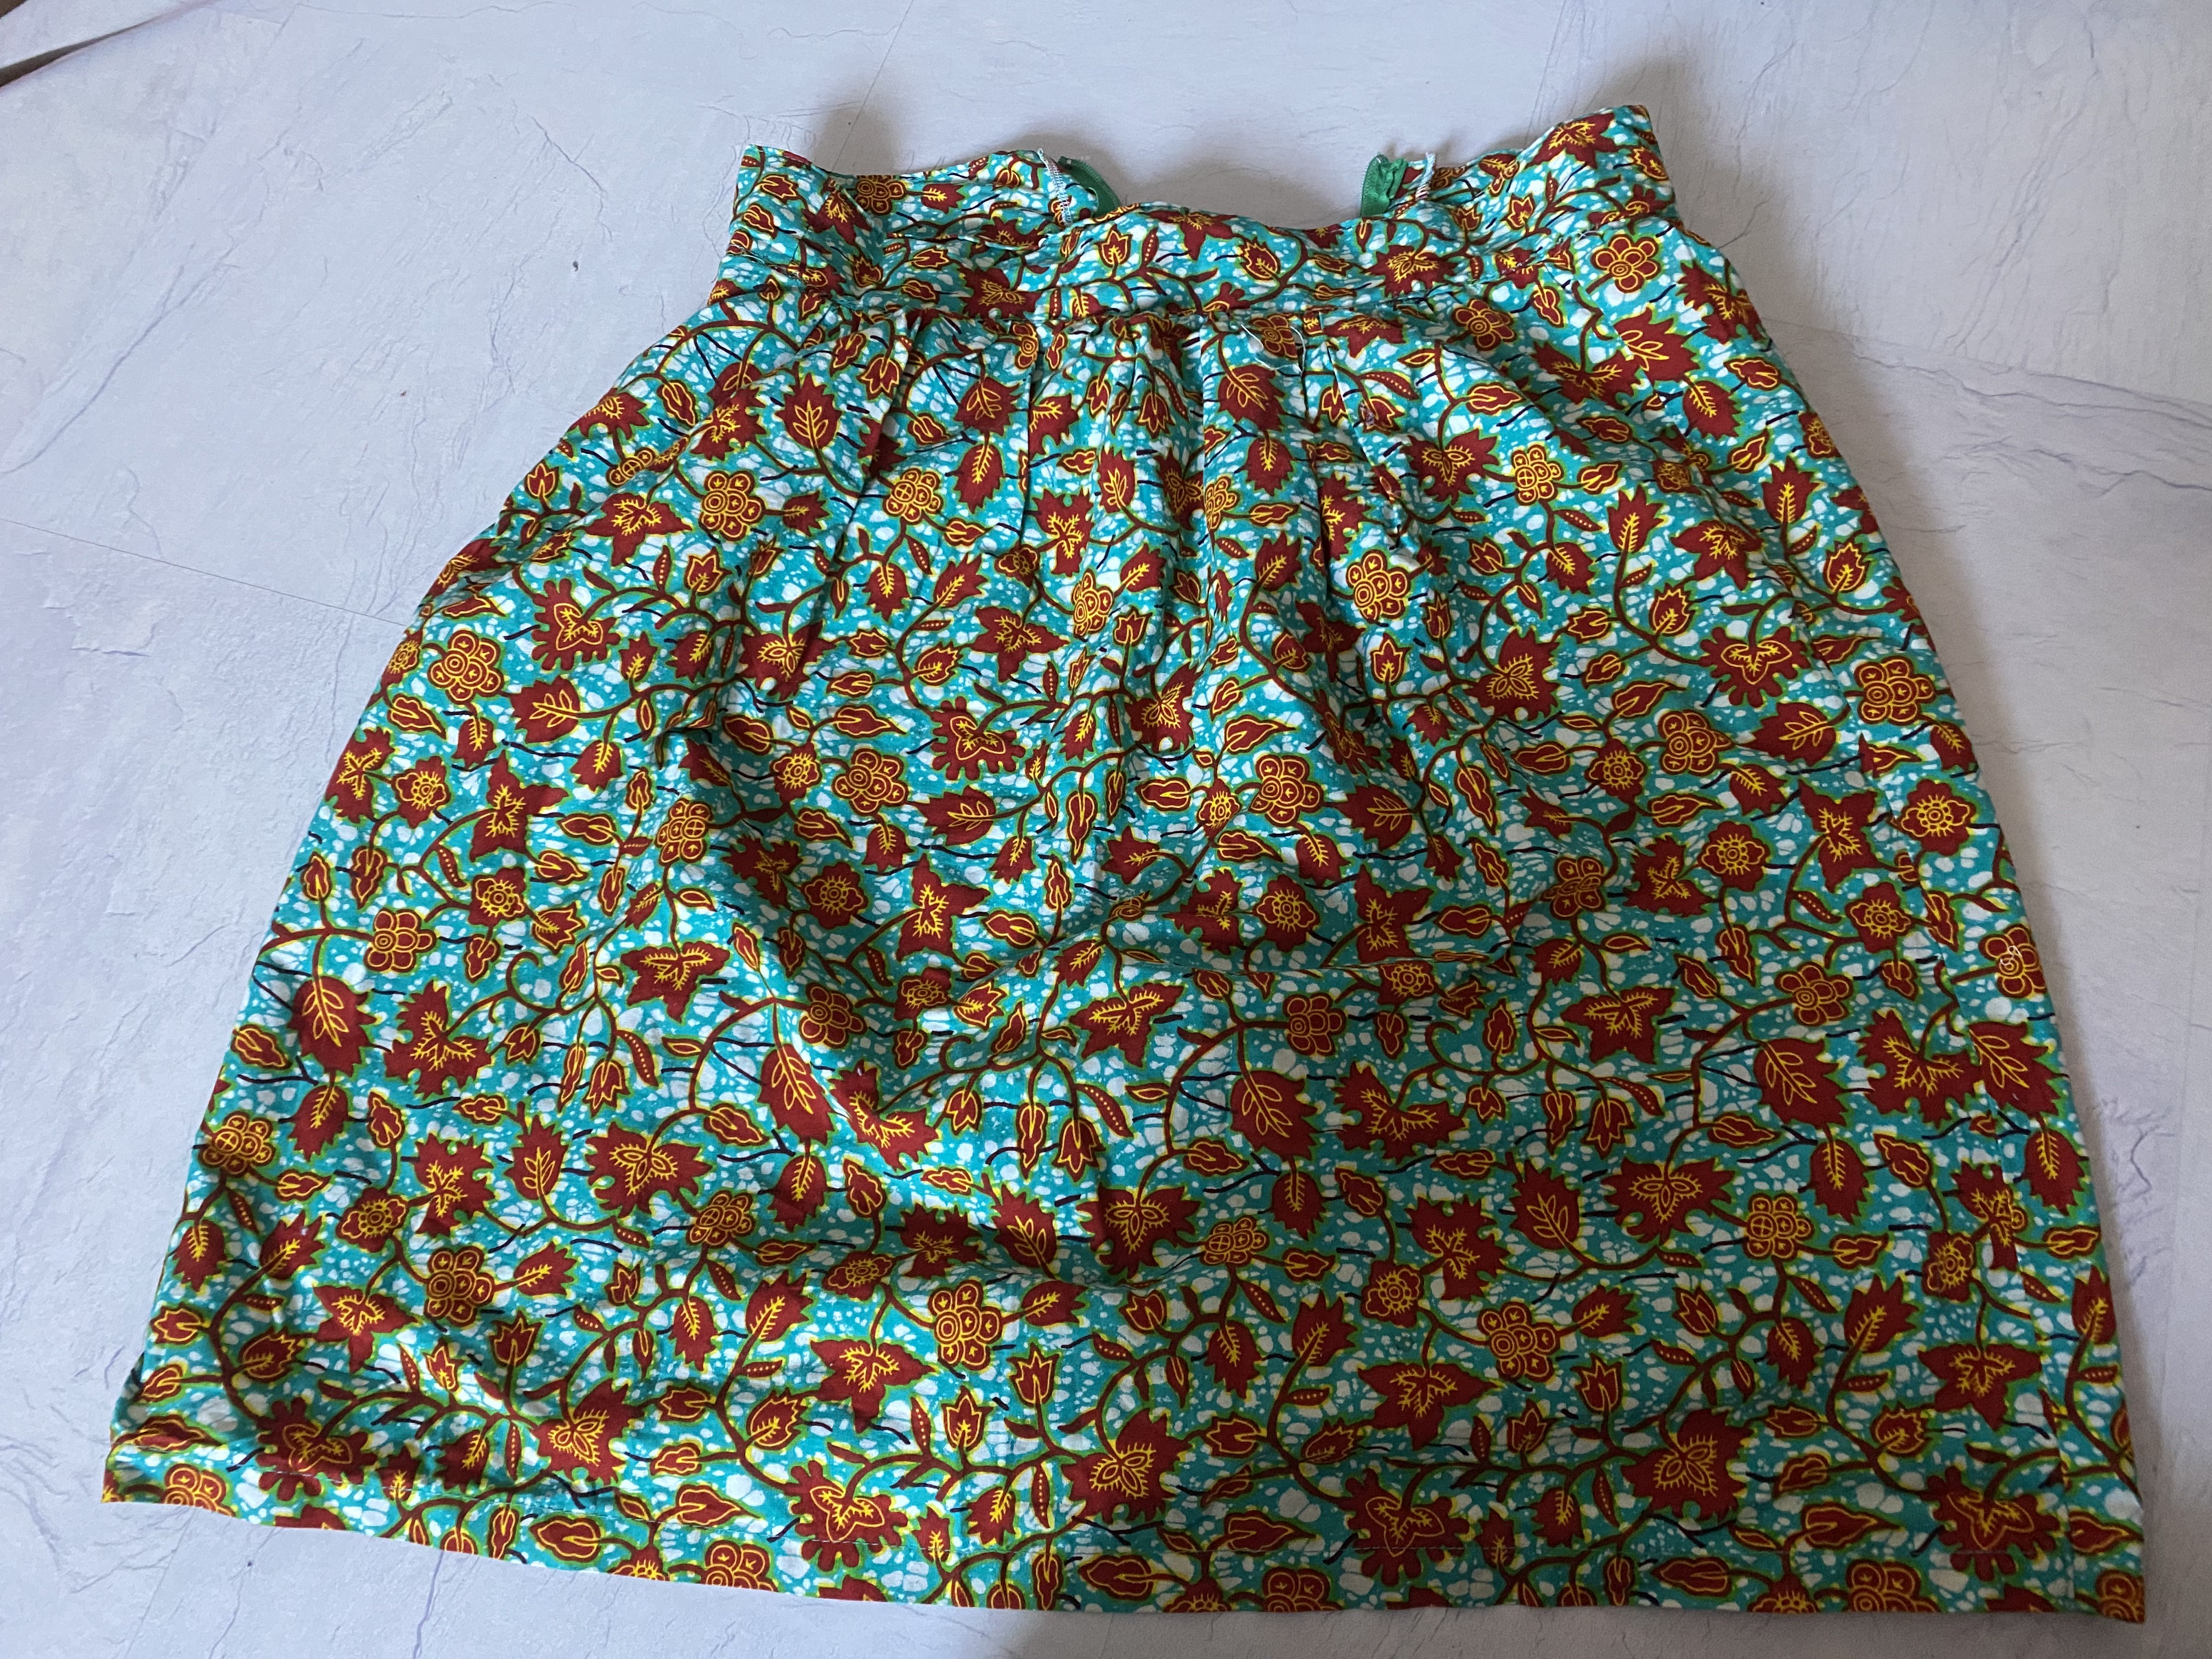
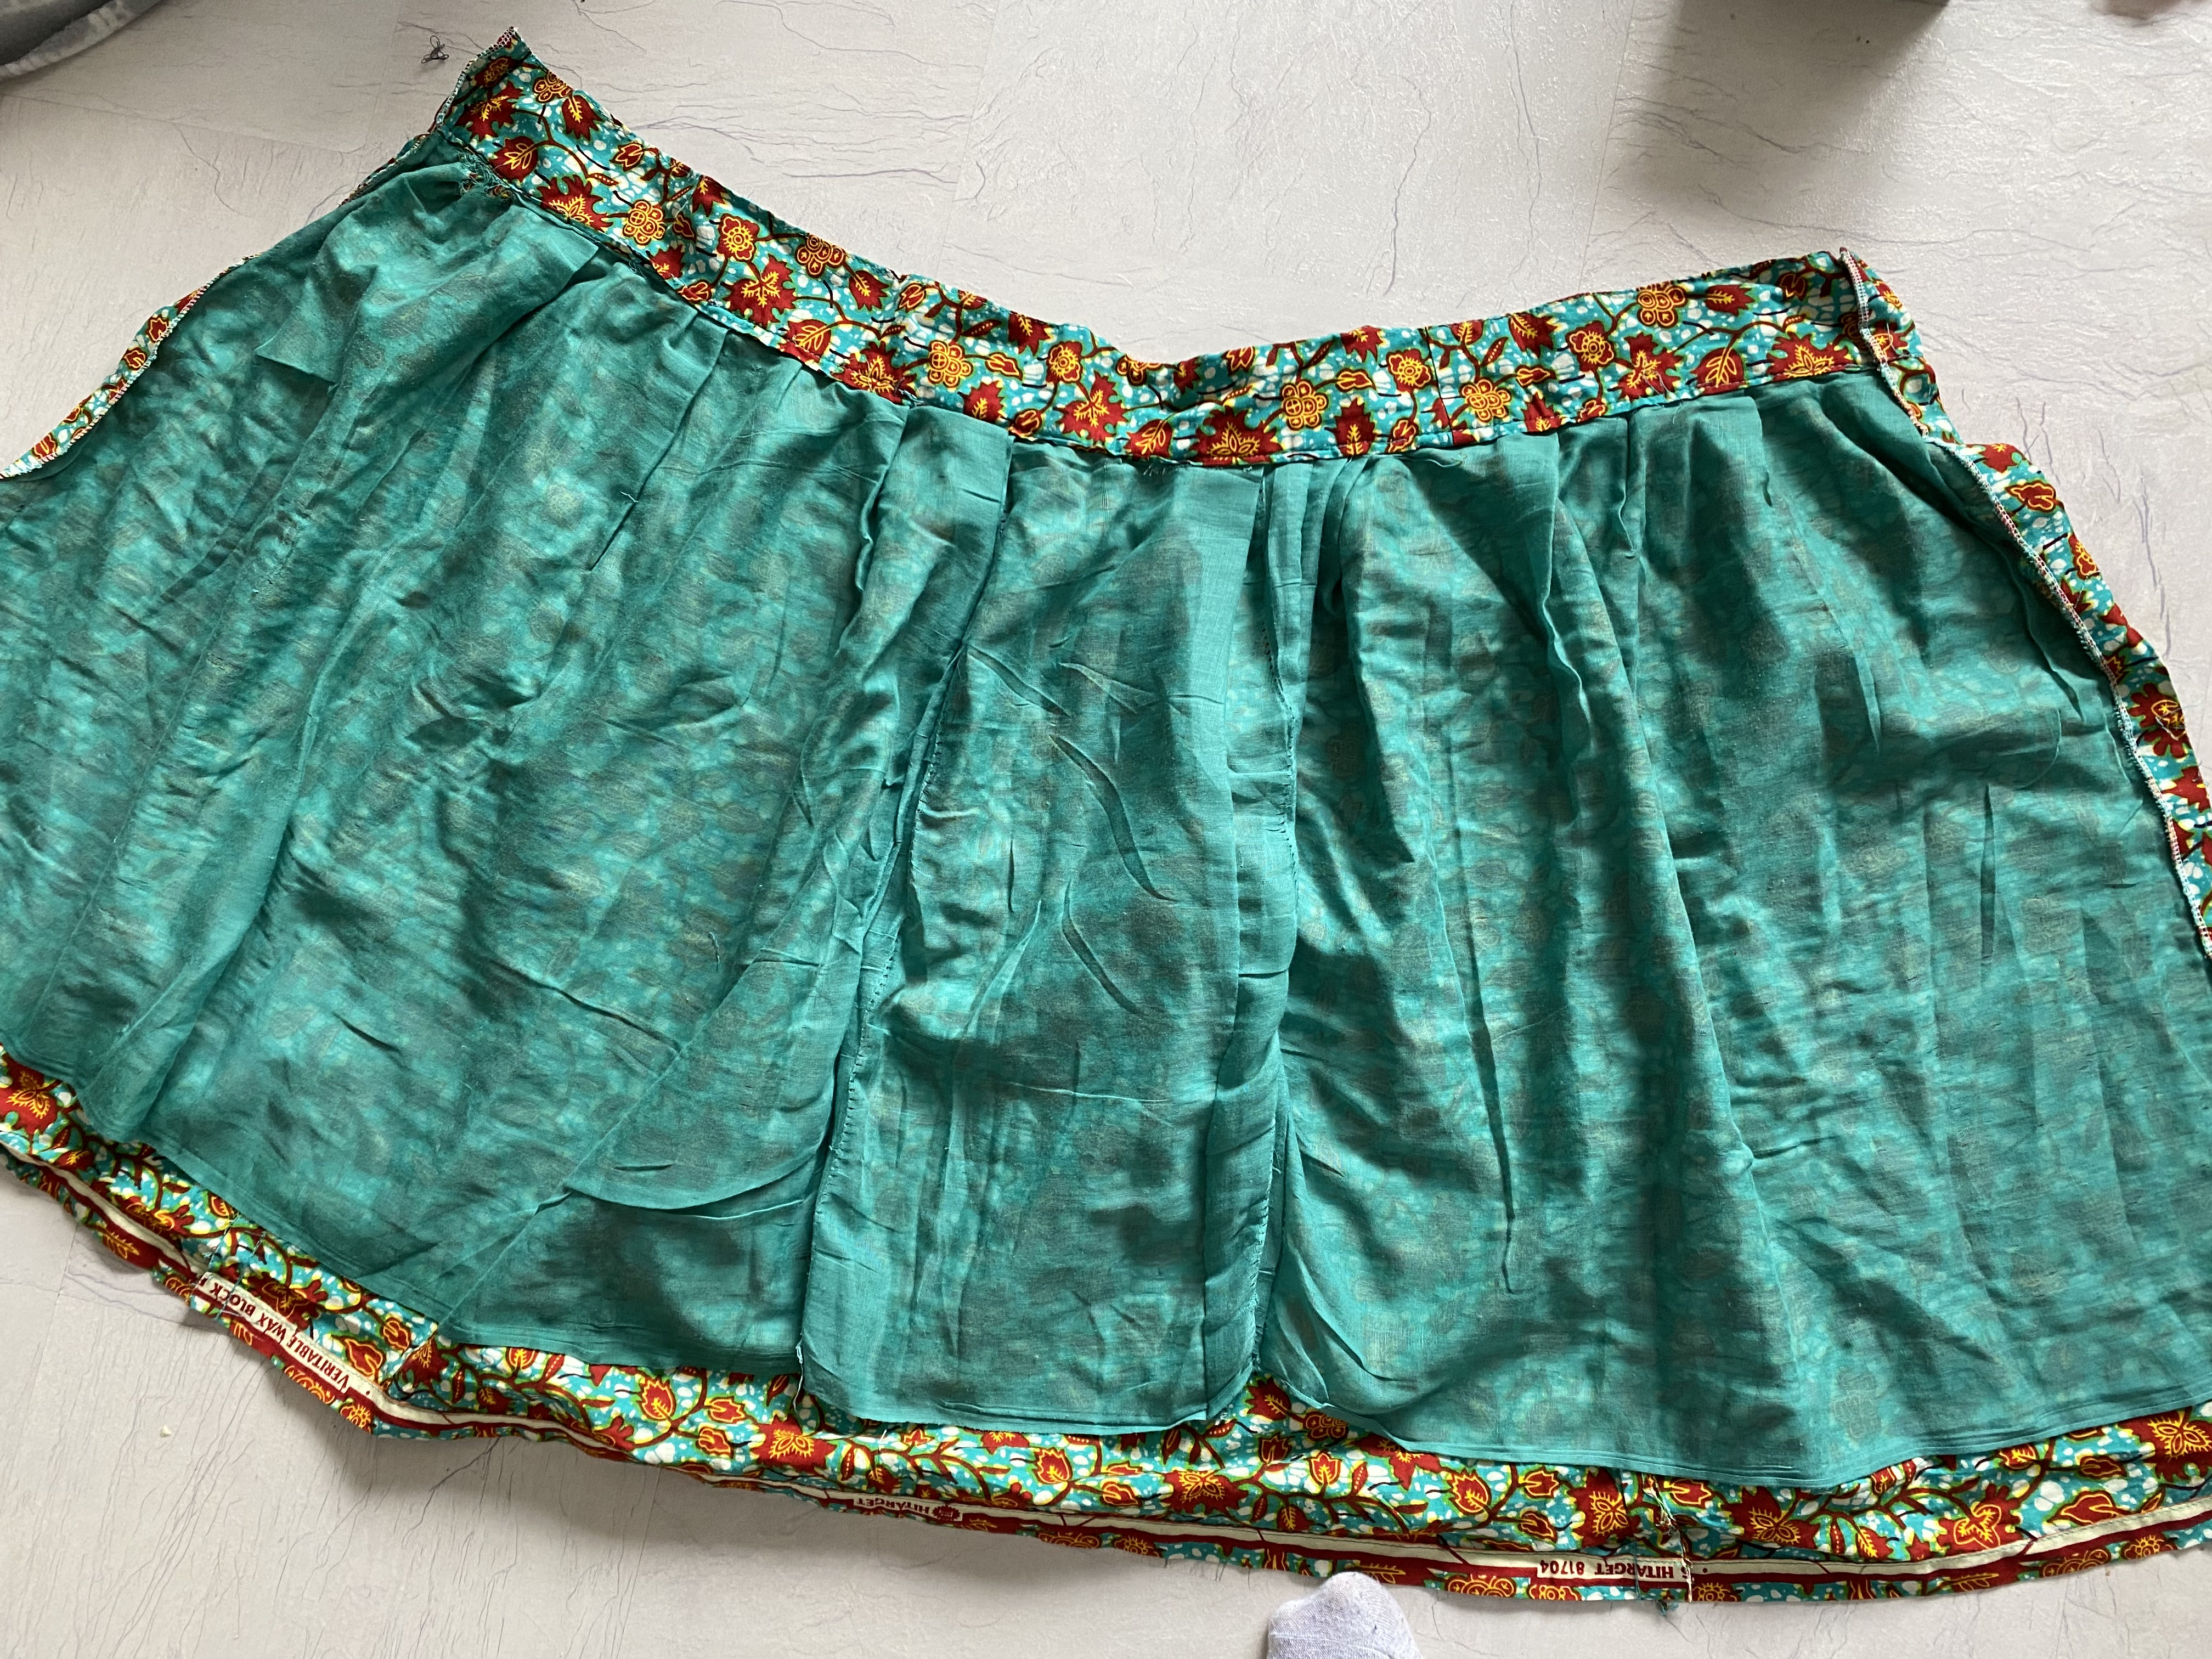
With the purpose of upcycling this skirt, my main focus was to use most of this fabric in a good way. The advantage of working with a simple skirt is the amount of fabric that is not sewed. Which means it is very reusable. With a little work, I took out some seams and was left with a beautiful piece of fabric to reuse. Sadly not a flat piece to work with, but nothing what a bit of ironing couldn’t fix.
I wanted to upcycle this skirt with the help of crochet. A bit of old with a bit of new, I believe it can make all the difference. And to add something that I am good at (crochet), to cover up the things that I am learning (sewing), is very helpful. I had moments that I used some crochet to make parts of the dress to fix my sewing. In the end, I had to resew parts anyway, but it was a very creative process. I chose a soft vanilla color for the crochet parts to accompany the bright and vibrant colors of the fabric.
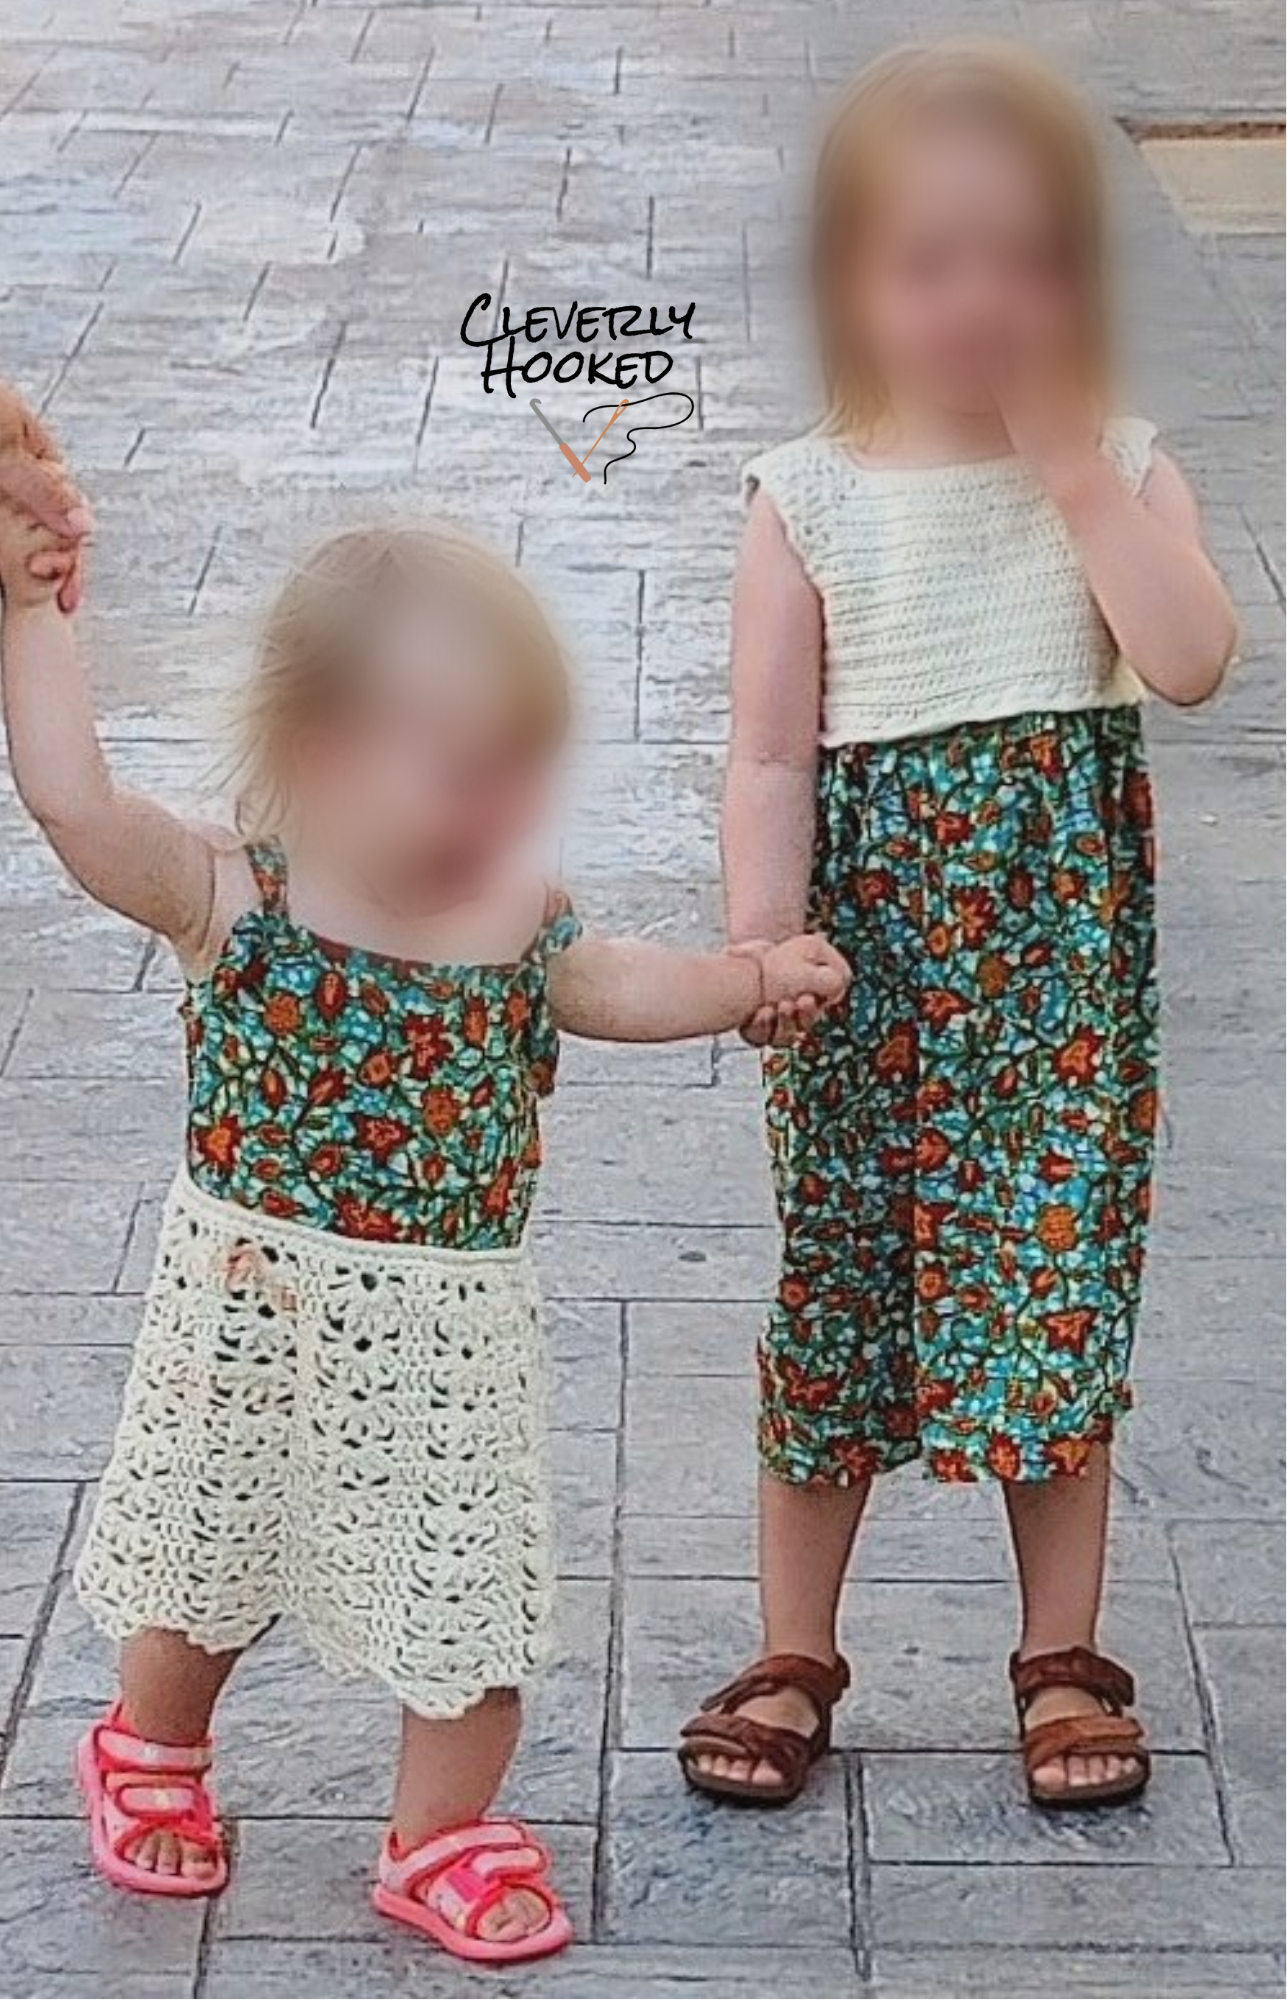
I hope you could get inspired by this post to upcycle your own old skirt into a dress or maybe multiple. I would love to see your creations! Please use #cleverlyhooked or link to my website when posting it online.
Click here when you want to make the second smaller dress for 18-24 months.
The first dress (3-4 years old)
Disclaimer: I am sharing this pattern as source of inspiration. They were made after the fact and are maybe not the most accurate or easy to follow. Feel free to reach out when you have questions.
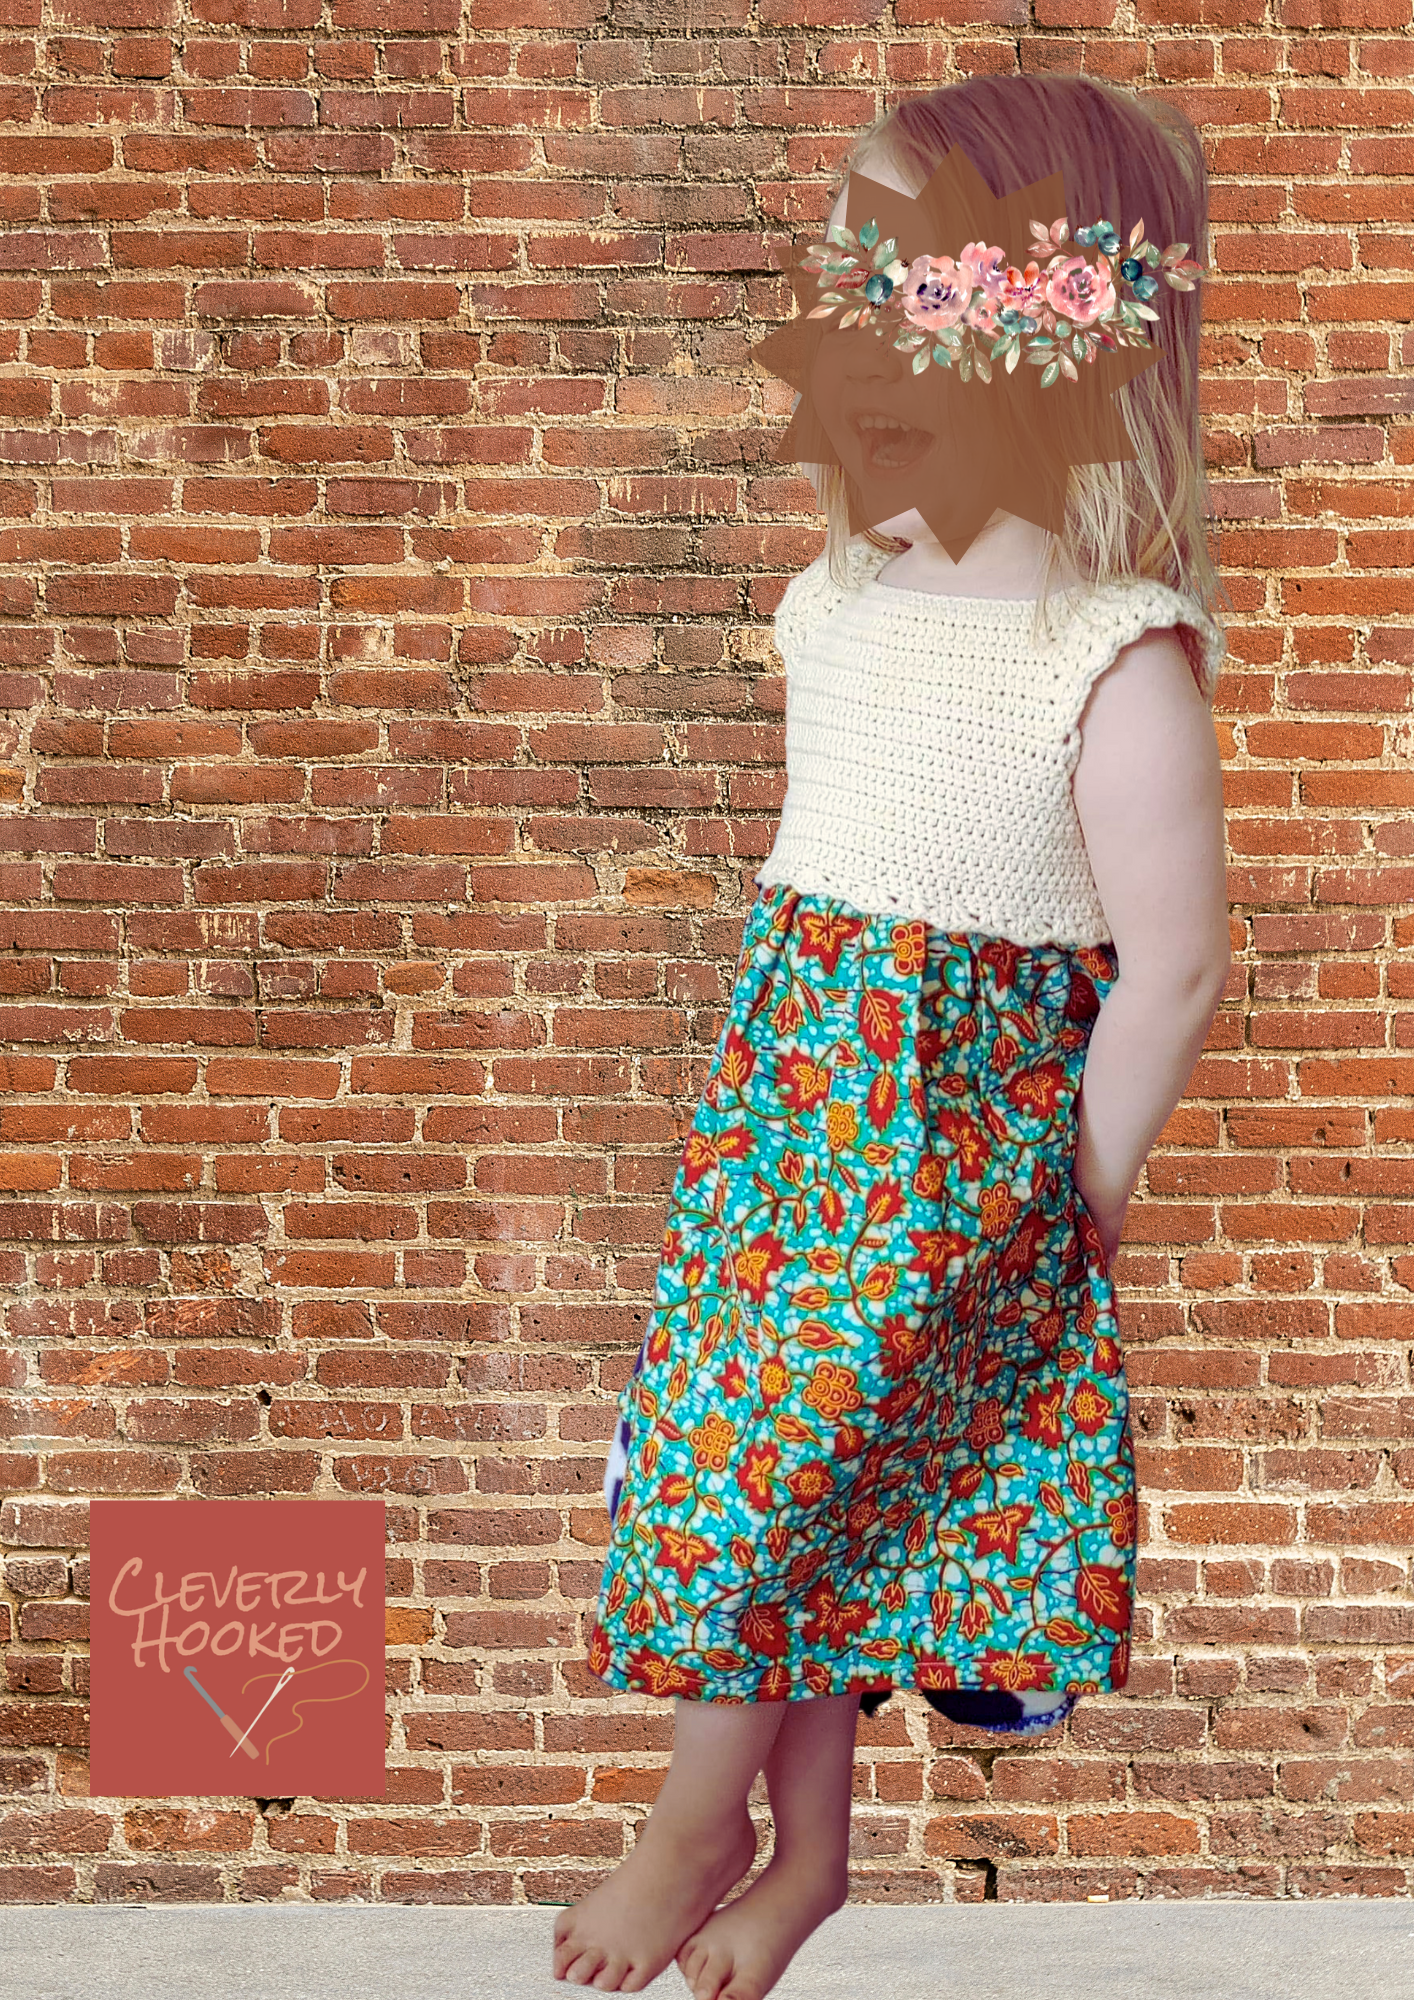
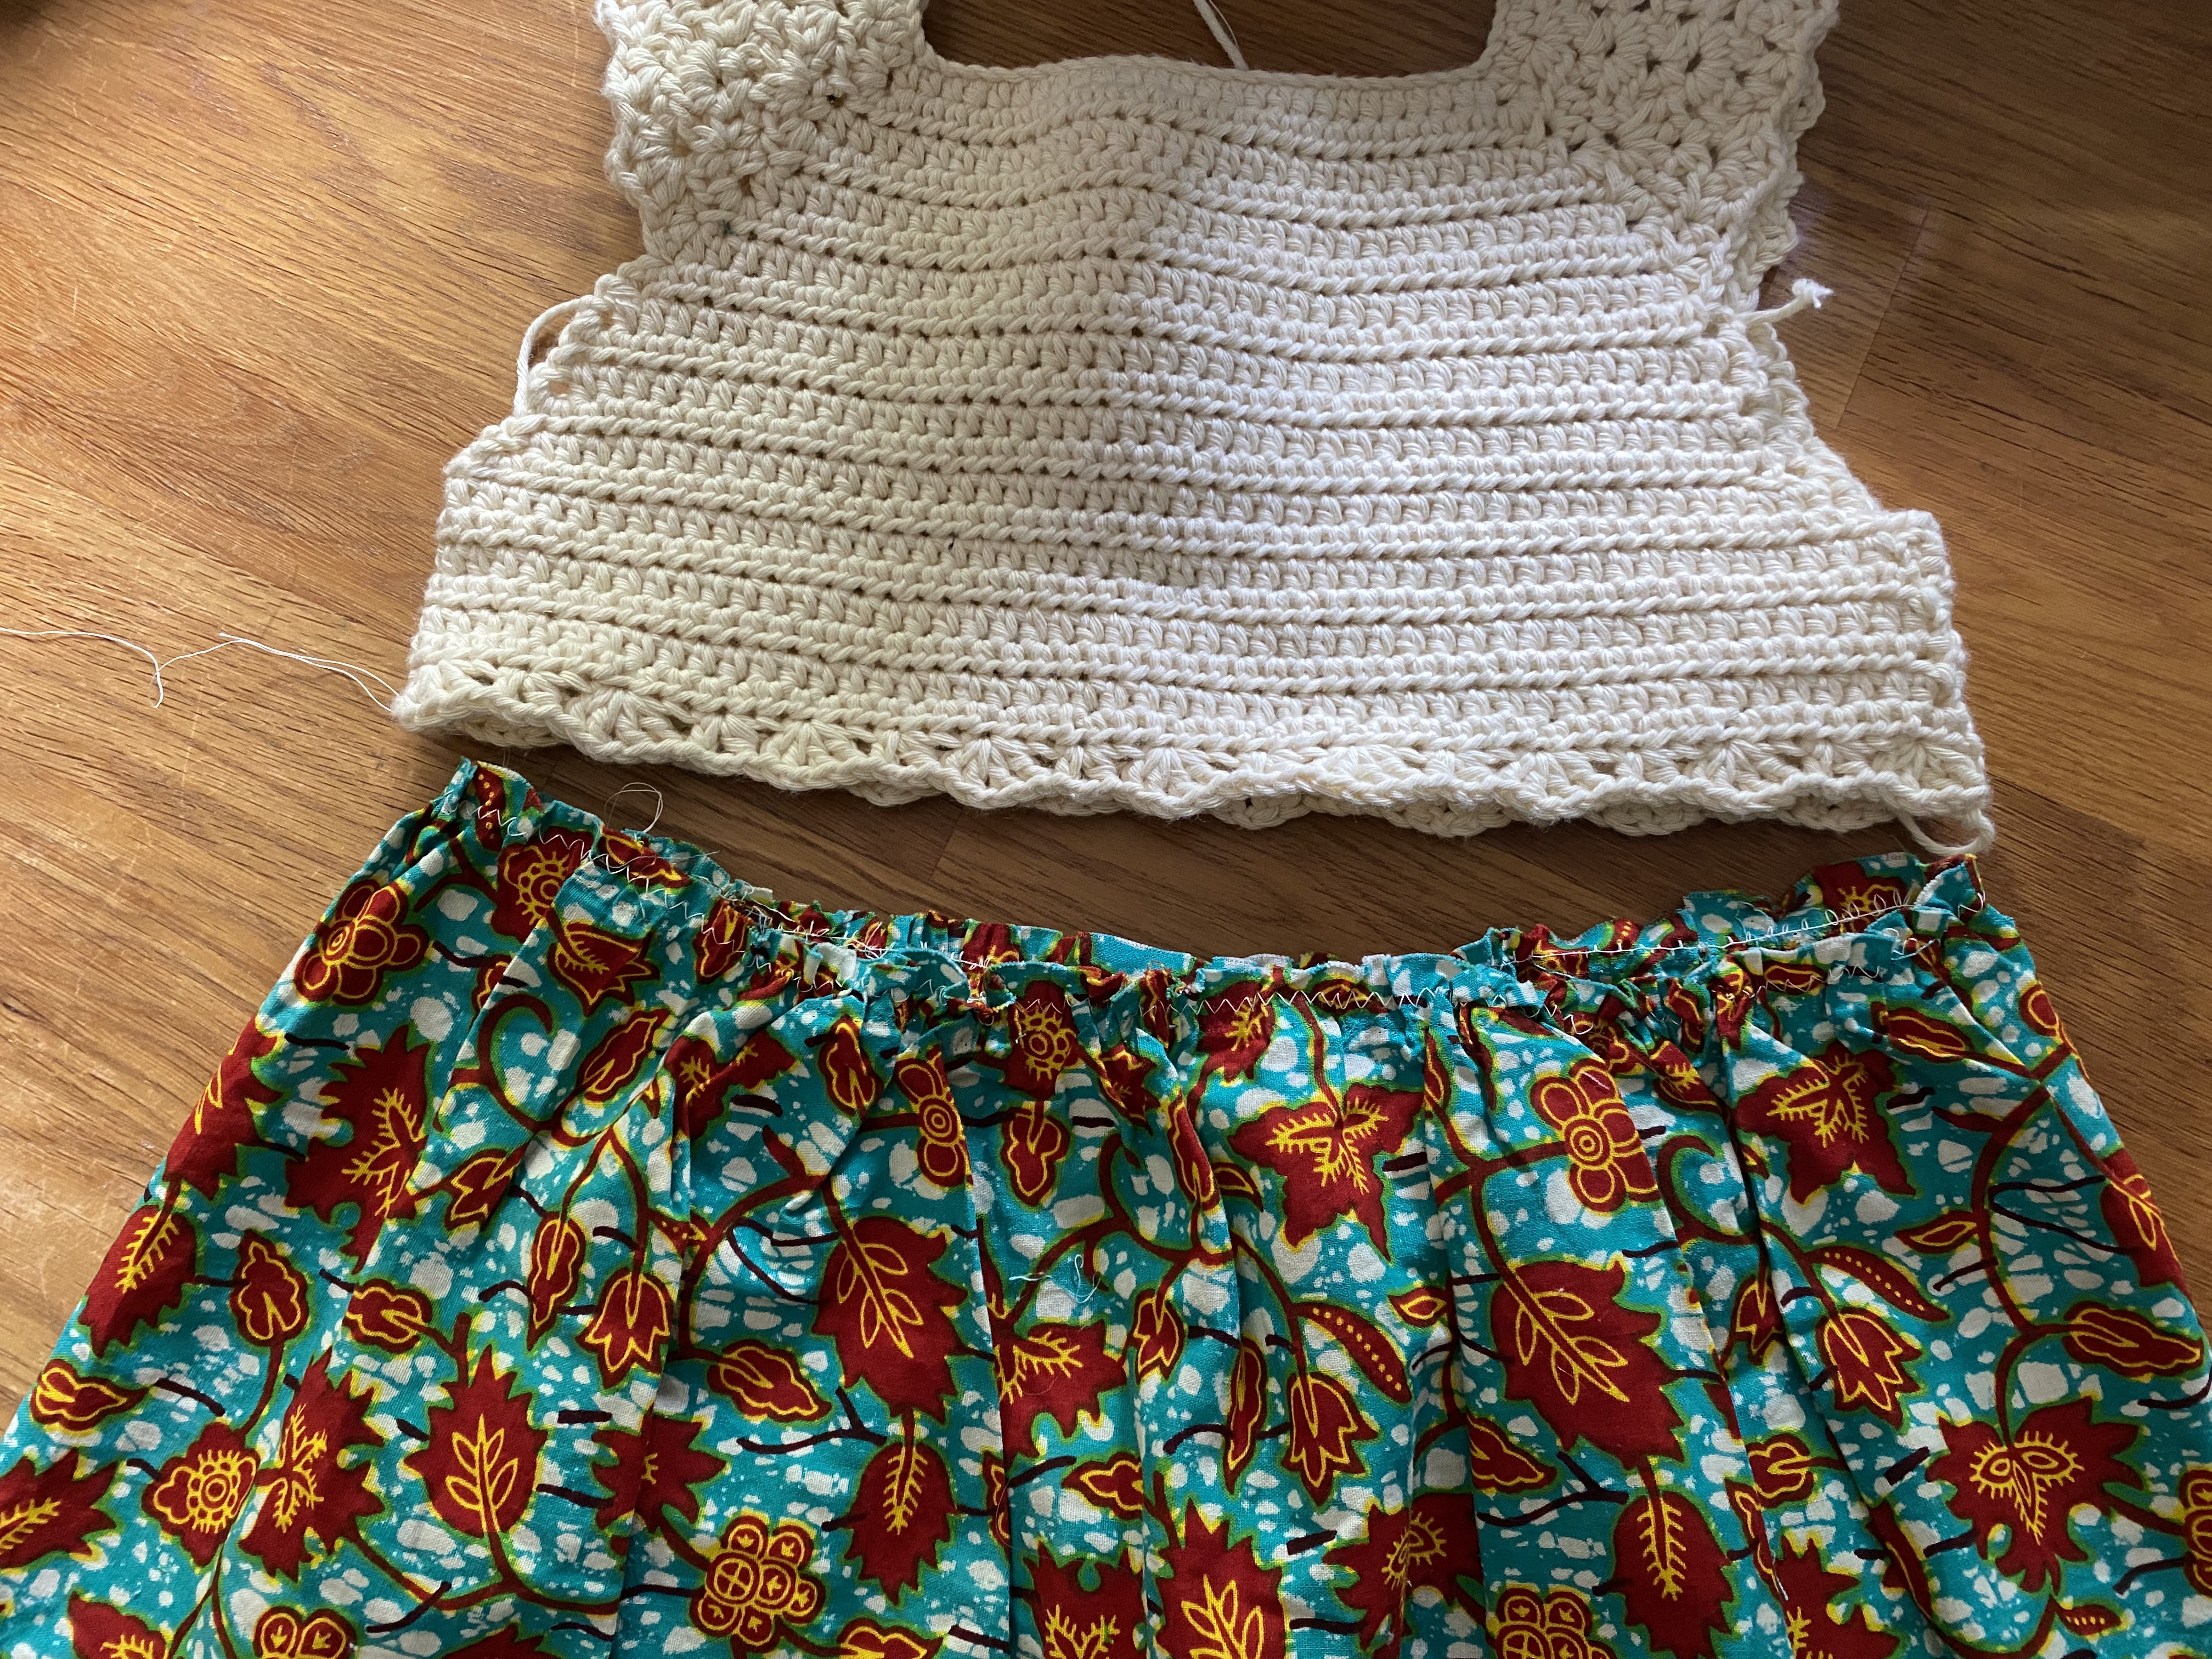
With the first dress, I used the fabric of the “old” skirt to make a smaller version, and crocheted a top for it. When you sew this together you have a dress! And the perfect thing is, you don’t need a lot of sewing skills for this dress. If you are able to sew a few straight lines you are already almost there! I started my dress to make the top first.
I used a 4 mm hook with a 8/8 cotton yarn. I really wanted to make my own design for this dress, because there are already so many of these ‘hybrid’ dresses online. Because I was in ‘creating’ mood and didn’t remake this bodice yet, there are some quick fixes. Nevertheless, I can share with you how I crocheted this bodice for a 3-year-old.
Almost the whole bodice is made with half double crochet stitches. The sleeves are made with the Victorian stitch, which originally contains of double crochets and chains. I chose to use half double crochets in the Victorian stitch, to match the rest of the bodice and reduce the openness of the spaces in between. I learned about this stitch on this website. I will recommend people to visit, if you are not familiar with this stitch.
When making a bodice, sweater or a t-shirt, the basics are the same. You chain a row, which is the length of the circumference of the top of your ‘shirt’. With the first crocheting row, you create a square by making a (hdc1, ch2, hdc1) in every desired corner stitch(cs). In the following rows, these corner stitches are made in the ch2-spaces. The amount of stitches will increase every row by these corner stitches and gives a flat surface.
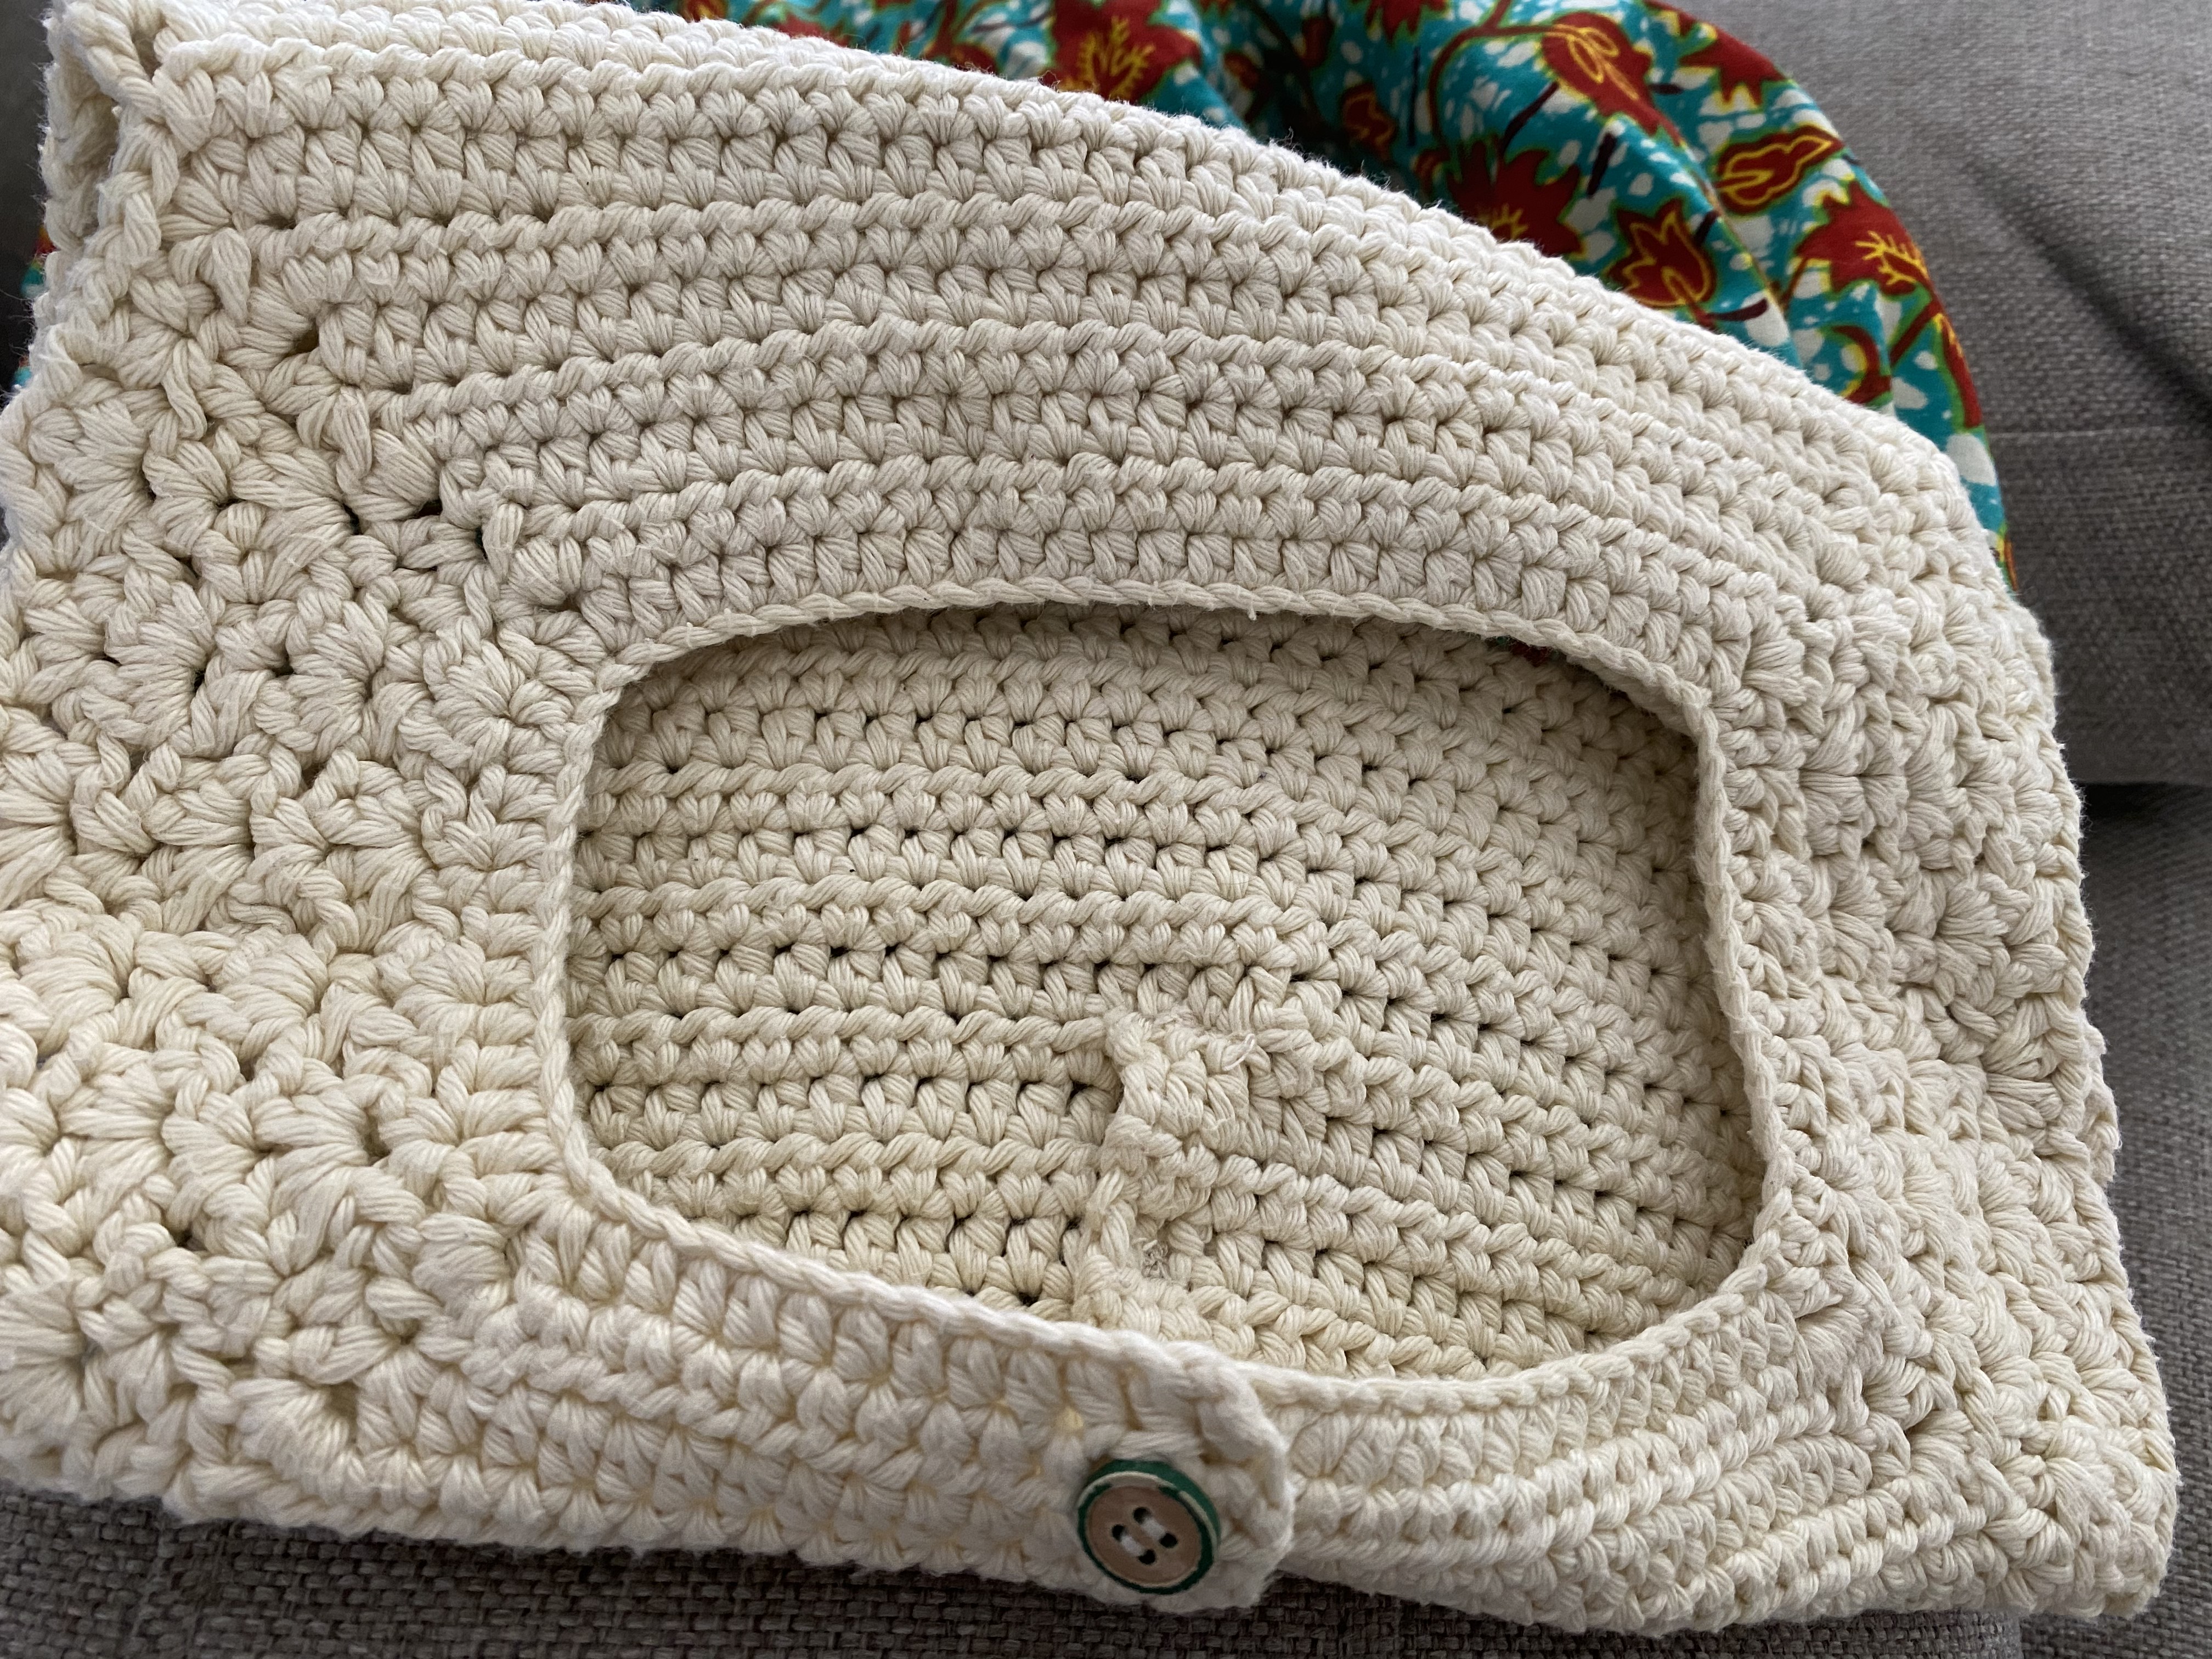
Start by ch80.
Row 1: Start with the 2nd loop and hdc15(left backside), corner stitch(cs)(hdc1, ch2, hdc1), hdc12(sleeve), cs, hdc24(front), cs, hdc12(sleeve), cs, hdc12(right backside). You will have 79 stitches.
Row 2-7: The following rows are keep repeating the same things.
- In every ch-2 space you make a new corner stitch. The hdc1 on both side are used in the rows.
- In the back and front parts you only make hdc.
- The sleeves are made with the Victorian stitch using hdc.
- Make buttonholes in row 2 and 5 by ch1 and sk1 on the left backside.
The sleeves are finished. The back and the front will be crocheted further individually.
(Front side)
Row 8-13: Keep crocheting hdc back and forth. At every end there is a hdc and a dc crochet made in the last stitch. At every start, a ch3 and a hdc is made in the first stitch.
(Left backside)
Row 8-10: Make a buttonhole in row 8. Keep crocheting hdc back and forth. The side where the sleeve is will keep expanding like the rows of the front piece. The middle part stays straight.
(Right backside)
Row 8-10: Keep crocheting hdc back and forth. The side where the sleeve is will keep expanding like the rows of the front piece. The middle part stays straight.
(Join backsides)
Row 11: Join the backsides together by hdc along the whole piece, skipping the 3 middle stitches of the left backside (where the buttonholes are). This part needs to be sewn together later.
Row 12-13: Do exactly the same as the front side.
(Join front and back)
Row 14: Start by the front side and hdc along without adding extra stitches. By joining the back and the front by the sleeves a ch3 is made before joining on the other side.
Row 15-19: Hdc along back and forth and join with a sl st at the end of the row. NOTE: do NOT work in rounds. You won’t get the same structure.
Row 20: Make a border using the Victorian stitch around. Finish with a sl st and finish off.
The bodice part of the dress is finished!
For the fabric part of this dress, you need a big rectangular piece of fabric. Basically your calculated width x length of the dress. To calculate your width, you take the width of your top x2. Because I used my older skirt as fabric, I wasn’t able to do that. There were some seams in the way that I didn’t want to add. So I ended up adding x1.75, which also worked fine. It is all about how puffy you want your dress to be. The length will be whatever you desire. For toddlers, I would advise to not let it extend the knee. For a bit older children this is fine. My dress turned a bit longer, but at least she can grow in it. My piece of fabric was 48 cm / 19" long.
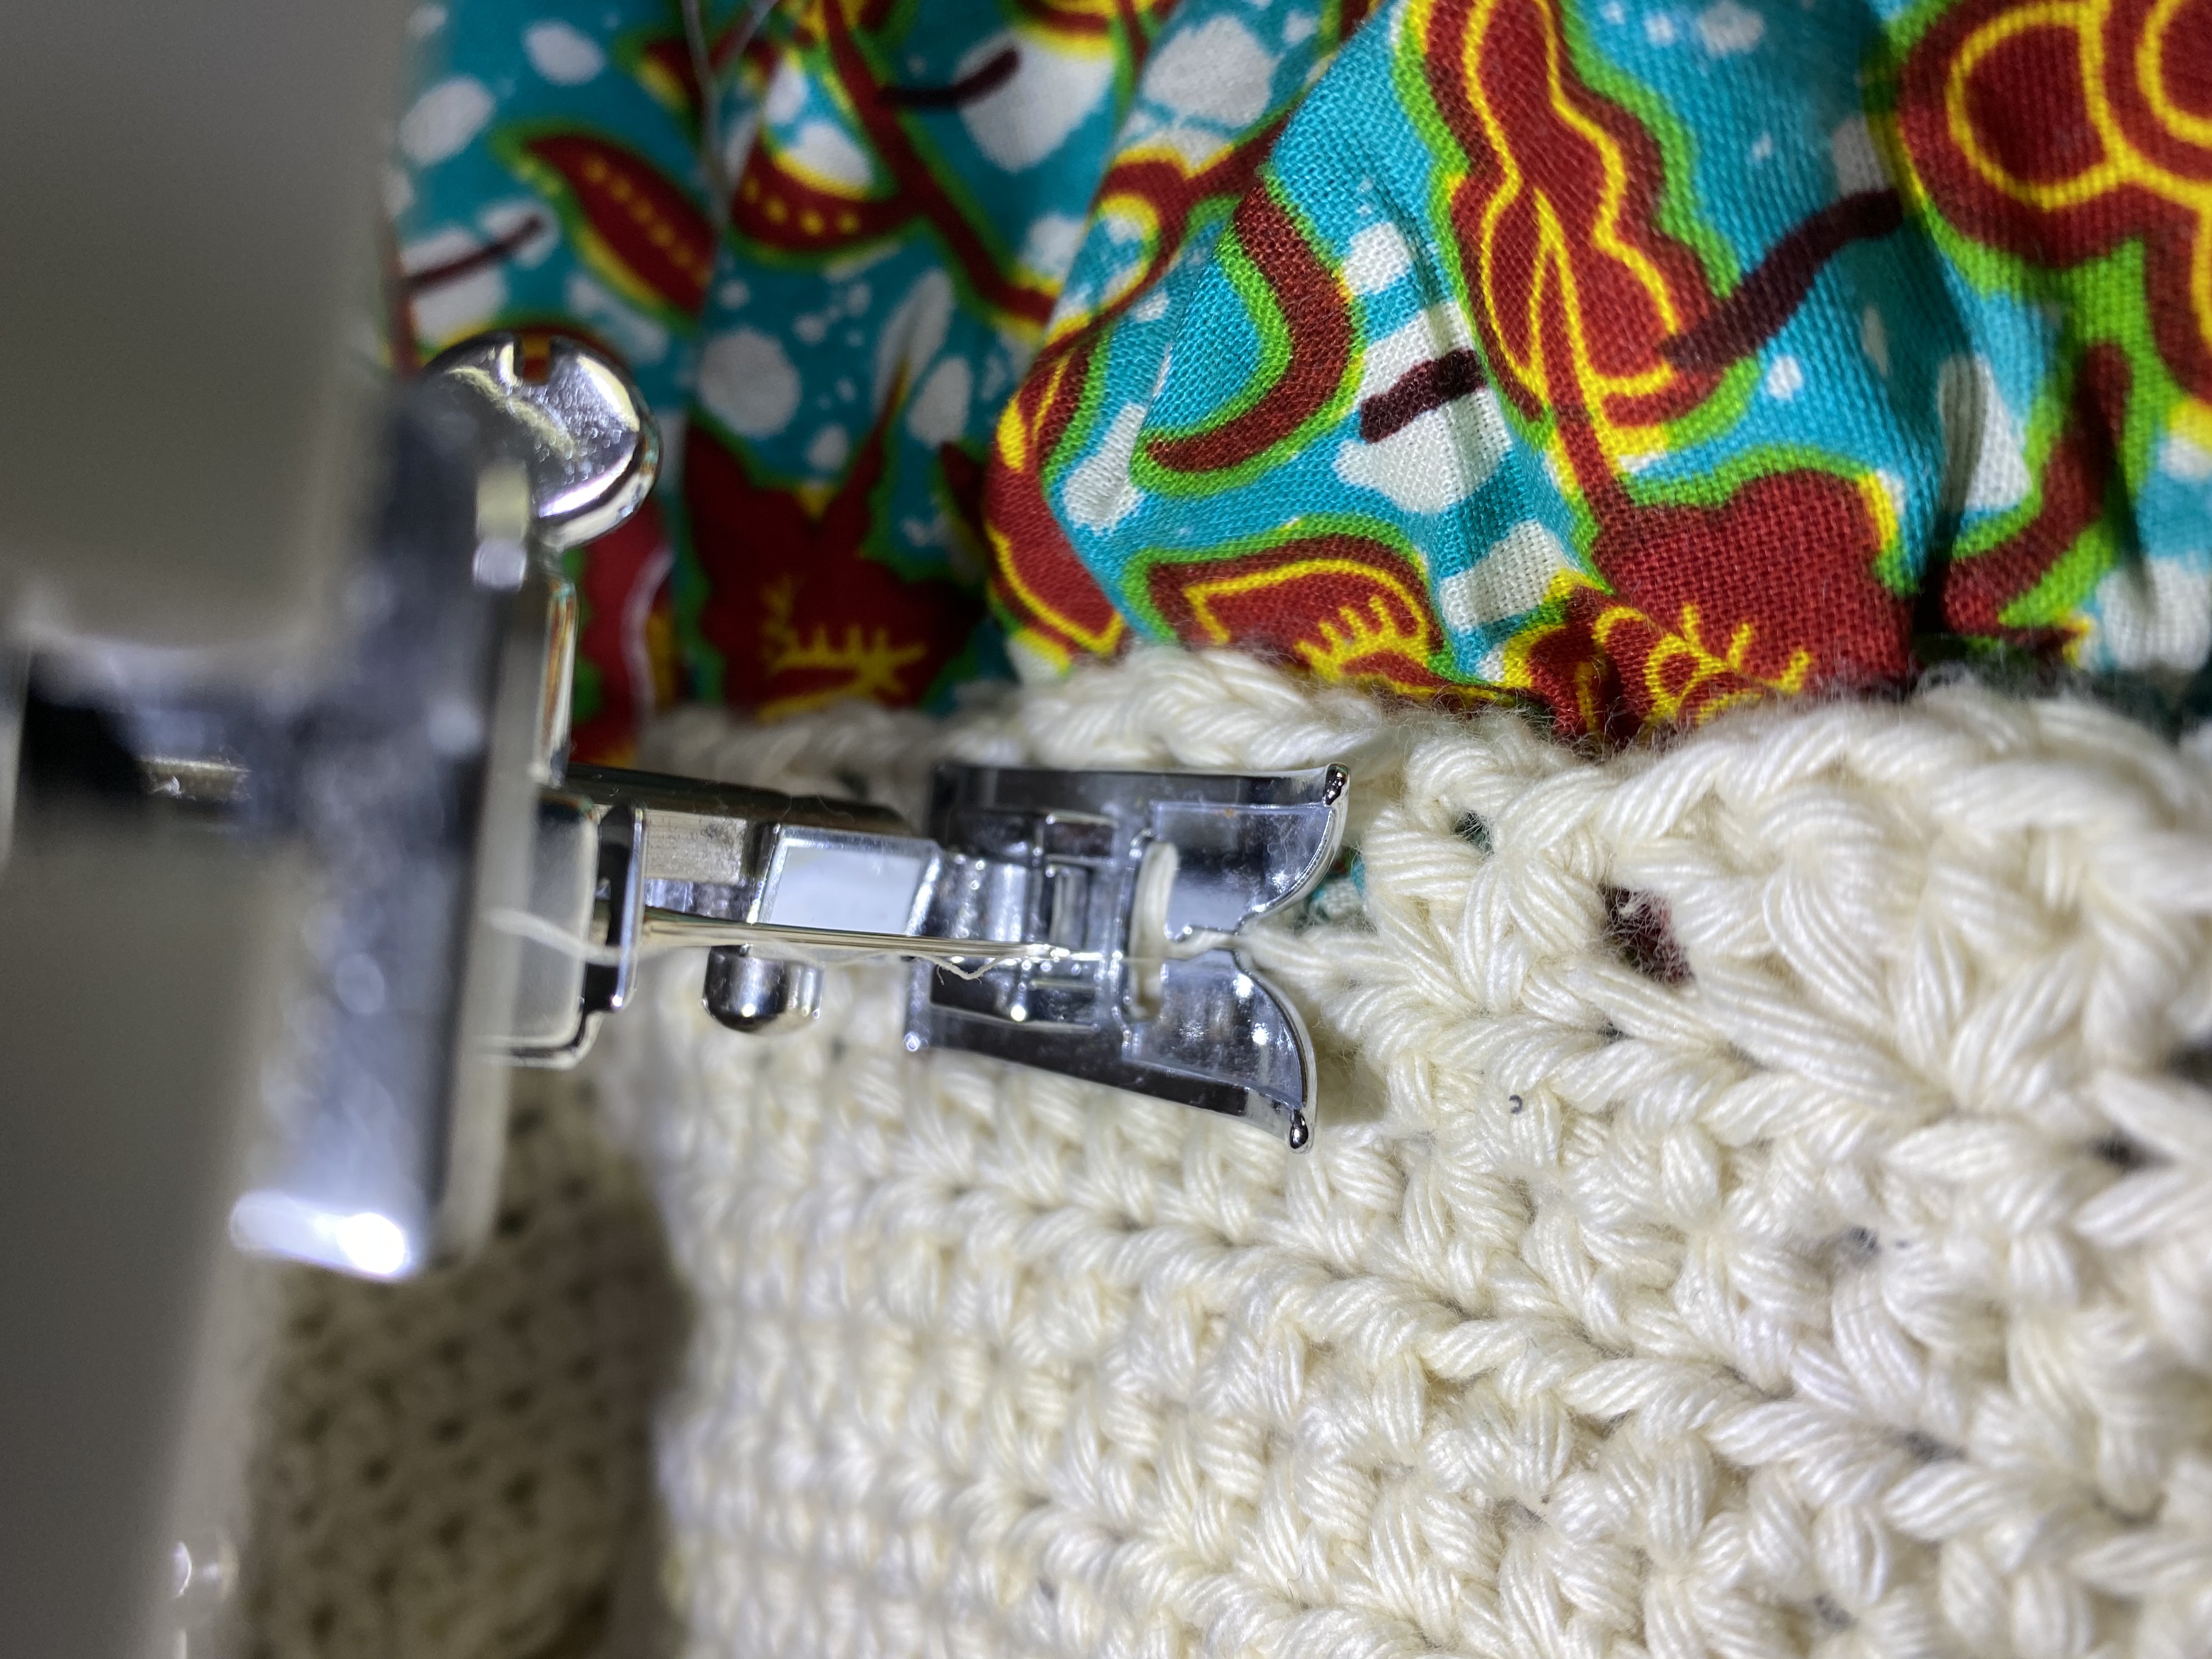
Cotton ravels quite a bit, so it is important to sew a zigzag over all the ends, before you start sewing things together. After this you can join the two ends of the fabric to form the skirt. I always like to have a border on the bottom of the skirt as well, so I sew one of 1 cm around. Now we need to curl the skirt, to match it with the width of the top. We do this by putting the tension to a minimum and sew around the upper part of the skirt in zigzag. Pulling at both sides will establish the skirt to pull together till you have reached your width. Now it is just a matter of sewing the pieces together and your dress is finished!
The second dress (18-24 months)
Disclaimer: I am sharing this pattern as source of inspiration. They were made after the fact and are maybe not the most accurate or easy to follow. Feel free to reach out when you have questions.
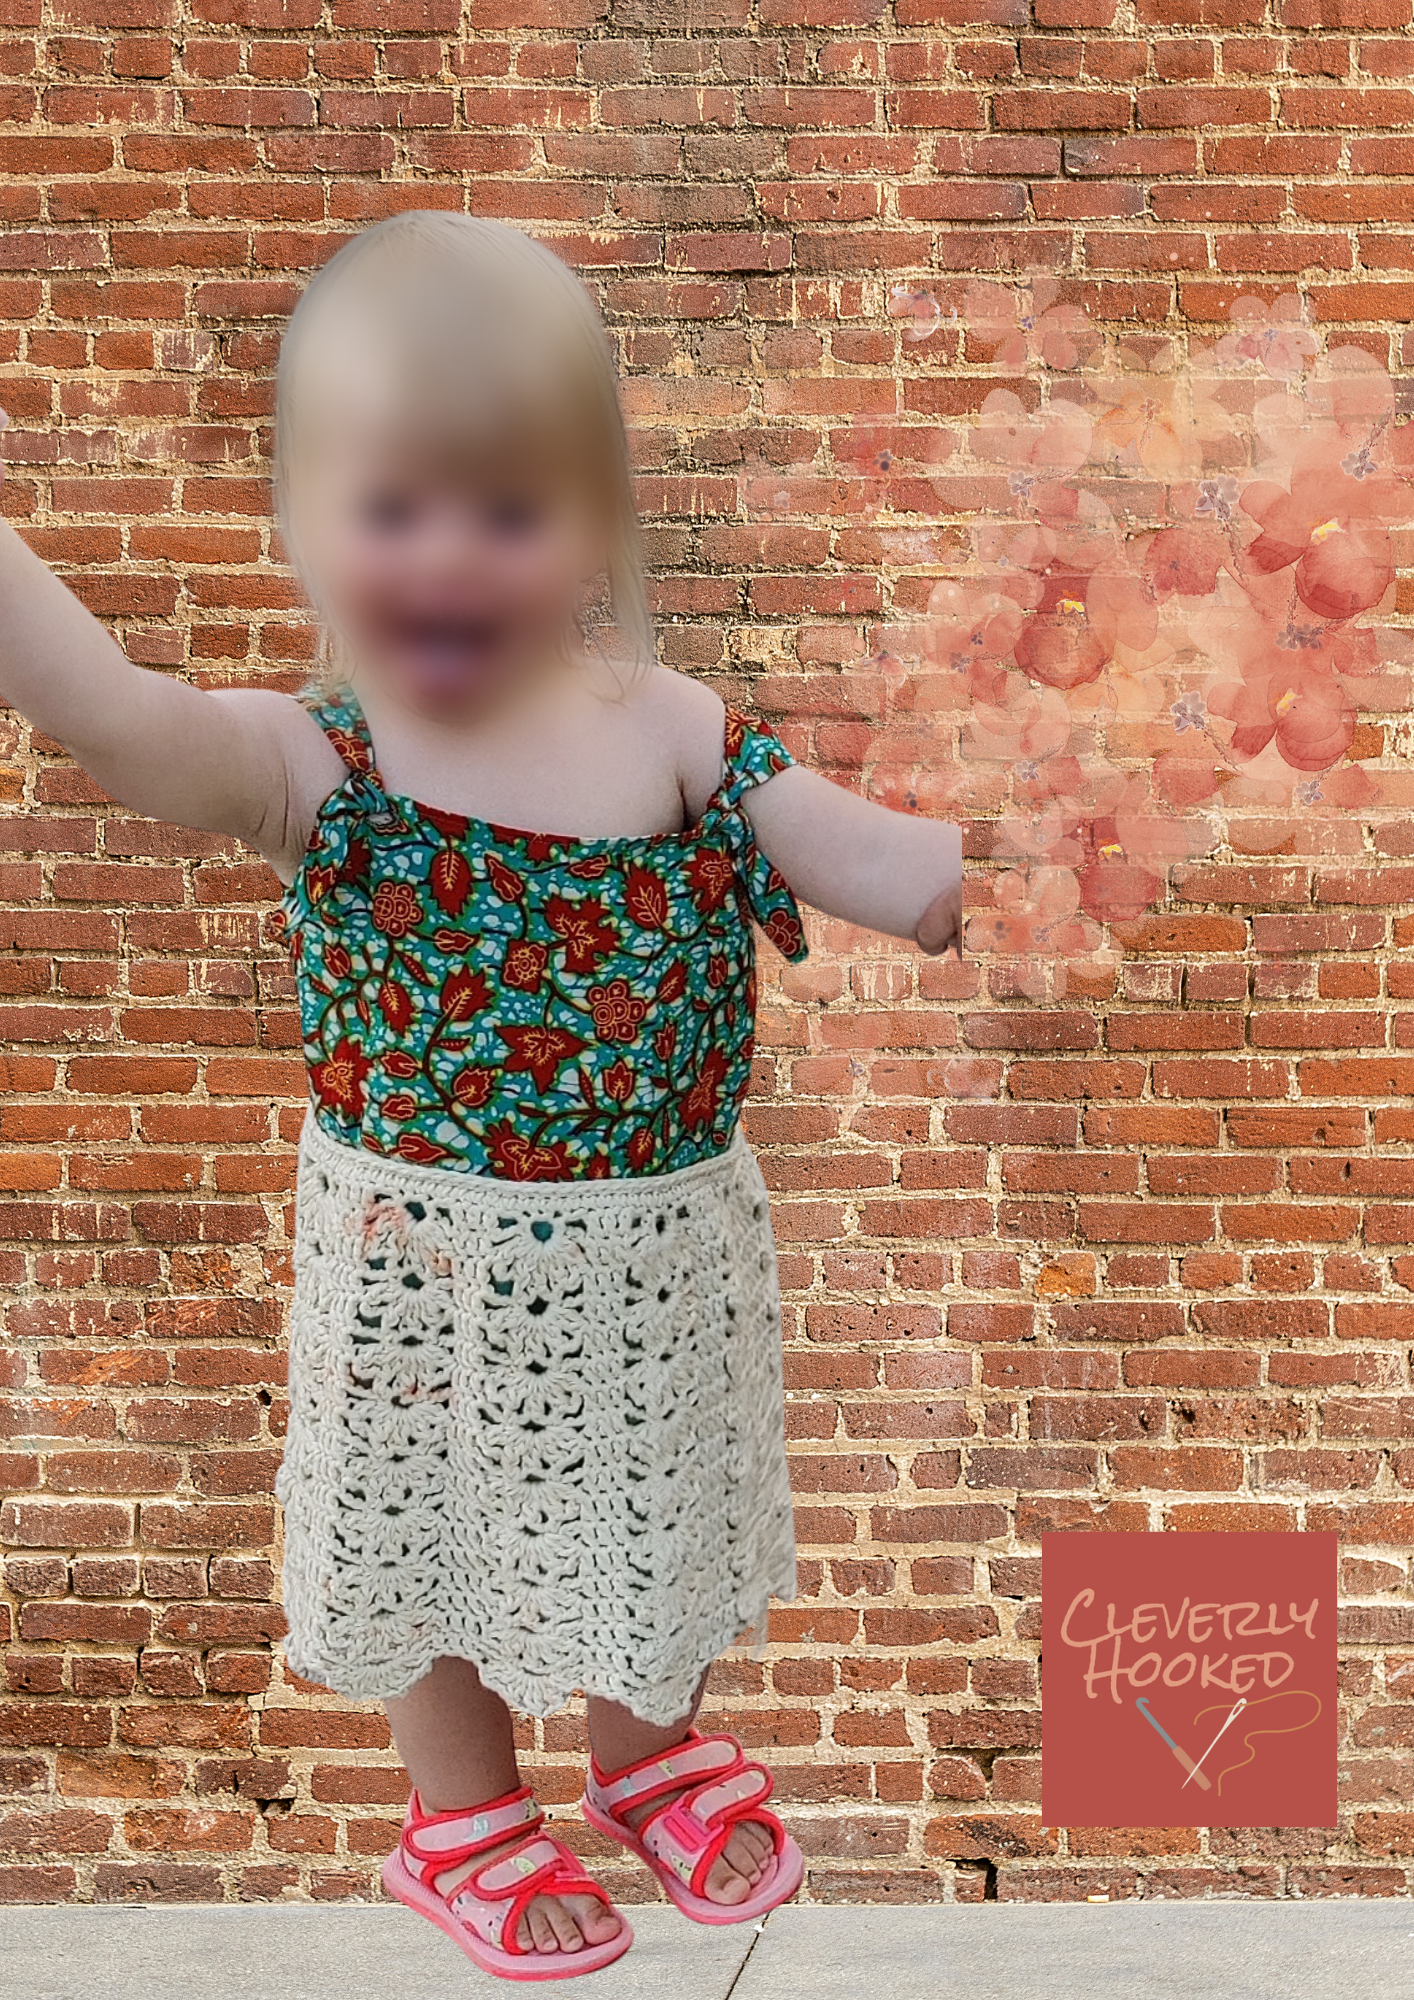
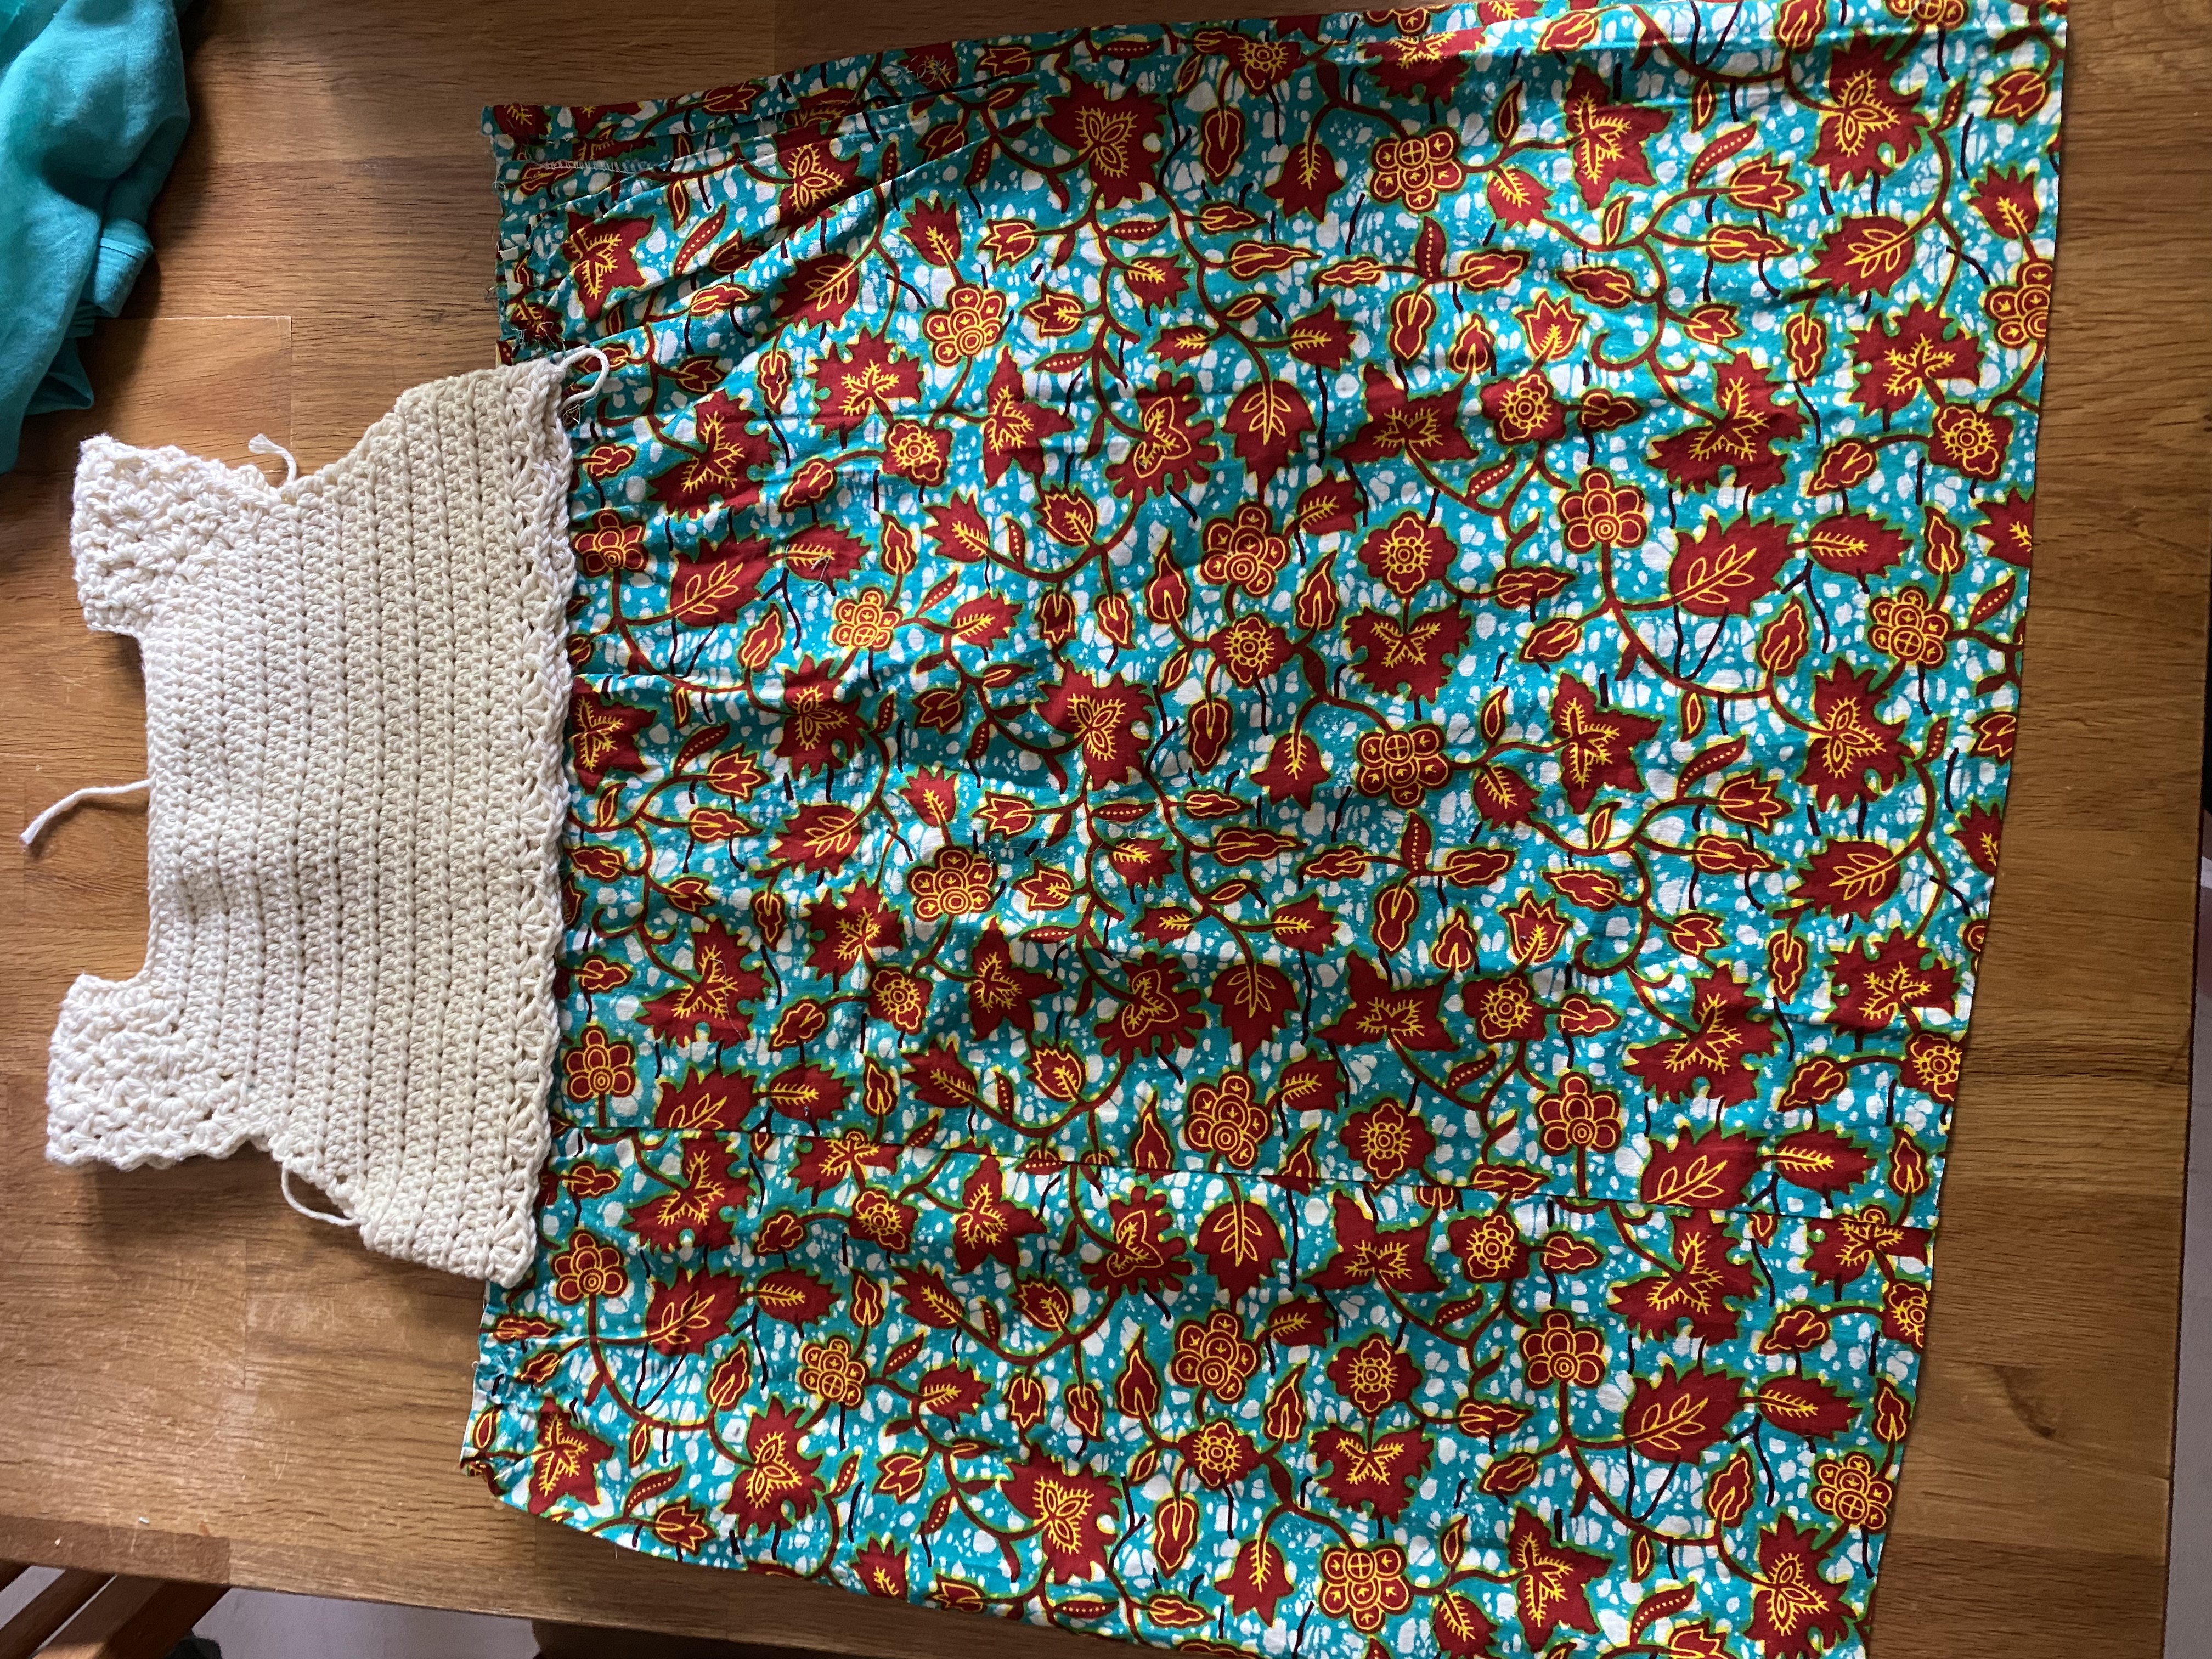
Making this dress was a bit of a puzzle. Even when there is this image kinda in your head, to make it in reality can be quite difficult. Without nice big pieces of fabric left, I wanted to make the easiest top possible. The idea was to make some kind of bandeau top with straps. I sew a long rectangular piece together, but realized very fast that this wouldn’t work at all. There was a lot of fabric missing on the front, plus without a stretching aspect, buttons are a must! Can you tell this is the first time I used non-stretchy fabric to make clothes? We only learn from trying new things, right?! I made my straps readjustable by only sewing the back of the straps and make buttonholes on the front where I could tie the straps into knots. This way you do not need exact measurements, but you can tie the knots how the dress fits best.
My end design of the top kinda looks like the following picture. For sizing, I suggest you use a dress or a top you already have with kinda the same shape of the top you want to make. Or if you have a willing child, you can measure them. I made my dress for an 18-month-old and sizing is accordingly.
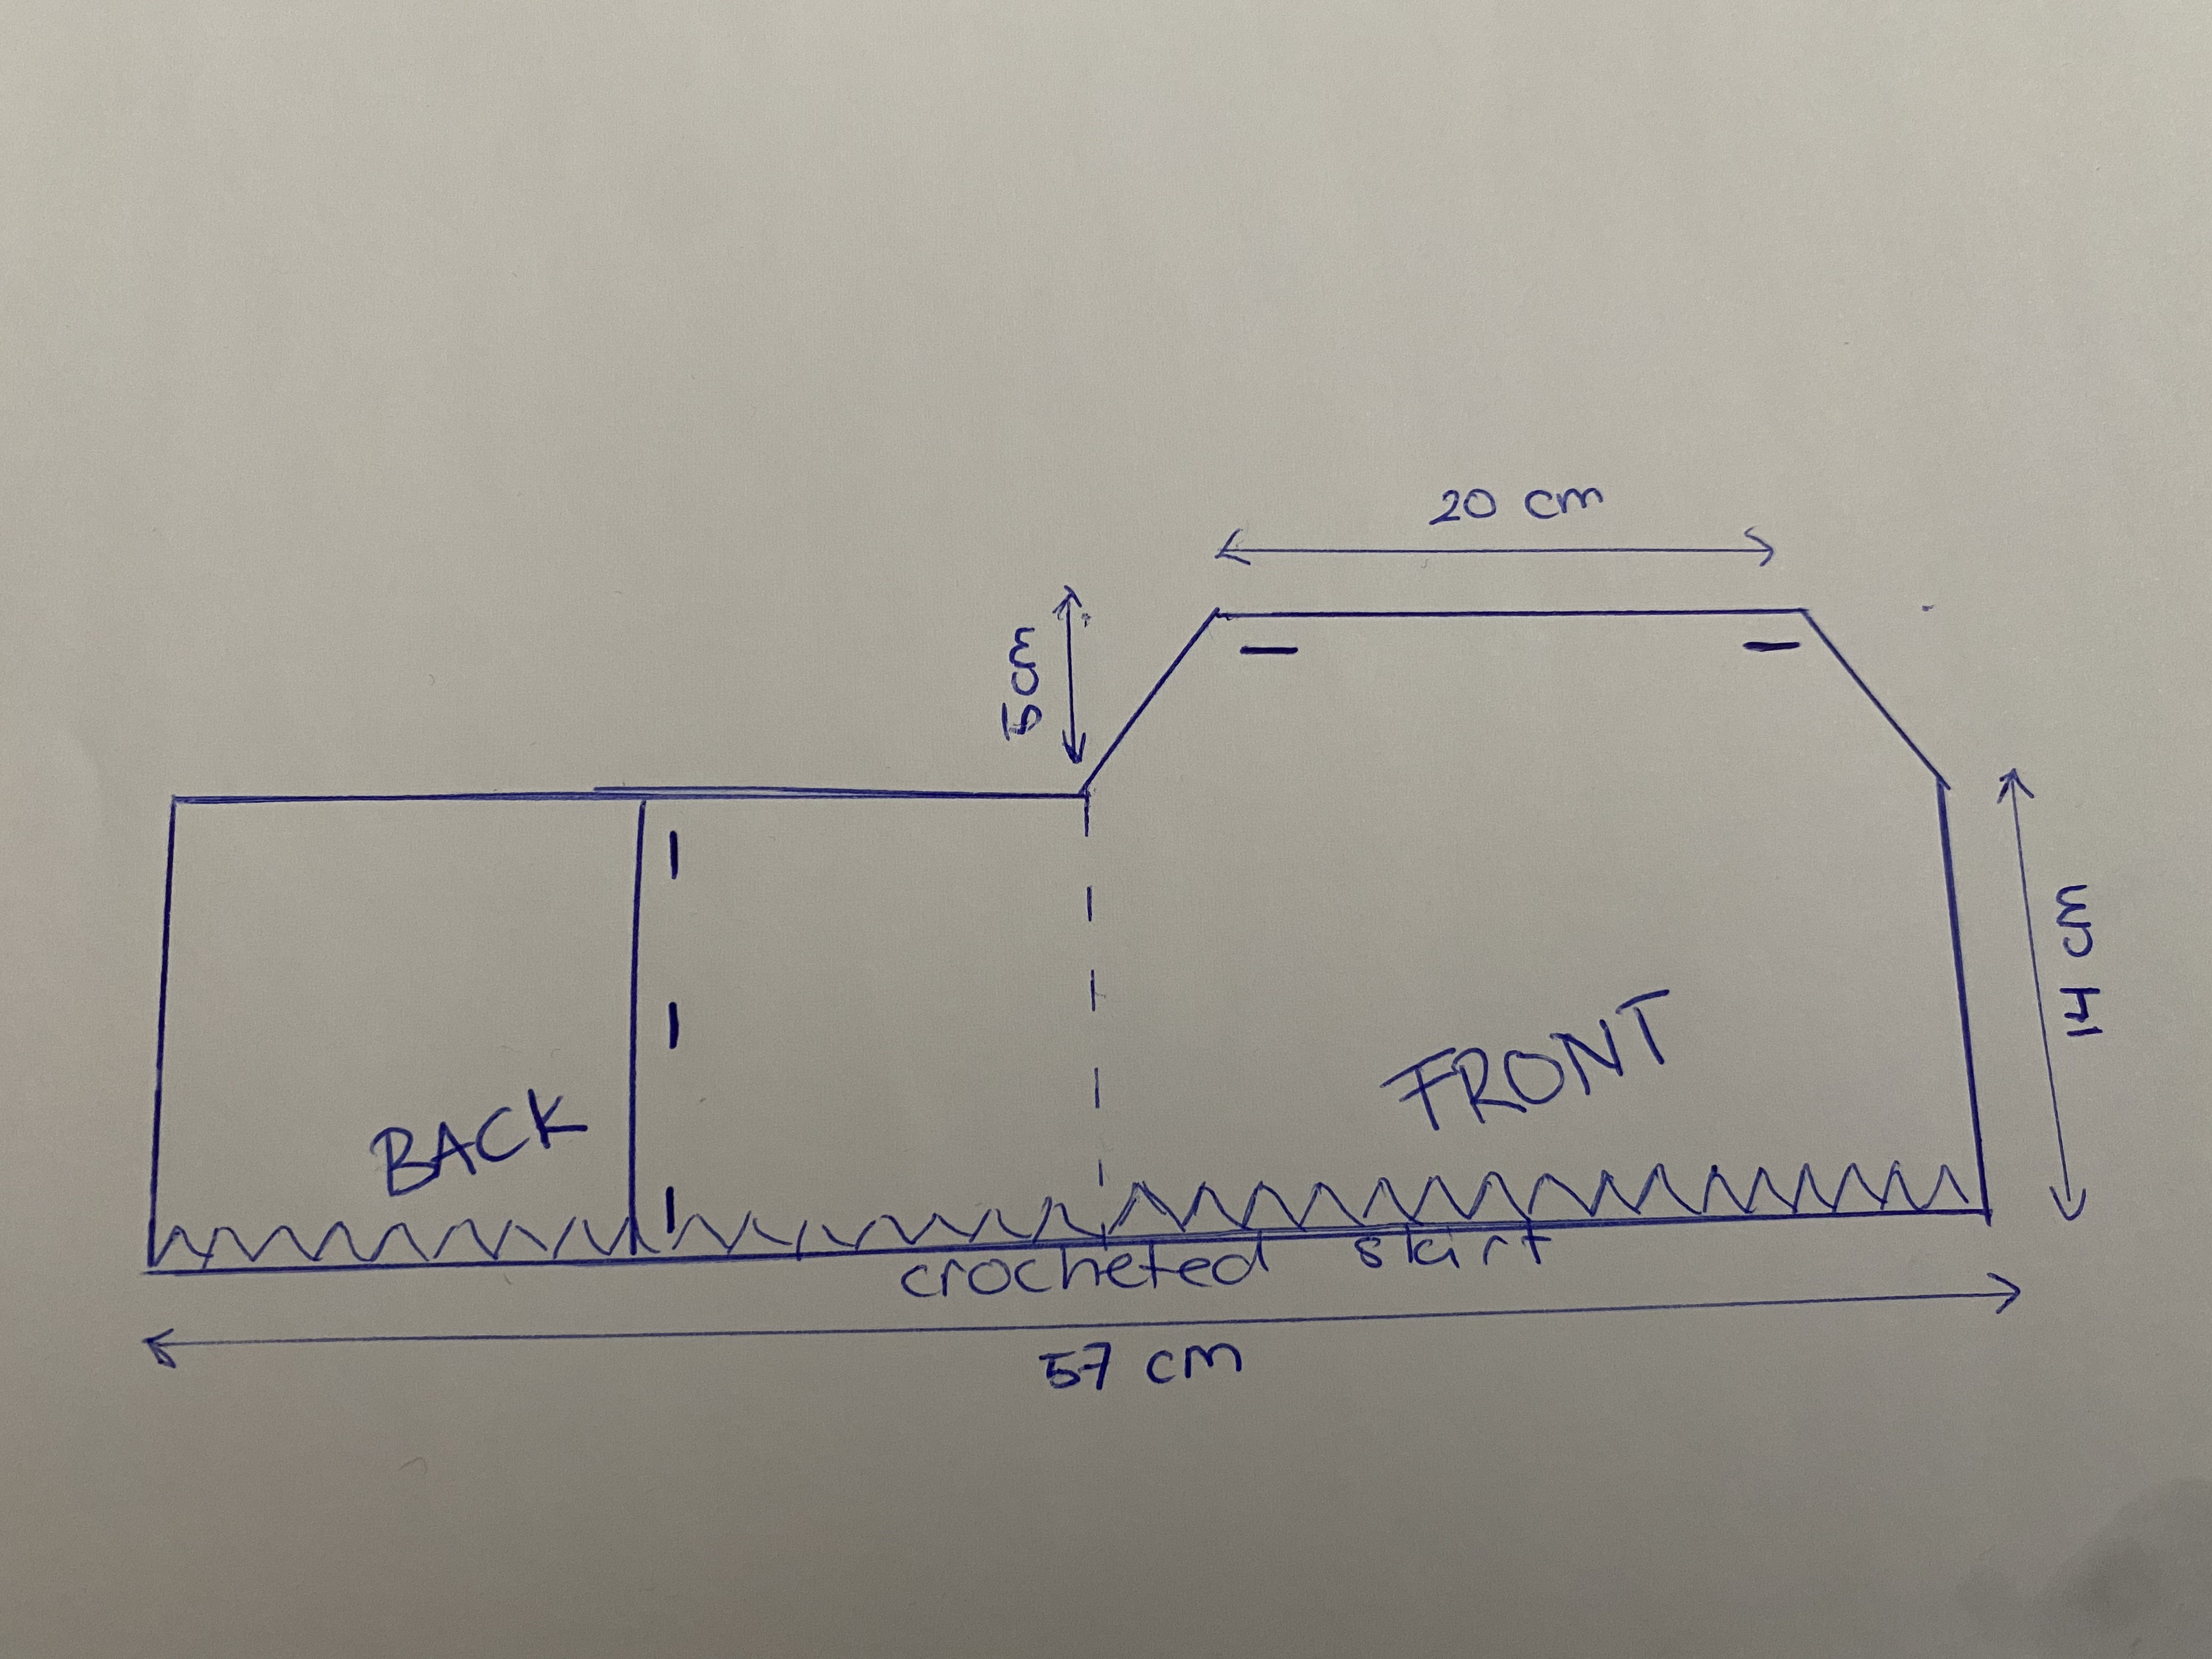
TIP: When you work with cotton fabric, and like me winging it a bit, it is better to measure on the bigger side. This stuff doesn’t give in.
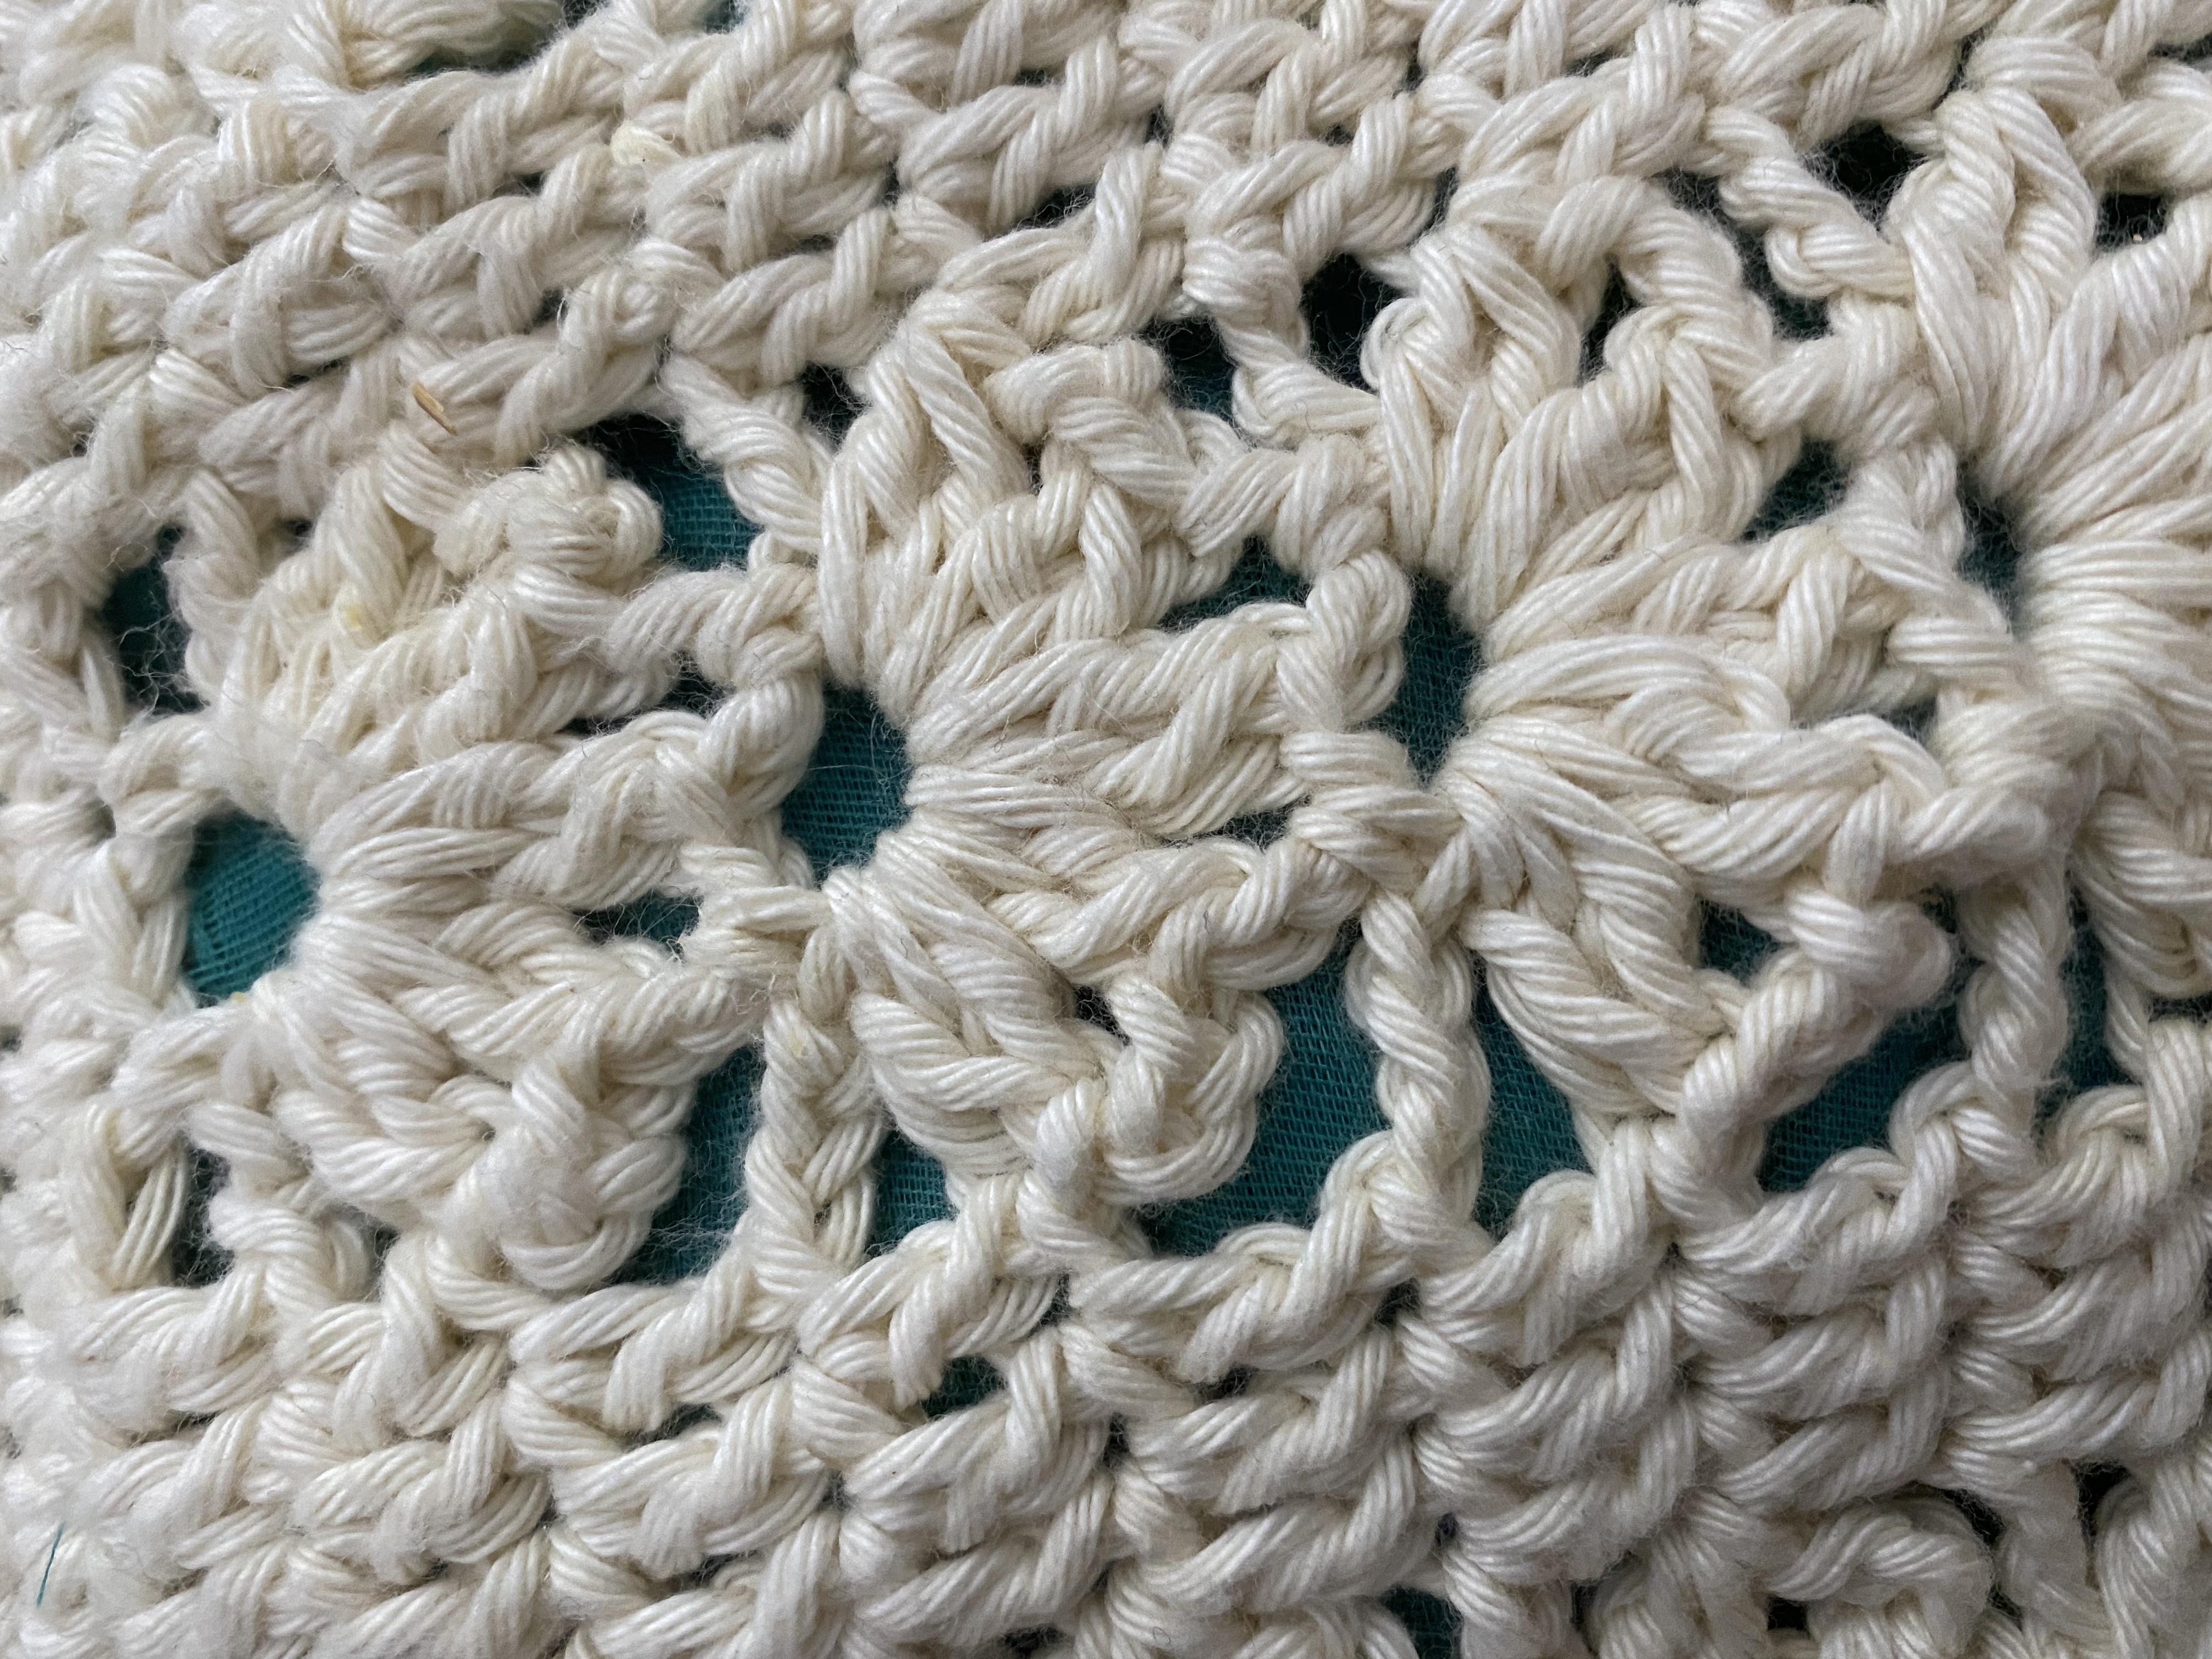
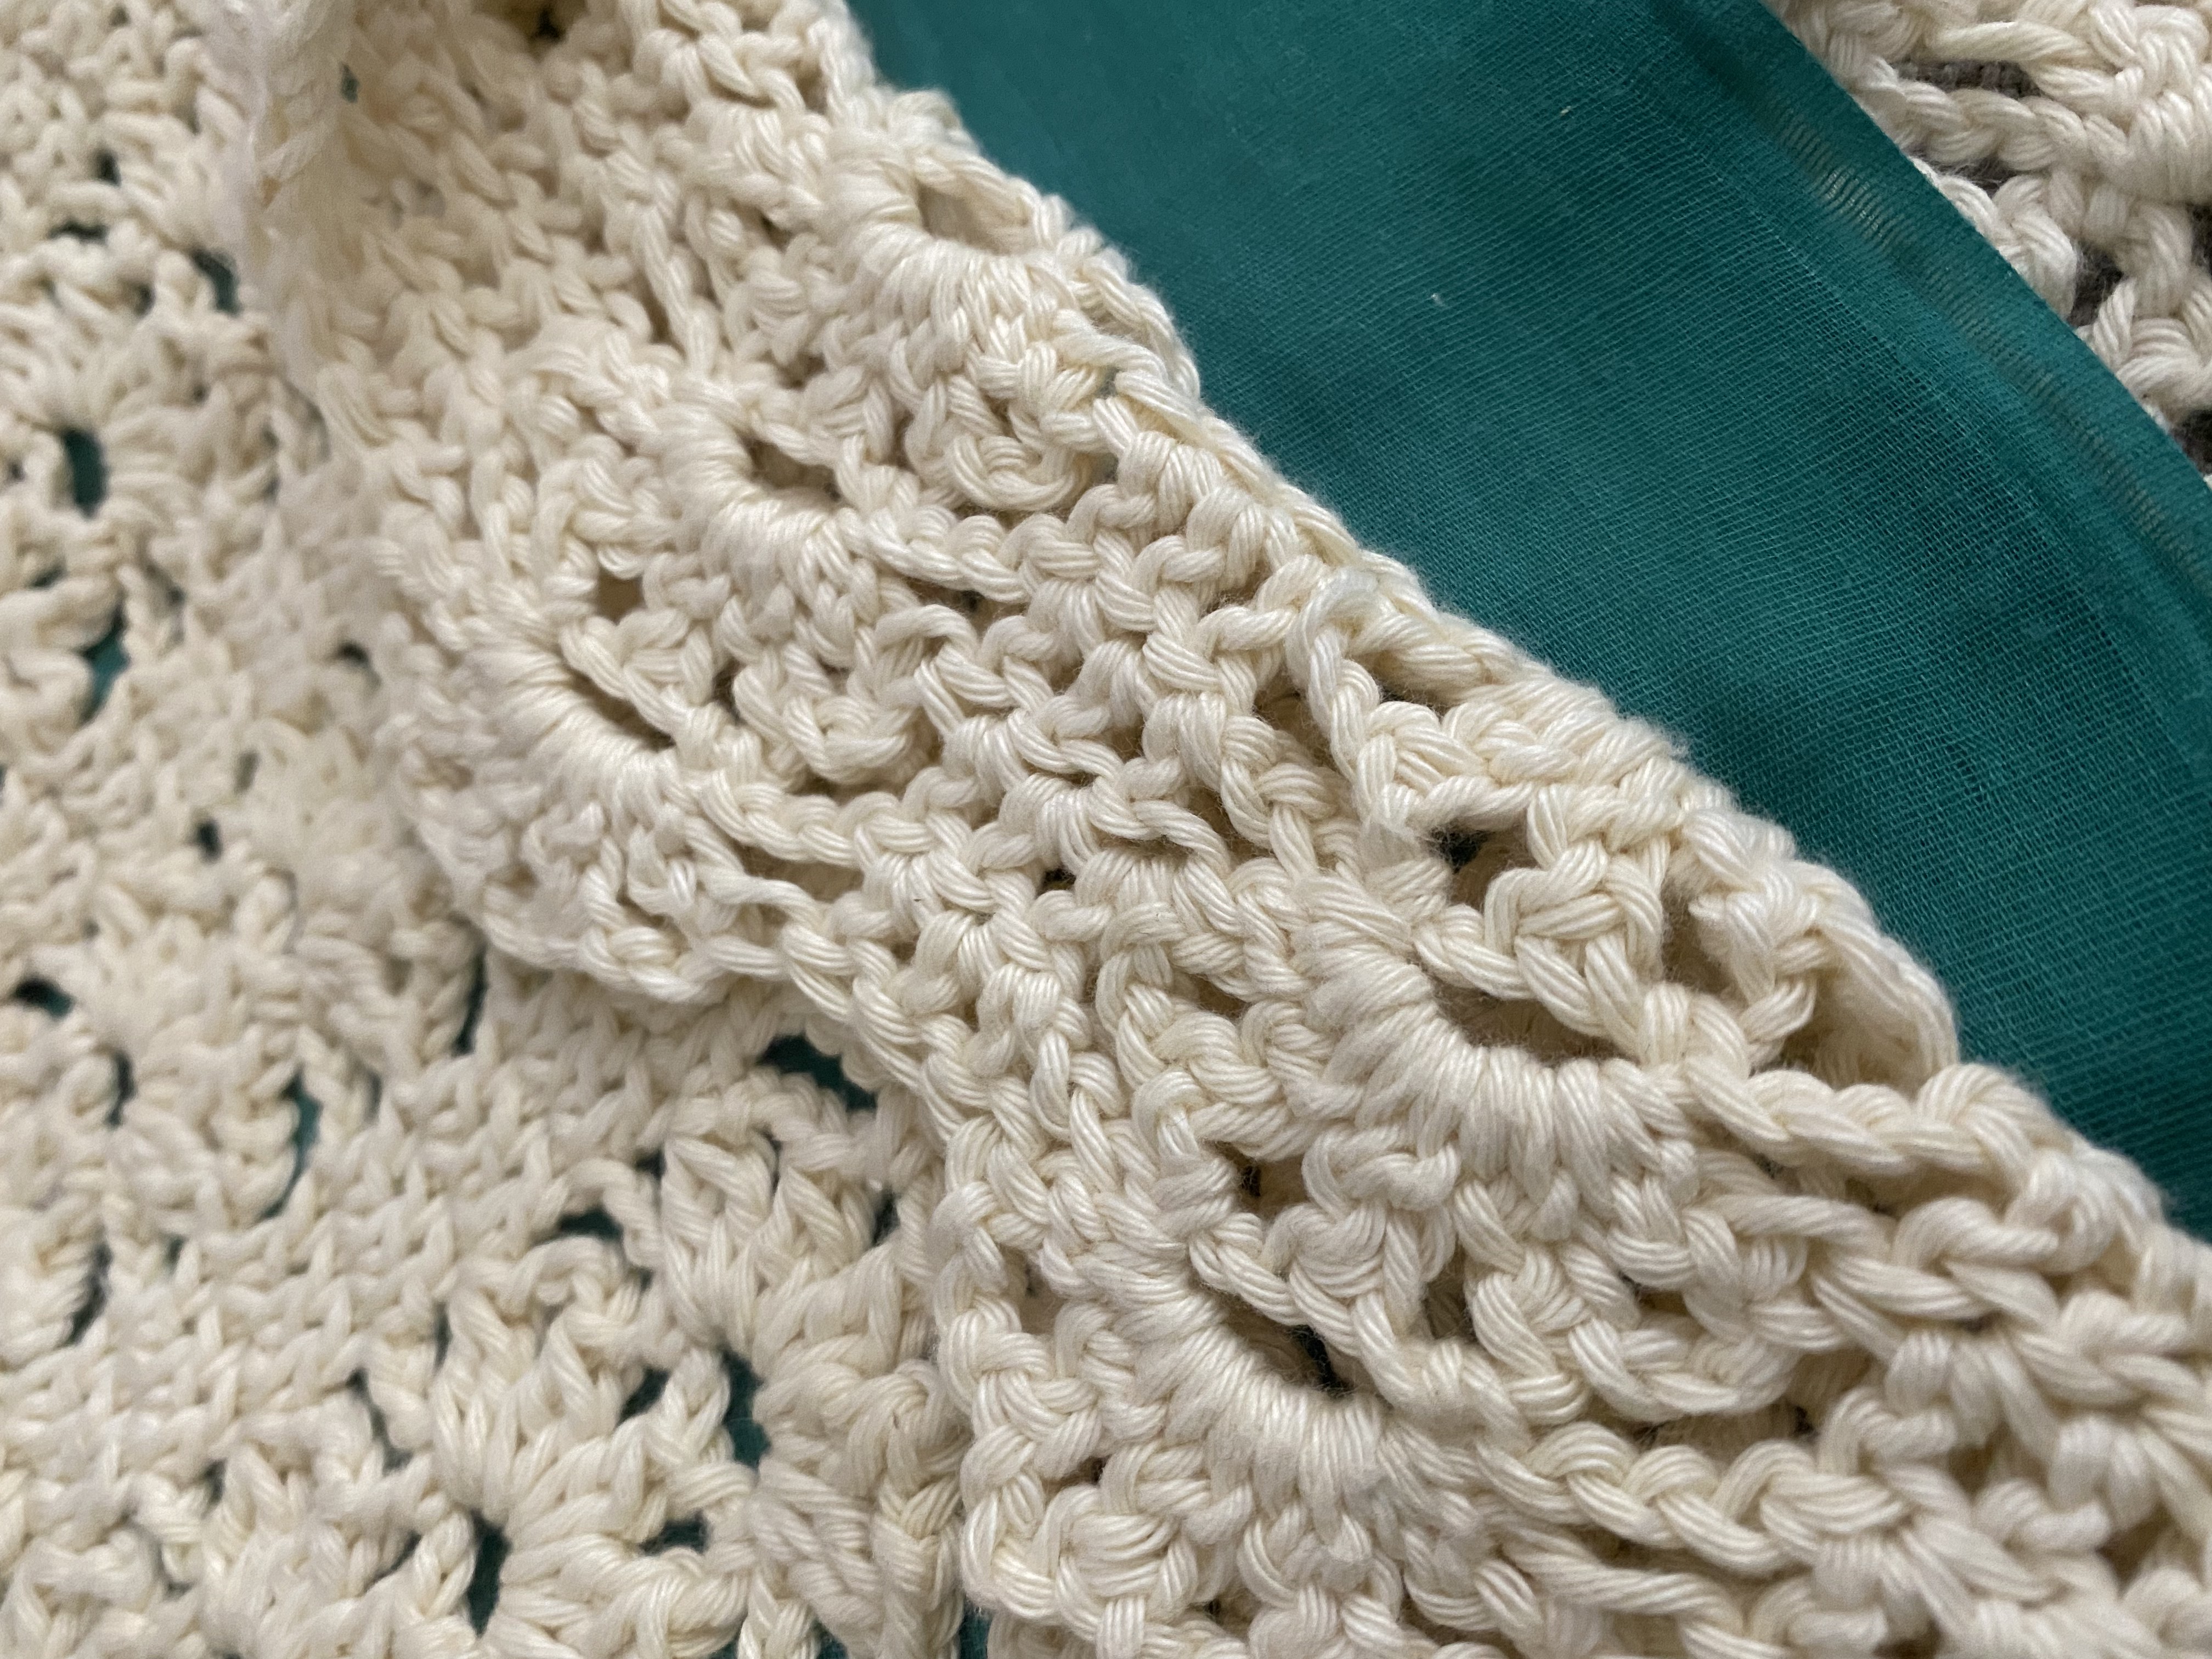
For the skirt part of this dress which is crochet, I used a pattern that I bought on Etsy from #monpetitviolin. This pattern is a pattern of a full dress, but I only used the bottom part of it. You can find this pattern here. After I found this dress, I tried to remake it myself, but this pattern is very well written and makes something that looks quite difficult, a lot easier. So I would highly recommend it!
First I chained the circumference of the skirt and crocheted 2 rows of sc around. After that I used the stitch pattern of the pattern from above. Because this is not my design, I sadly cannot share this with you. But if you like the look, you can buy this pattern and even make complete crocheted dresses out of it. The length of my crocheted skirt is 27 cm / 10.5". You might have noticed that the crocheted skirt is quite see through. I used the underskirt of the original skirt to make an underskirt for this dress. This underskirt is made the same way the skirt of the 3-4 year old dress was made.
